When you click on links to various merchants on this site and make a purchase, this can result in this site earning a commission. Affiliate programs and affiliations include, but are not limited to, the eBay Partner Network.
Always good to see pics of "refreshed" X100s. It's your car so damn what others may say?
Any reason for the choice of green?
The green is inspired by Paul Smith limited edition Minis ( not the stripy ones). But the ones that had a plain exterior but a bright green boot, glovebox and rocker cover.
Also all jags should have some green, its traditional ....
Paul Smith also happens to be my name.
The green is inspired by Paul Smith limited edition Minis ( not the stripy ones). But the ones that had a plain exterior but a bright green boot, glovebox and rocker cover.
Also all jags should have some green, its traditional ....
Paul Smith also happens to be my name.
The explanation is very helpful. Now I get that there is method to the madness.
Before I was thinking that you were either off your meds or in need of some.
I opted to remove the lower control arm bolt so the hub carrier can be swung out of the way (just hope I can see the marks on reassembly) and the disc/caliper for cleanup as that also gives easier access for replacing the brake flexible hoses. I used spring compressors to keep the plate bending to a minimum.
The original foam stuff appears to be OK but it's all going in the replaced parts museum. Lower shock bushings were the same as the fronts - still apparently intact but the seals falling apart.
Now what to do? The shocks should be fine with the low mileage but Jaguar wants around $100 a pop for the bushings
Yes I know there are cheaper but this is only marginally less than I can get new Bilsteins from Rockauto.
have noticed the past few weeks that the new coolant reservoir cap, although on tight, was weeping coolant - nothing significant but enough to have to top off once a week. This past Sunday, took a drive and was not even 5 minutes from the house and large plume of steam emanating from drivers side - pulled over and had the tell-tale weeping around the cap but looked under the reservoir and found a bit of a leak.
Ordered replacement tank from Amazon and it arrived yesterday along with a set of Hikari H1 LED replacement headlight bulbs. Today - replaced tank and installed new head lights (will take/post pics when it gets dark). No leaks so far but will go for a drive shortly to shake things down
Well done. I have replaced the coolant reservoir once during our 7.5 years of ownership, but I have replaced the cap at least twice. They are indeed crucial for proper operation....
Hello everybody.
I am currently working on many points of my XK8. Everything started with the gearbox. The inner cage was broken. A common problem with the ZF5HP. I overtook the whole transmission at the same time. After 135tkm I found that better. The transmission works very well again.
Now I overtake the engine. Then the front shock absorbers and lower wishbones. Then the oil leak on the steering.
The winter offers a lot of time.
I had a relatively productive day. I was able to locate and purchase a nice FRONT Detroit wheel (hard to find, indeed). And if that weren�t enough, I learned from this discussion board and executed the procedure for resetting the window limits so my side window is now well behaved once again.
Finally back on all four wheels after replacing both rear shocks.
I did not particularly enjoy this task - maybe I got an easy ride with the front suspension. Everything came apart nicely, but not a lot of room to work. I used spring compressors as well as removing the four bolts, otherwise the amount of bending required on the 'A' frame would have been right out of my comfort zone.
Even with beefy zip ties, I couldn't get the top of the spring to stay in place with a bolt holding the shock compressed, so it was a bit of a faff. I also replaced the spring pigtails (odd name for a piece of rubber?) and the brake shoes, pads and flexible hoses 'while I was in there'.
I used up almost my entire stock of expletives on those rear brake shoes. Perhaps my approach was wrong but getting the bottom of the shoes over the handrake cam was a pig. Never had much of a fight on other cars but, ah well, tis done and I'll probably wear out before they do.
Separately, I initially sourced new rear shocks locally. They turned out not to be Bilstein, and had a solid rubber lower bushing. I did some reading and found that there were a couple of instances where fitting shocks with solid rubber instead of the 'spherical joint' resulted in the shock strut snapping. I appreciate that two or three isn't an epidemic but enough for me to reject them. So now they're nice shiny black Bilsteins from RockAuto for very little more that the cost of OEM bushings.
Torque figures for the four bolts as they're in the Workshop manual not JTIS:
'A' frame to rear mounting (rearmost - short with washers): 85 - 115 Nm
'A' frame to final drive (forward - longer & no washers): 90 - 110 Nm
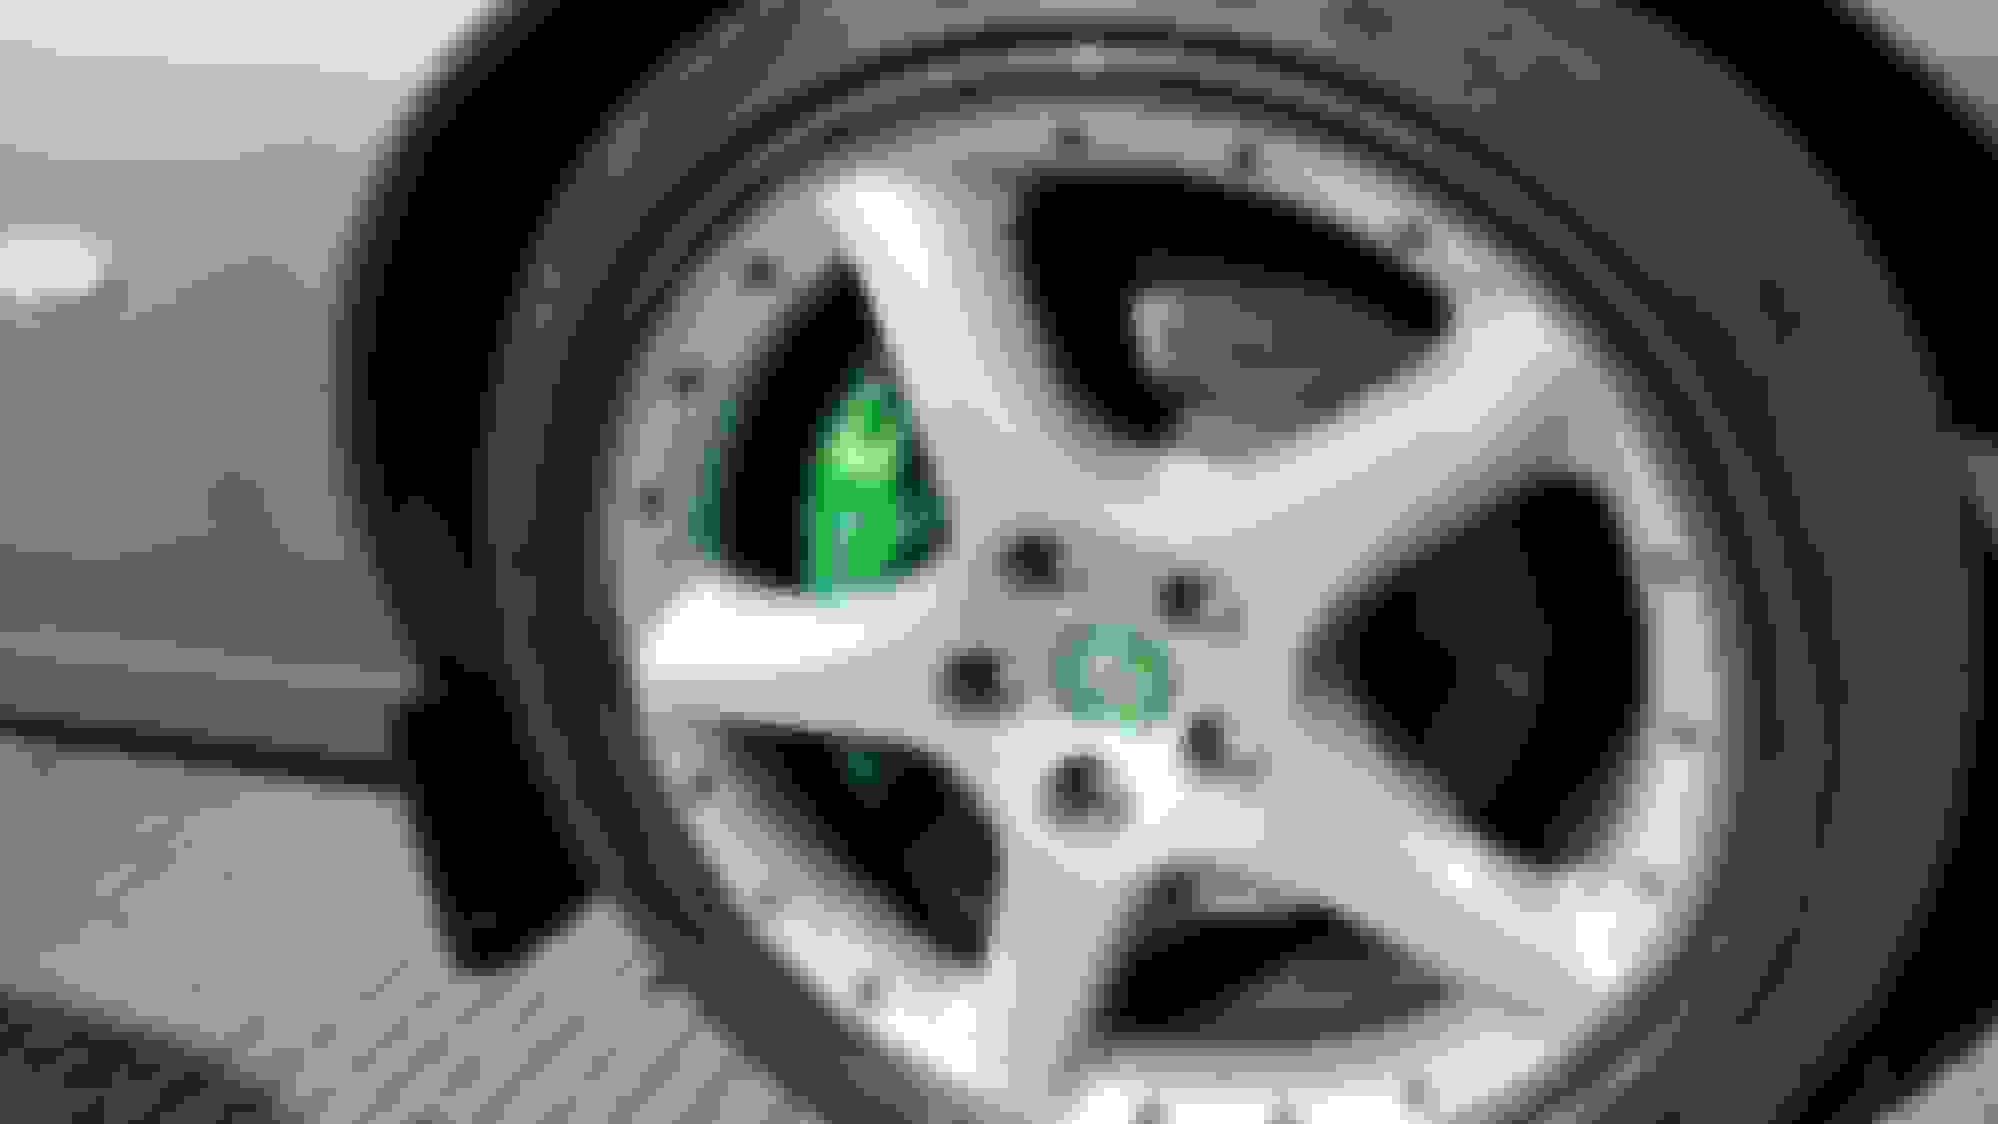
With the weather in the Arabian Gulf perfect now for top down driving, it was time to get some �beauty� treatment at my local garage. Labour here is cheap and I didn�t have the time. I�ve other jobs DIY planned over this winter.
Had some car park rash from a big white SUV. Dented too.
Fixed now
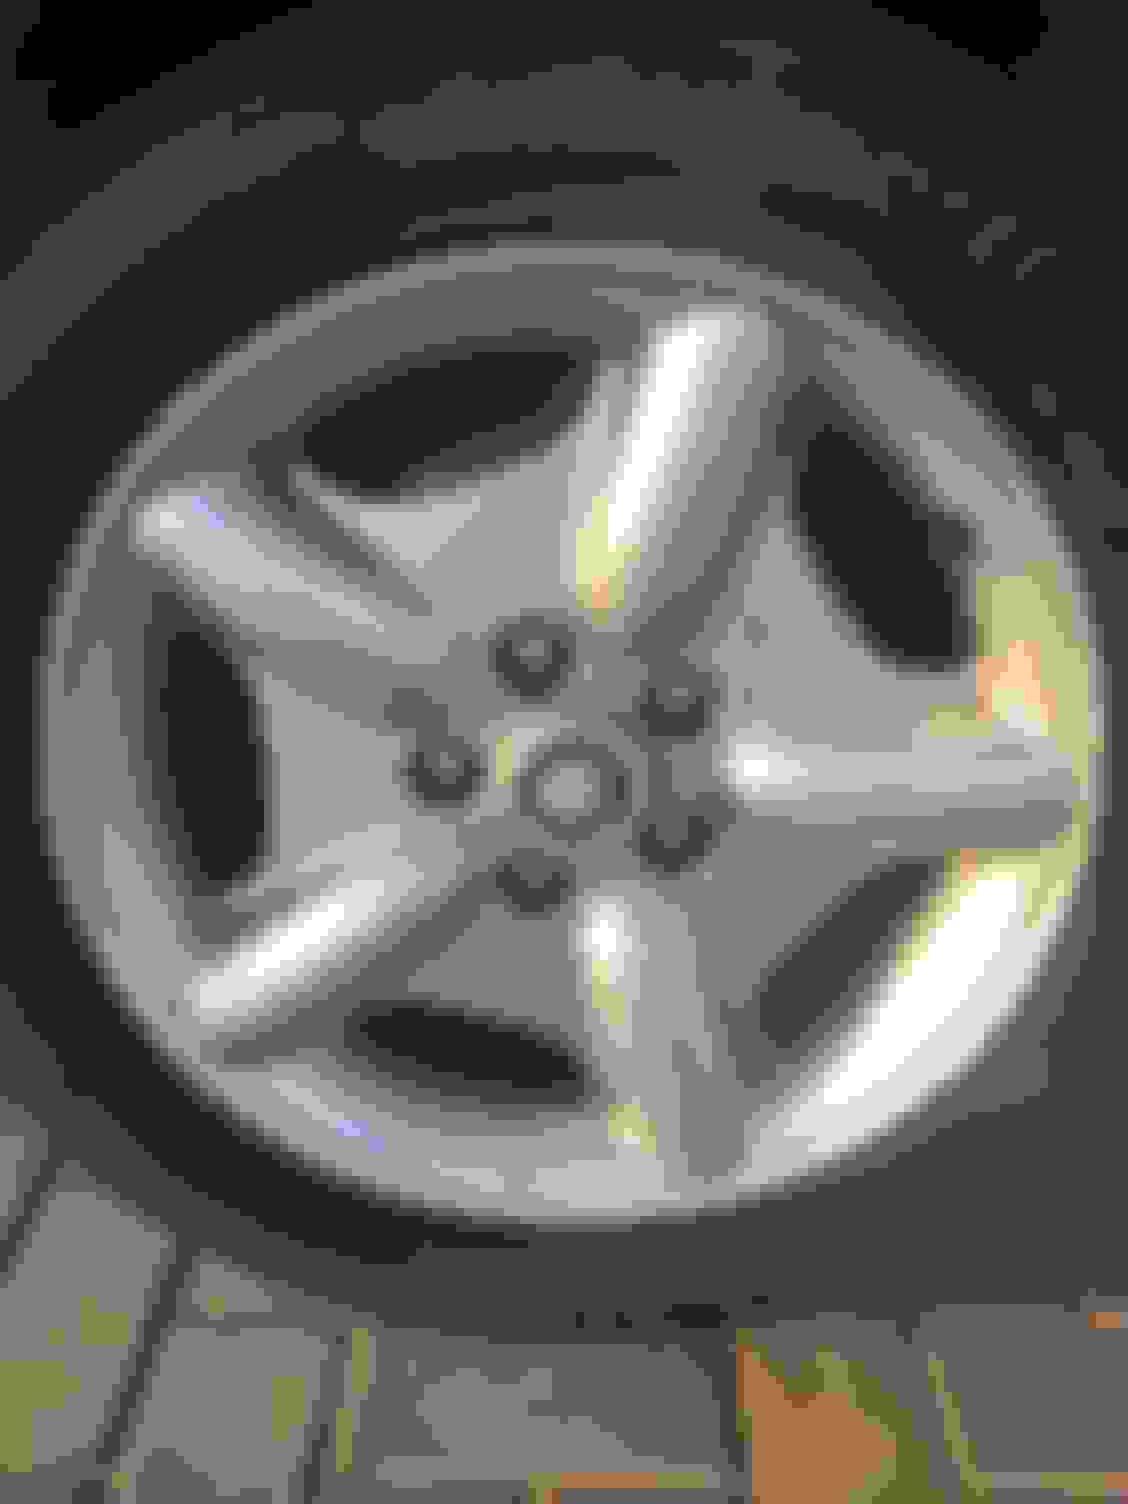
Plus my Revolver rims looked a bit tired. Pic before polish.
Hello everyone.
Right side is ready. Upper and lower
wishbone renewed, new shock absorber, new shock absorber mouting, brake caliper painted, everything cleaned, line measured to TCS. Now I'm waiting for the oil cooler hose.
Installed all new hydraulic lines on the XK8. Six hours to get it back together. Can�t find the right hydraulic fluid locally to have to wait for Amazon. Next is a new rear view mirror. I did the solder job on the abs sensor flushed the radiator and changed the oil. Now just gonna drive it like it�s stolen.
I finally bit the bullet and made a start on the trans fluid/filter/cooler pipes change, leaking A/C compressor and renewing the remaining original plumbing around the heater pump. I decided to do all together since some of the parts need to come off to get to others anyway.
Trans drain first. Amazingly, the fill plug and all 22 torx cracked without incident, and I got around 4 - 41/2 litres of fluid out. It was quite dark, but no trace of a burnt smell. I'll leave it to continue draining until I pull the pan later this week to get to the filter & valve body. I have the Transgo main pressure valve replacement ready. No rush as I relented and have ordered the OEM cooler pipes which won't arrive until the end of the week and I need to get the A/C compressor off as that will give more juggling room. I also need to get the A/C degassed (although I doubt there's much left in there )
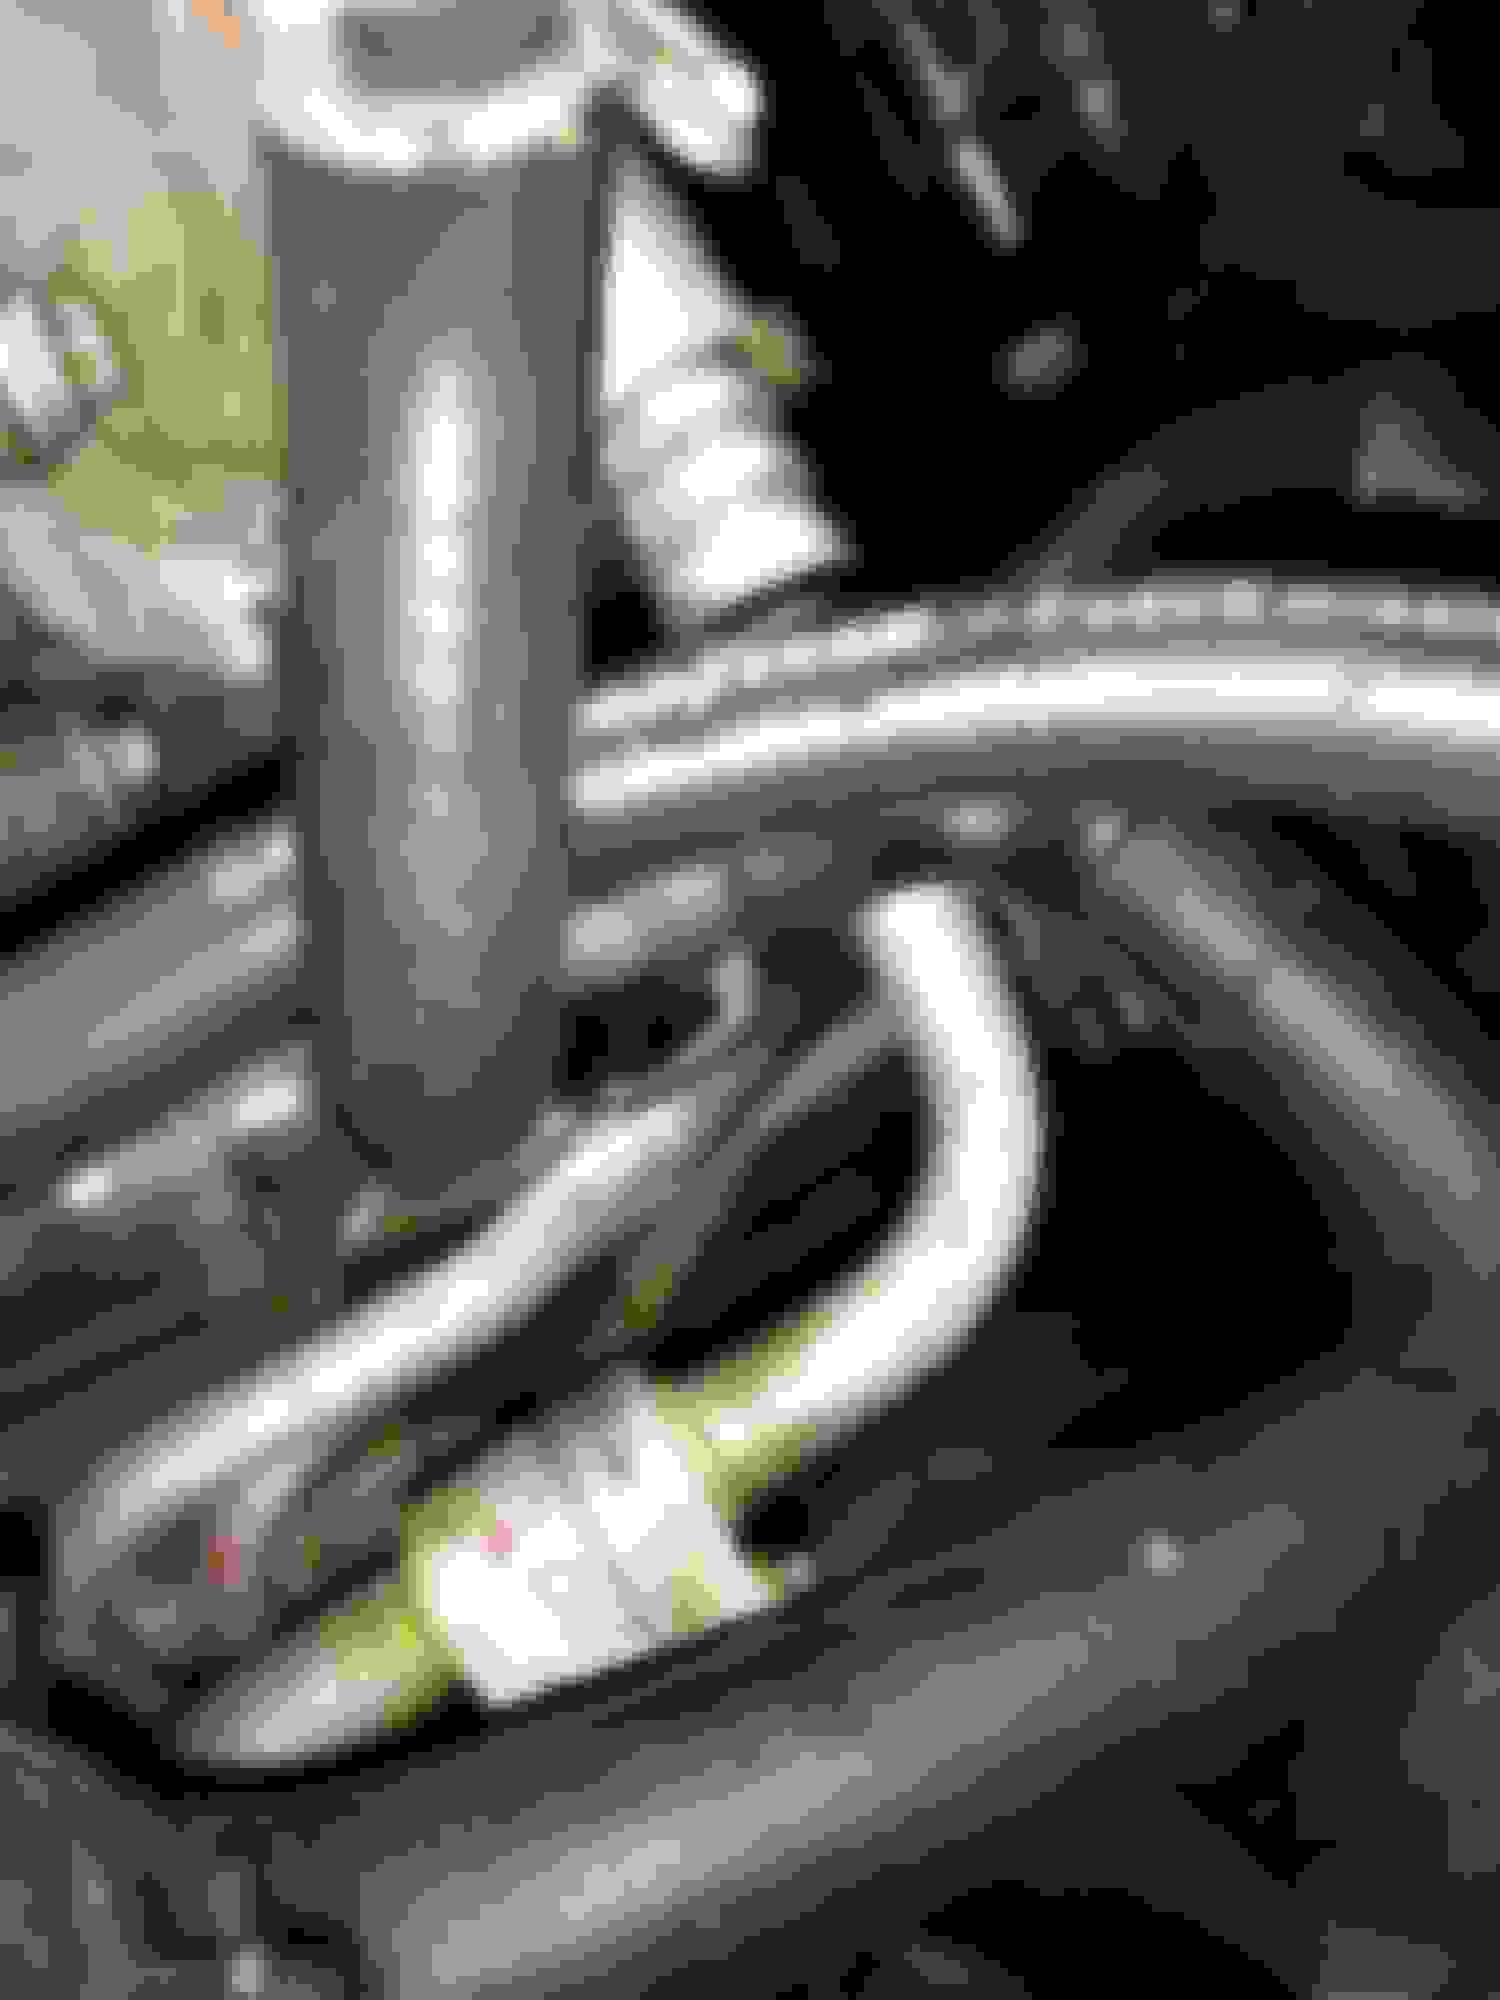
Here's a view down into the spaghetti mess with the TB and coolant expansion tank out of the way:
1 is the pipe that disappears behind and underneath the big multiplug atop the trans (that in itself will be 'interesting'), 2 is the other pipe that looks to be the less challenging and 3 is today's discovery of a leak in the A/C plumbing.
At this point, I'm not even sure if I can get the cooler pipes out around all of the obstacles. The LHS cat will almost certainly have to come off, and even then... I'm documenting as I go along and I will post up if it doesn't all end in tears. If the worst comes to the worst, I'll have to abandon the trans plumbing for another time.

 09-19-2019 | 05:26 PM


 For a while I had felt like the front end was getting "looser" than it should be.


 )
)