XK8 / XKR ( X100 ) 1996 - 2006

The "What did you work on today" thread.

Thread Tools
 
Search this Thread
 
  #541  
Old 02-16-2020, 05:02 PM
Timeisrelative's Avatar
Senior Member
Join Date: Sep 2018
Location: Pennsylvania
Posts: 788
Received 285 Likes on 183 Posts
Default

I decided to do my upper and lower ball joints, inner and outer tie rods and my end links! Needless to say after about 7 hours total in 30-40 degree F temps, rolling around in the stones. I got my upper ball joint, end links, and outer tie rod on the left side only! Argh! I did manage to bend my ball joint clamp trying to get the lower ball joint. I also found that even though I watched several videos and have done several before, that my inner tie rods are the internal type! Argh! I don't have that tool of course. Oh well I guess I'll tackle the rest another day. Drrrrrrrrrr!
 
  #542  
Old 02-16-2020, 05:30 PM
Join Date: Apr 2012
Location: Summerville, South Carolina
Posts: 24,601
Received 4,282 Likes on 3,702 Posts
Default

timeisrelative - did you pull the bellows down and look at the inner tie rod? I picked up a tool from Harbor freight for about 10-15 bucks to remove the inners - pretty simple job. The lower ball joints are a whole different story which I removed the lower control arm and ended up having to buy a 20T hydraulic press to install - quite the painful undertaking
 
The following 2 users liked this post by sklimii:
DavidYau (02-18-2020), Timeisrelative (02-16-2020)
  #543  
Old 02-16-2020, 05:44 PM
Timeisrelative's Avatar
Senior Member
Join Date: Sep 2018
Location: Pennsylvania
Posts: 788
Received 285 Likes on 183 Posts
Default

Yeah I pulled the bellow down and went drrrrrrr because on mine the ball is actually recessed in the rack end. I even pulled the rack bushing to see if maybe there was a way to remove the end or something, but it looks like I'll need one of the tube type inner ball joint tools

Edit! I just thought about it and went oh duh! I had my wheels straight! Argh! What an idiot! I'll look into it on Tues. Duh!
 

Last edited by Timeisrelative; 02-16-2020 at 06:12 PM.
The following users liked this post:
Johnken (02-21-2020)
  #544  
Old 02-17-2020, 07:50 AM
SamtheSham's Avatar
Veteran Member
Join Date: Dec 2016
Location: S.W.Florida
Posts: 1,323
Received 478 Likes on 323 Posts
Default Grey Cow??

Originally Posted by rothwell
I sacrificed a cow on the Jaguar altar.

Where do you find a 'Grey' Cow in Central Fla.?

See what I did with this in my working thread.

Where do you find a 'Grey' Cow in central Fla?/
 
  #545  
Old 02-19-2020, 03:09 PM
Timeisrelative's Avatar
Senior Member
Join Date: Sep 2018
Location: Pennsylvania
Posts: 788
Received 285 Likes on 183 Posts
Default

Just finished doing the rest of my tie rods, end links and upper ball joints. I think both of my lower ball joints were replaced because not only did the nuts come off nicely, but both of them felt pretty good and they were the only thing up there that the rubber boots were still perfect on. We'll see, not that hard to get to them if they end up going out in a couple of years or so.
 
The following users liked this post:
DavidYau (02-19-2020)
  #546  
Old 02-20-2020, 09:40 AM
Timeisrelative's Avatar
Senior Member
Join Date: Sep 2018
Location: Pennsylvania
Posts: 788
Received 285 Likes on 183 Posts
Default

Just did my fuel filter and am going to get an alignment in a little bit!
 
  #547  
Old 02-20-2020, 09:14 PM
rothwell's Avatar
Veteran Member
Join Date: Jan 2009
Location: Hudson, Florida
Posts: 2,088
Received 1,270 Likes on 696 Posts
Default

Today I replaced the coolant overflow tank AGAIN. Last time was summer 2017.

I checked and the tank from Jaguar is still 3 times the price of a URO tank. So I bought another URO tank.

At least it takes less than an hour to replace it.

This failing URO tank was leaking at the seam.

 
  #548  
Old 02-21-2020, 06:16 AM
Jon89's Avatar
Veteran Member
Join Date: Jan 2009
Location: Raleigh, NC
Posts: 12,595
Received 4,360 Likes on 2,851 Posts
Default

URO component quality always seems to be mediocre at best. I have installed various URO parts but never really trusted them. Just continue to keep an eye on that new reservoir....
 
  #549  
Old 02-21-2020, 06:37 AM
cjd777's Avatar
Veteran Member
Join Date: Dec 2011
Location: Spencer, NC
Posts: 2,743
Received 1,349 Likes on 745 Posts
Default

rothwell, go down the page a bit on the regular Forum and look at Razorboy's write up on the plastic welder and give your reservoir a good seam around that leak area or the whole thing.
That would be interesting if it would still hold pressure and not leak, could be a quick fix for someone needing their car right away.
Thanks for the good picture of where.
 
  #550  
Old 02-22-2020, 02:35 PM
crbass's Avatar
Veteran Member
Join Date: May 2019
Location: Durham, NC
Posts: 1,090
Received 925 Likes on 456 Posts
Default Only took twice as long as the instructions said this time

Shiny and ceramicy.


Only a little snow left, time to put the top down and, for my wife, heater on.
 
The following 4 users liked this post by crbass:
cjd777 (02-23-2020), DavidYau (02-22-2020), ericjansen (02-22-2020), Timeisrelative (02-22-2020)
  #551  
Old 02-23-2020, 07:49 AM
SamtheSham's Avatar
Veteran Member
Join Date: Dec 2016
Location: S.W.Florida
Posts: 1,323
Received 478 Likes on 323 Posts
Default

Yesterday I decided to finally upgrade my dash lights from standard to LEDs. I watched Dr. Sam's video twice in the last week to make things go easily, then forgot to disconnect the 2 wire bundles powering the cluster. Since I was unable to fully pull the cluster out of the dash, I changed the bulbs in place, with the cluster tilted outward. Not the best methode, but using a small pair of needle nosed plyers, I finally accomplished the feat. Now the one dead bulb(behind the temp gauge) and all the others are shining bright. Checking the polarity of the LEDs, marking it with a pen, and installing as suggested with the '+' edge 'down' prevented trial and error replacement.
Thanks for the video, Dr. Sam, even if I didn't follow the entire procedure correctly.

Sam
 
  #552  
Old 02-23-2020, 10:58 PM
DavidYau's Avatar
Veteran Member
Join Date: Jan 2019
Location: Bahrain
Posts: 1,906
Received 1,418 Likes on 755 Posts
Default Changed overhead console bulbs to LED

Well I recently fixed the overhead map light console mount but now one of the bulbs blew! Bugger! Still chance to replace the bulbs with T10 LEDs (had in my box of electrical bits) Modern white lighting not low level yellow.

Easy job, but noticed the new light levels weren’t good as the new LED bulb were 2 faced and one LED light source faced up into the cavity.


Quick easy solution was to put a reflector (aluminium foil) over the top of the light fixing.


Got noticeably more light into the cabin approx. 50 percent more. Easy to just peel off to access the bulb in the future.
 
The following 2 users liked this post by DavidYau:
crbass (02-23-2020), ozbot (02-24-2020)
  #553  
Old 02-24-2020, 06:58 AM
SamtheSham's Avatar
Veteran Member
Join Date: Dec 2016
Location: S.W.Florida
Posts: 1,323
Received 478 Likes on 323 Posts
Default

Good move. I have the 4 sided, but will try that next time I open panel. Started with 'blue' lites(didn't notice until installed), had to replace. Sexy, but not too effective.
 
The following users liked this post:
DavidYau (02-24-2020)
  #554  
Old 02-24-2020, 08:28 AM
rothwell's Avatar
Veteran Member
Join Date: Jan 2009
Location: Hudson, Florida
Posts: 2,088
Received 1,270 Likes on 696 Posts
Default

I used these when I rebuilt that console. They are larger than the old bulbs so barely fit into the reflector but seem to put out plenty more light.

https://smile.amazon.com/gp/product/...?ie=UTF8&psc=1


  #555  
Old 02-25-2020, 05:57 PM
bobhoff's Avatar
Senior Member
Join Date: Apr 2017
Location: Lafayette, La.
Posts: 120
Received 15 Likes on 13 Posts
Default

Finally did the Headrest Repair on both Seats. Did not do the Splice. I cut the Silver End Piece off and removed the Sheathing from the End Piece. I then cut off 14mm of Sheathing off the Cable. Put everything back together and now both Headrests work. Now if I could only get rid of Air Bag Codes.
 
  #556  
Old 02-29-2020, 11:00 AM
crbass's Avatar
Veteran Member
Join Date: May 2019
Location: Durham, NC
Posts: 1,090
Received 925 Likes on 456 Posts
Default Making my wife happy

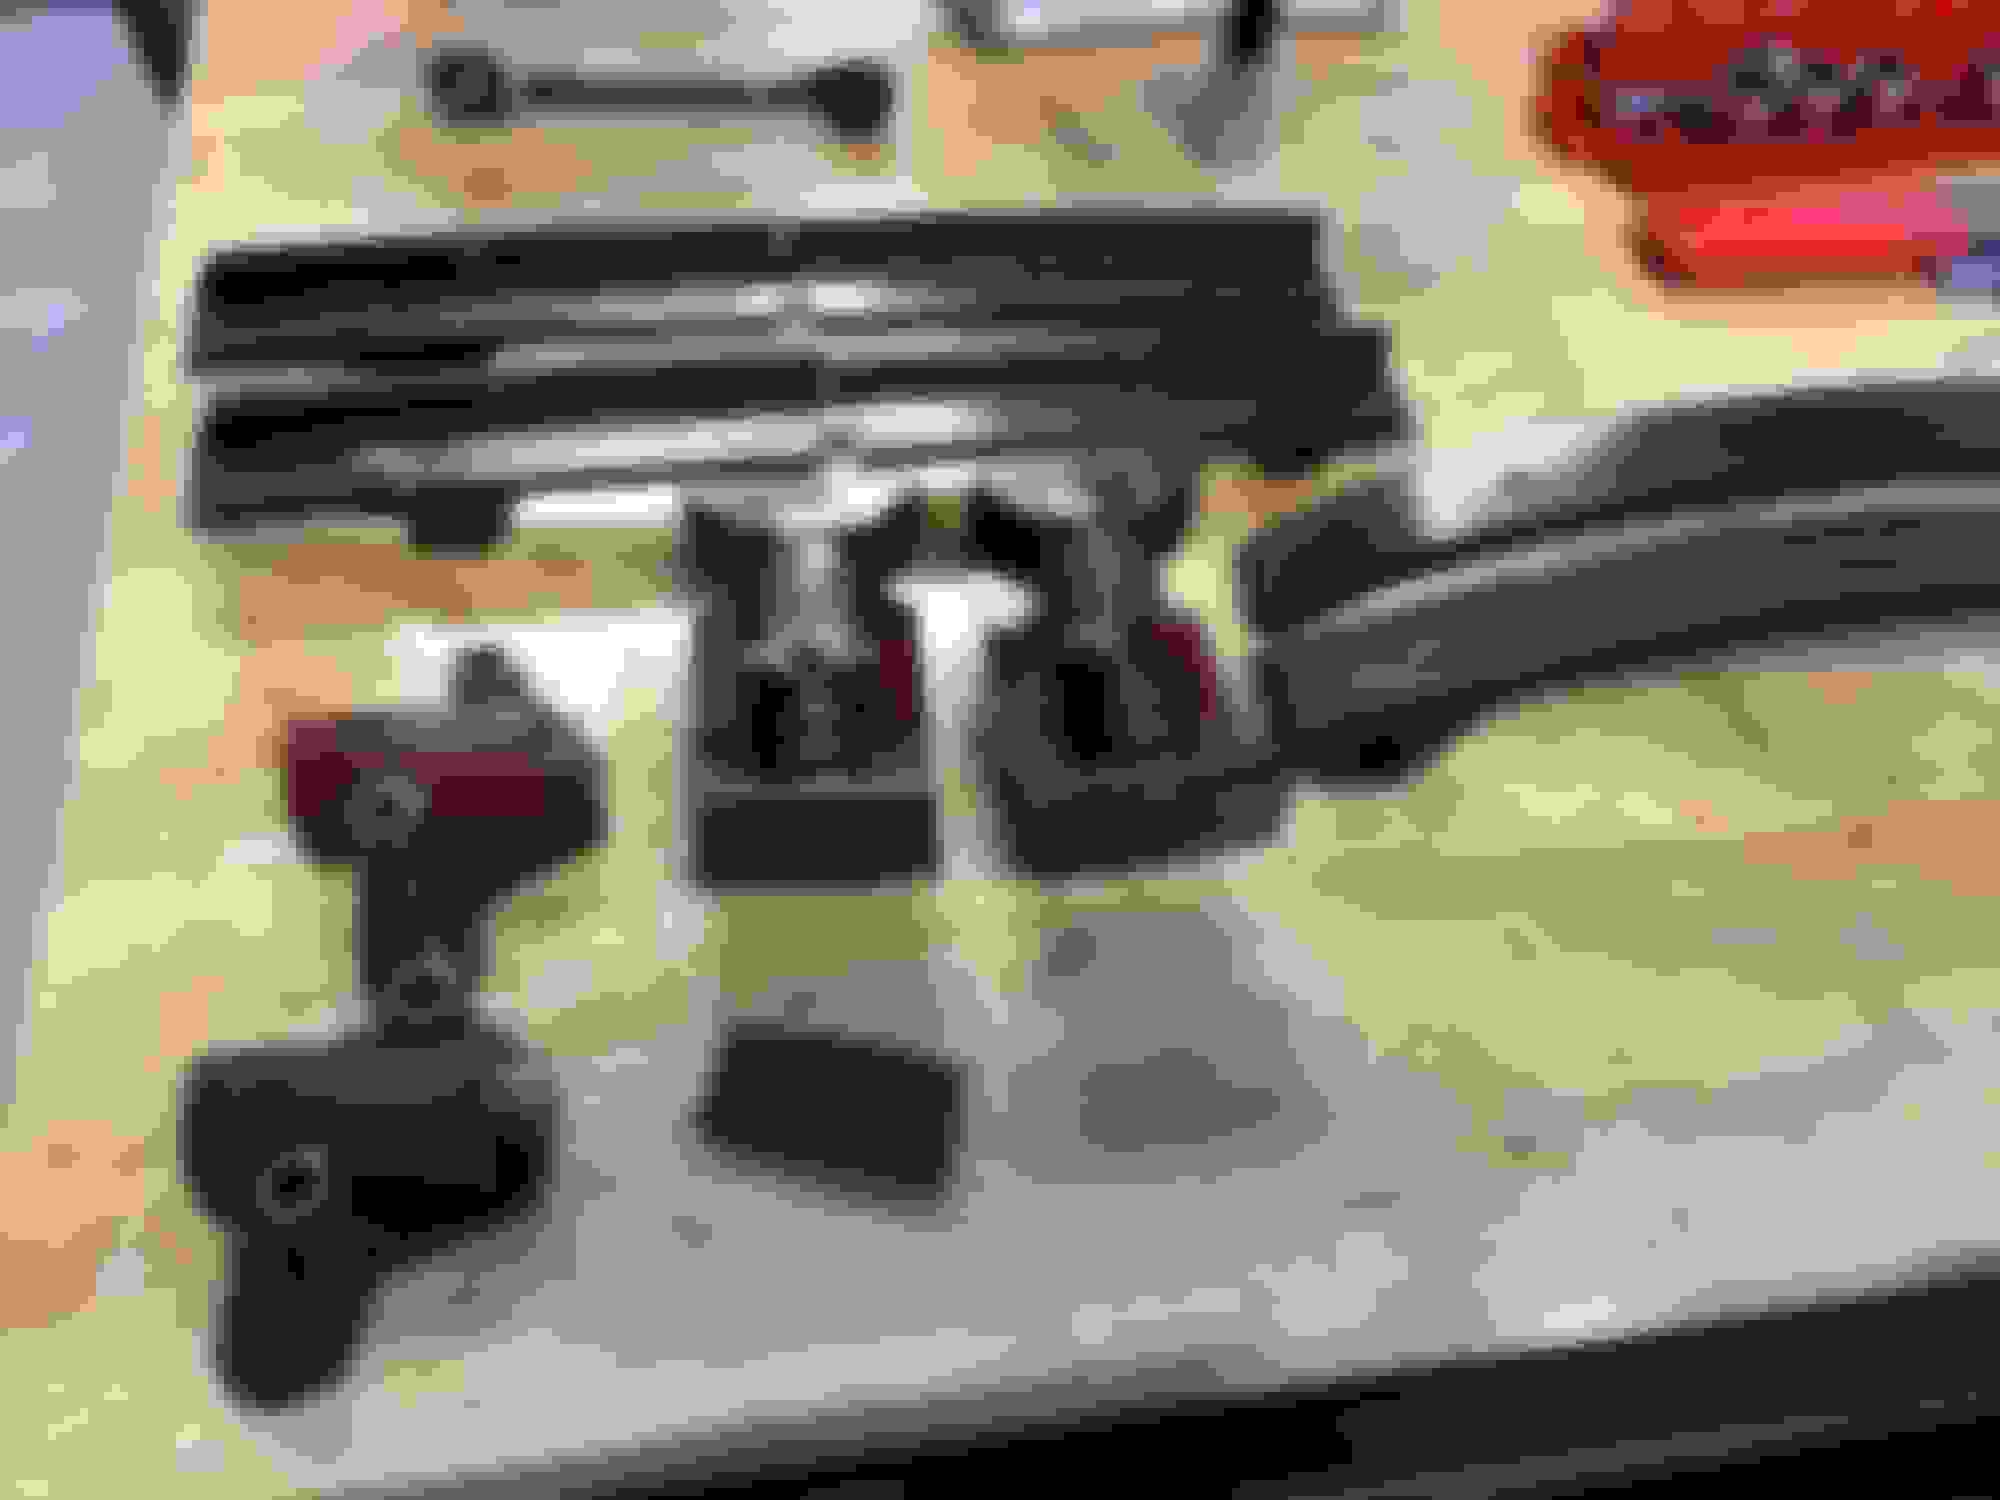
Wife didn't like the drive belt squeak in the first few minutes of the day (on my car, her car is fine). So, replaced drive belt idler pulley, tensioner/pulley, belt. Old idler pulley was not particularly free moving, new one is free moving. Easy to get to, quick. Reflexively borrowed a serpentine belt tool from O'Reilly's, don't really need it if you have a long ratchet and 12 point sockets.

Gratuitous picture of old idler pulley below.


Old idler pulley, bearing probably fixable but why bother?
 
  #557  
Old 02-29-2020, 11:58 AM
Jnelso's Avatar
Member
Join Date: May 2019
Location: Sunapee, NH
Posts: 41
Received 21 Likes on 11 Posts
Default Timing chain guides and tensioners

Just completed replacement of timing chain guides and tensioners. Was a little apprehensive to start it up after engine all buttoned up, but engine started right up and purred like a kitten. Also resealed oil sump, replaced spark plugs and serpentine belt. Replace front sway bar links and bushings (access to sway bar bush on D/S easier with cooling fans and shroud removed). Glad the timing chain and guide replacement is done, now just waiting for nice weather to take it for a drive.


Last edited by Jnelso; 02-29-2020 at 04:05 PM.
The following 6 users liked this post by Jnelso:
crbass (03-01-2020), DavidYau (02-29-2020), EnigmaX100R (03-01-2020), MichaelDale Rogers (03-14-2020), michaelh (03-01-2020), sklimii (02-29-2020) and 1 others liked this post. (Show less...)
  #558  
Old 02-29-2020, 09:38 PM
DavidYau's Avatar
Veteran Member
Join Date: Jan 2019
Location: Bahrain
Posts: 1,906
Received 1,418 Likes on 755 Posts
Default Found a rattle in the engine bay

In my never ending quest to eliminate squeaks and rattles, found one in the engine bay. It was the heat shields under the coolant expansion tank.


Last edited by DavidYau; 02-29-2020 at 11:58 PM. Reason: Adding picture
The following 2 users liked this post by DavidYau:
crbass (03-01-2020), Timeisrelative (03-01-2020)
  #559  
Old 03-01-2020, 04:49 PM
crbass's Avatar
Veteran Member
Join Date: May 2019
Location: Durham, NC
Posts: 1,090
Received 925 Likes on 456 Posts
Default All dressed up with many places to go...

Finished cleaning/polishing/shining them all today in between long-winded expositions on automobile safety and steering wheels. Big merc is jealous. Should have moved him out of the picture.

 
The following 3 users liked this post by crbass:
DavidYau (03-01-2020), GGG (03-01-2020), sklimii (03-02-2020)
  #560  
Old 03-01-2020, 05:31 PM
GGG's Avatar
GGG
GGG is offline
Join Date: Dec 2011
Location: Durham, UK
Posts: 120,461
Received 16,852 Likes on 12,186 Posts
Default

Originally Posted by crbass
Finished cleaning/polishing/shining them all today .......
I was feeling good about doing two cars. Seeing this just makes my day look positively lazy!

Graham
 
The following 3 users liked this post by GGG:
crbass (03-01-2020), DavidYau (03-01-2020), Timeisrelative (03-01-2020)


Quick Reply: The "What did you work on today" thread.


All times are GMT -5. The time now is 06:22 PM.