When you click on links to various merchants on this site and make a purchase, this can result in this site earning a commission. Affiliate programs and affiliations include, but are not limited to, the eBay Partner Network.
Since purchase I have been 'making do' with the supplied temporary plywood spanner for undoing the Boss Nut on my BBS Paris wheels.
Cut out of a single piece of 5mm ply it was never built to last but did suffice short term (about 4yrs now).
As expected it finally rounded off and just spun on the stubborn ones, luckily one was still loose enough to remove and take a pattern from.
I first tried making one from UPVC, copying a Youtube video which showed how to make flat sheets of said plastic from UPVC Pipe,
As I already had such pipe I modelled the plastic around the Boss Nut and to a degree succeeded in producing a UPVC Box Spanner of suspect strength, but it does indeed undo/do up the nut.
To improve on this route, next time I'd look around for a UPVC Pipe of a near size to the Boss Nut (mine's approx 90mm) using my Heat Gun to shape it. First attempt.
Works to a degree but could be improved on.
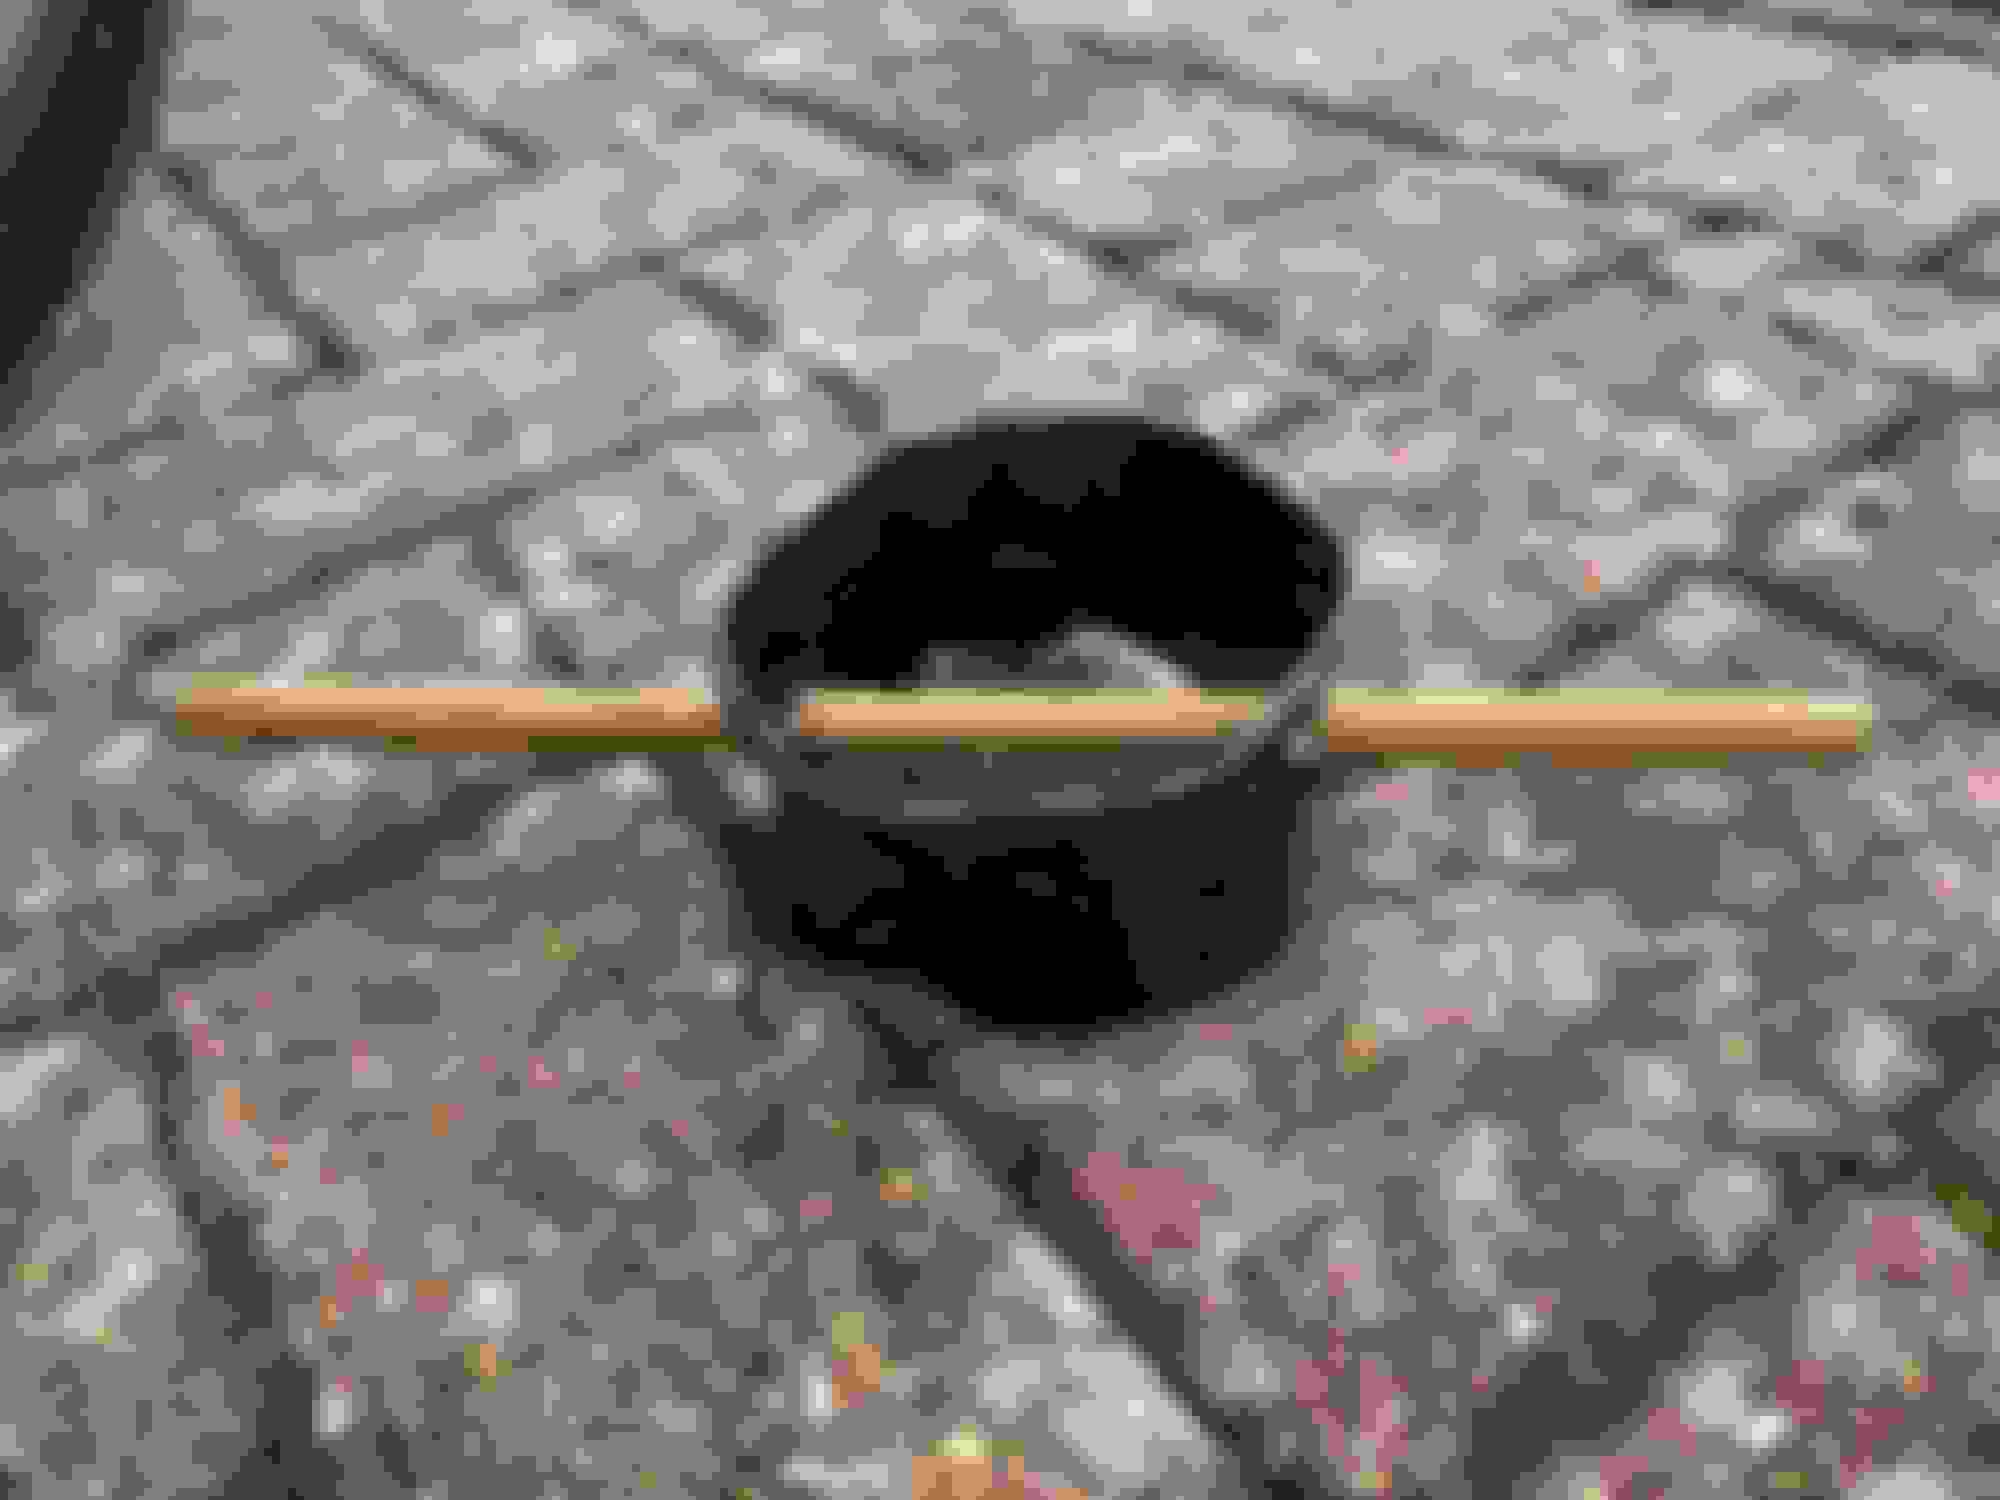
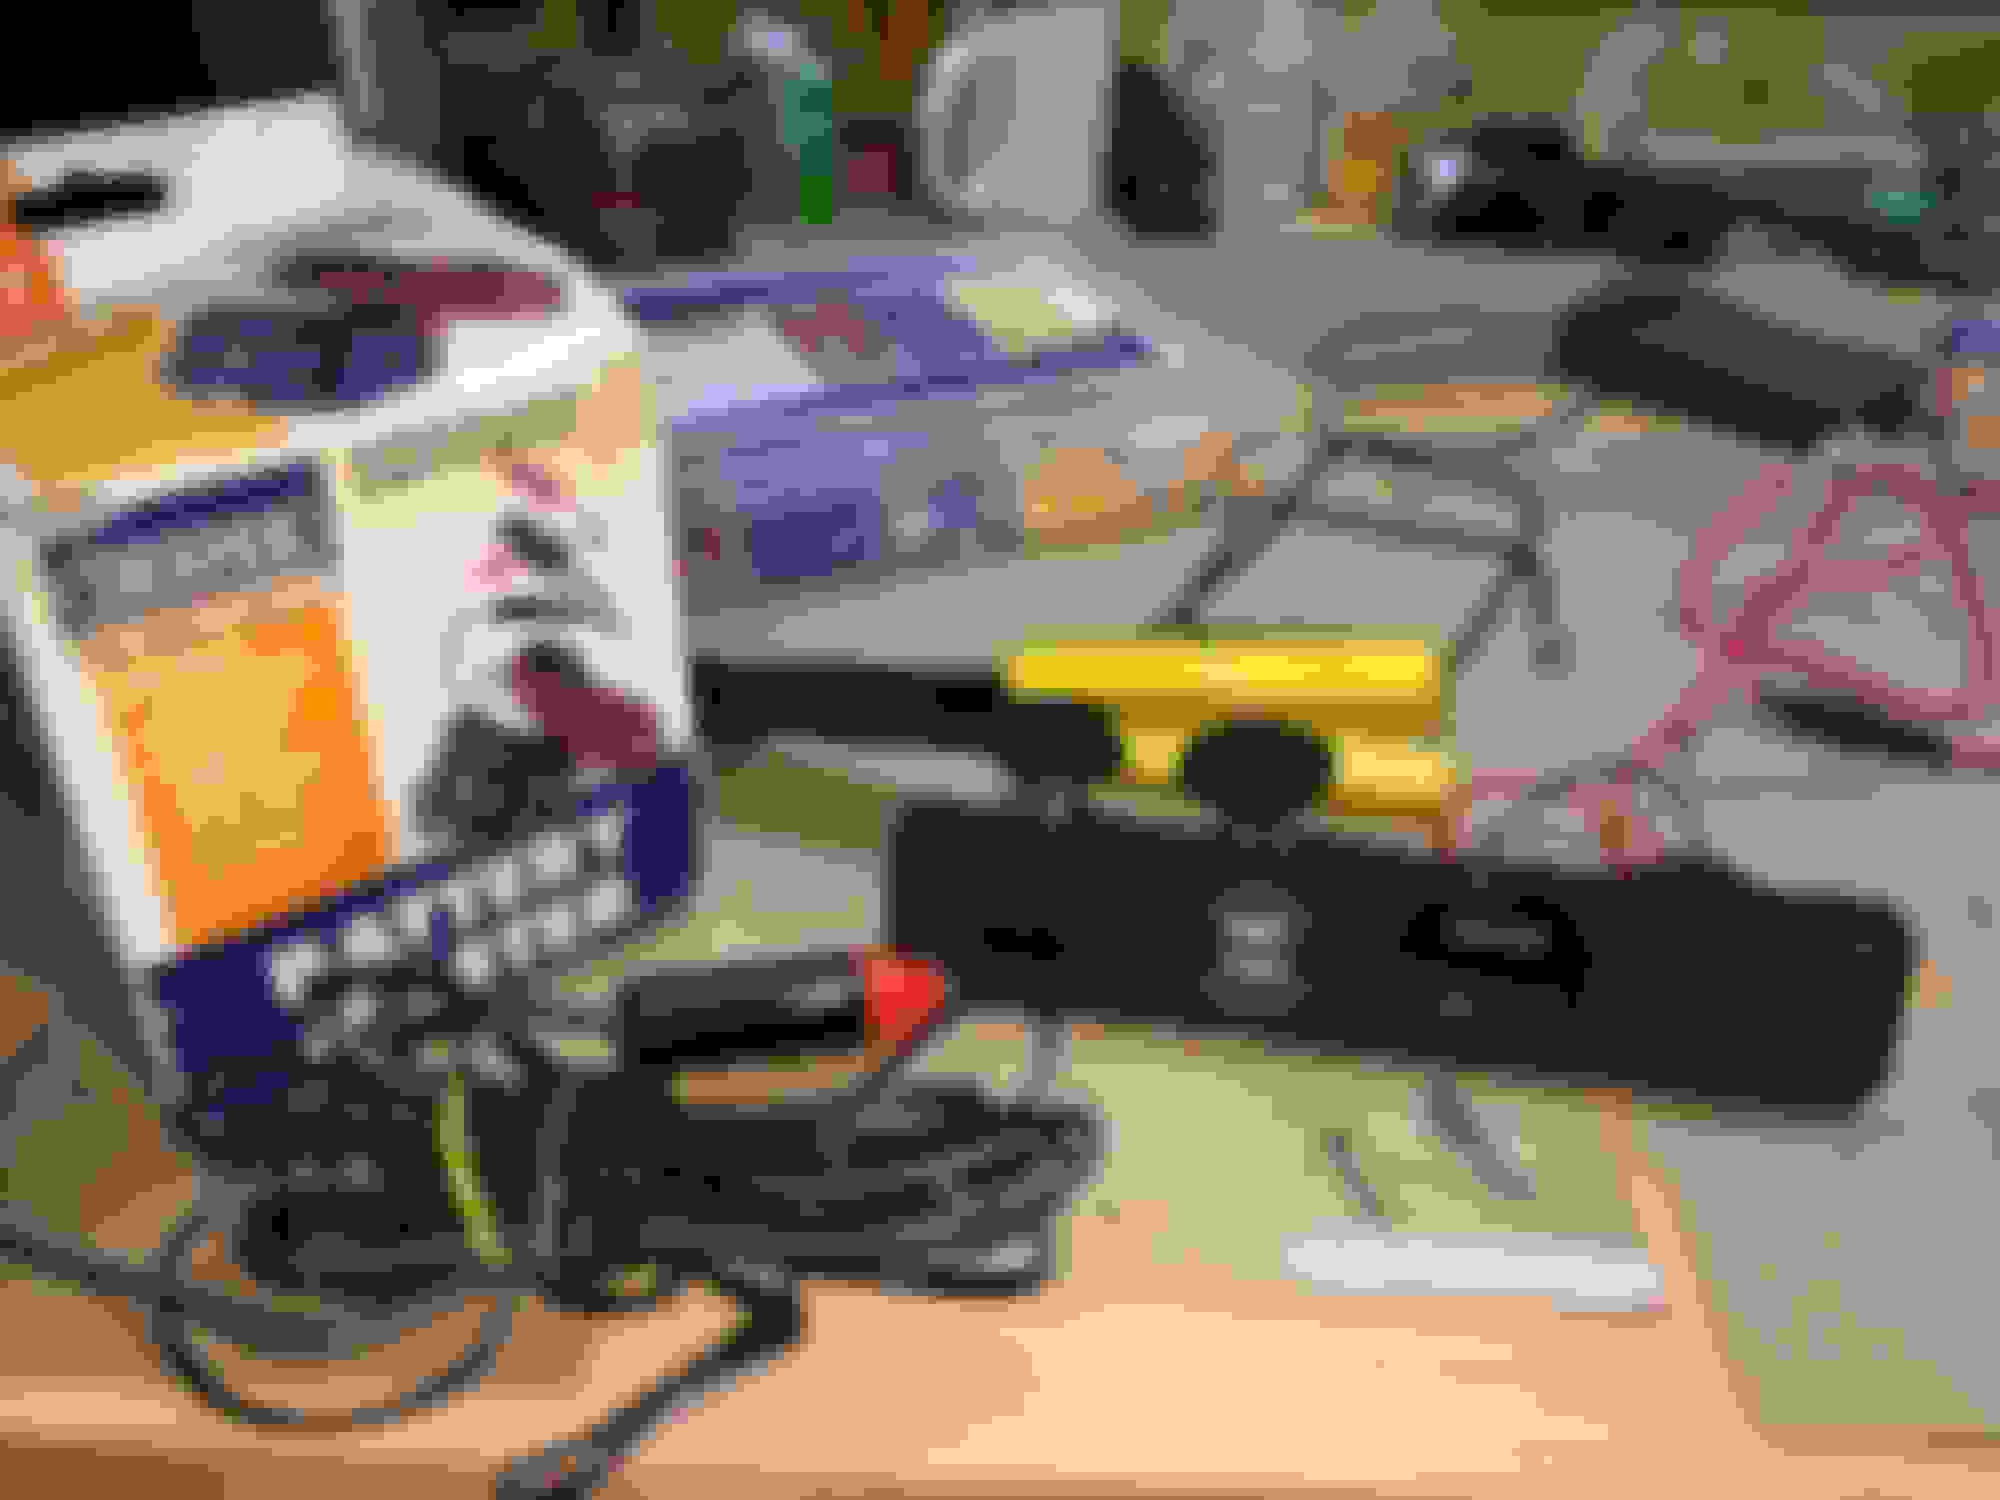
After acquiring a scroll saw I decided to have a go at something a bit Beefier so I made another Box Spanner out of Plywood but this time with depth.
Prototype 2, made from Plywood stacked/glued to give depth to the spanner. Decided not to paint the inner part to avoid paint transfer to the Boss Nut.
Feels strong enough for the plastic threads used on the Boss Nut, bit too bulky but does fit in the recently purchased Boot/Trunk Bag along with all the other Bit's & Bob's.
Last edited by Sapphire Blue; 10-12-2020 at 03:37 AM.
Reason: Typo
Trying to finish a job I started Sunday afternoon. Swapping out the coolant crossover pipe, coolant tower, thermostat and housing with temp sending unit, idler pulley, tensioner and tensioner pulley, water pump, upper and lower radiator hoses, fresh coolant and new serpentine belt. But since I'm short of torque specs, looks like it might drag out another day!
Finally finished reassembly of the above job on the cooling system once I decided on 10Nm for torque specs. And boy, that lower radiator hose at the radiator connection is a bear to get to. Think that might have been the worst part of the whole job. But she's all back together with lots of new goodies. I still have to refill with new coolant and do leak checks. That will be tomorrow evening.
Wish I had thought to use the upper radiator hose to fill with before I clamped it off. I took about two gallons or more out of if with my wet dry vac and a couple of adapters and it will probably take a while to fill it back up through the tank.
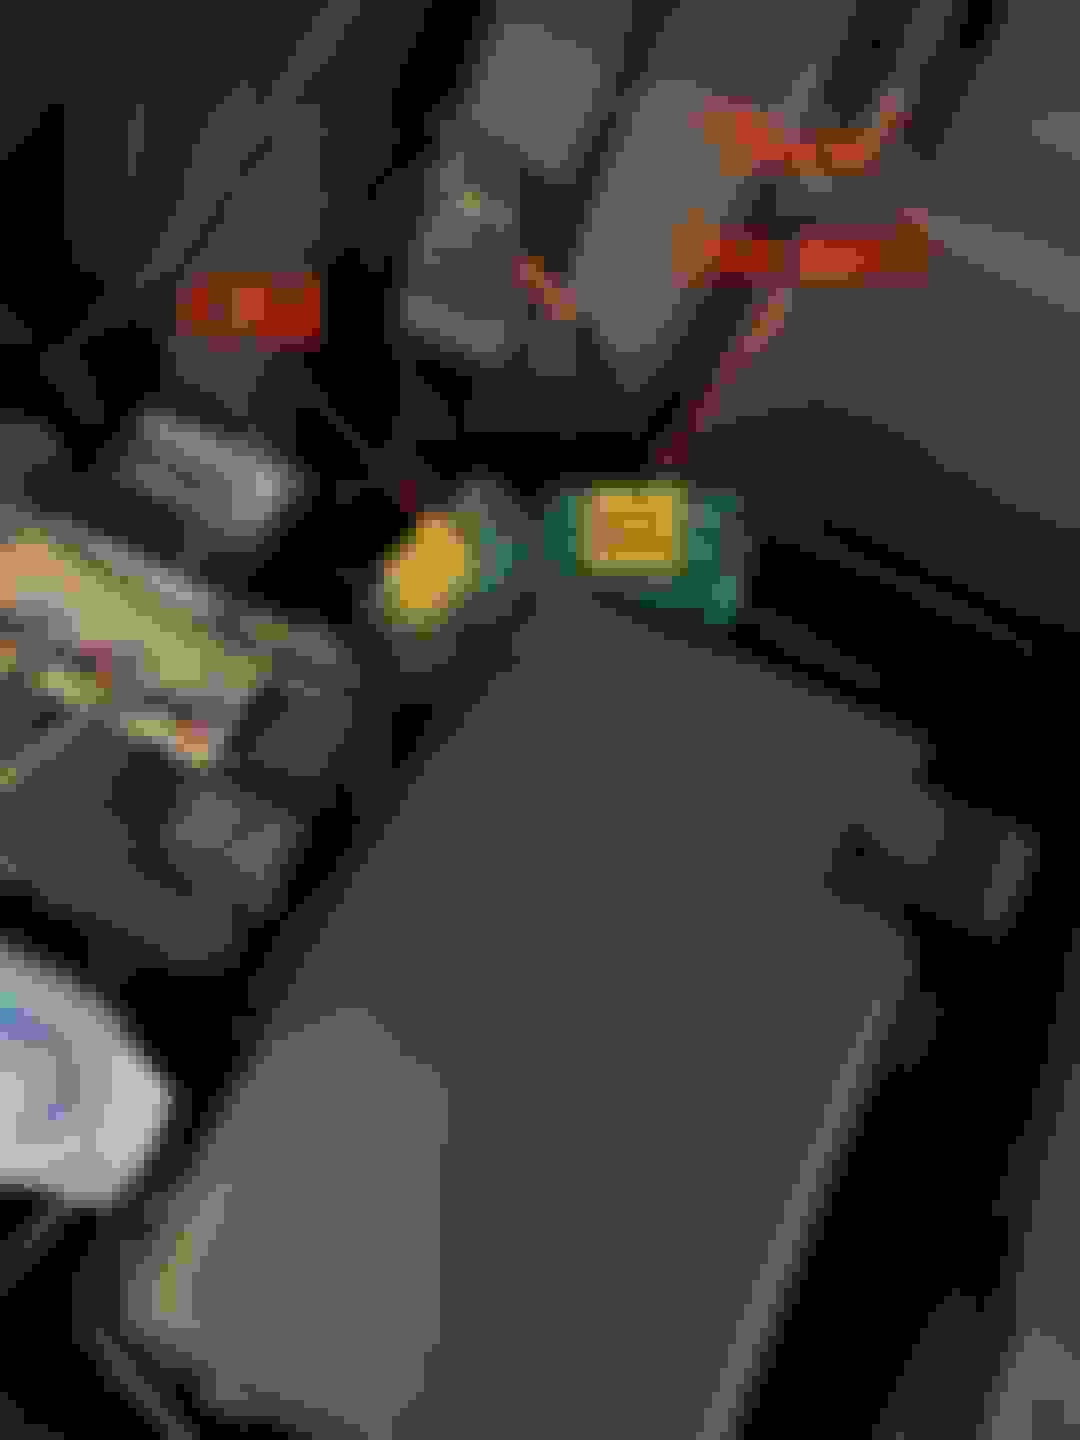
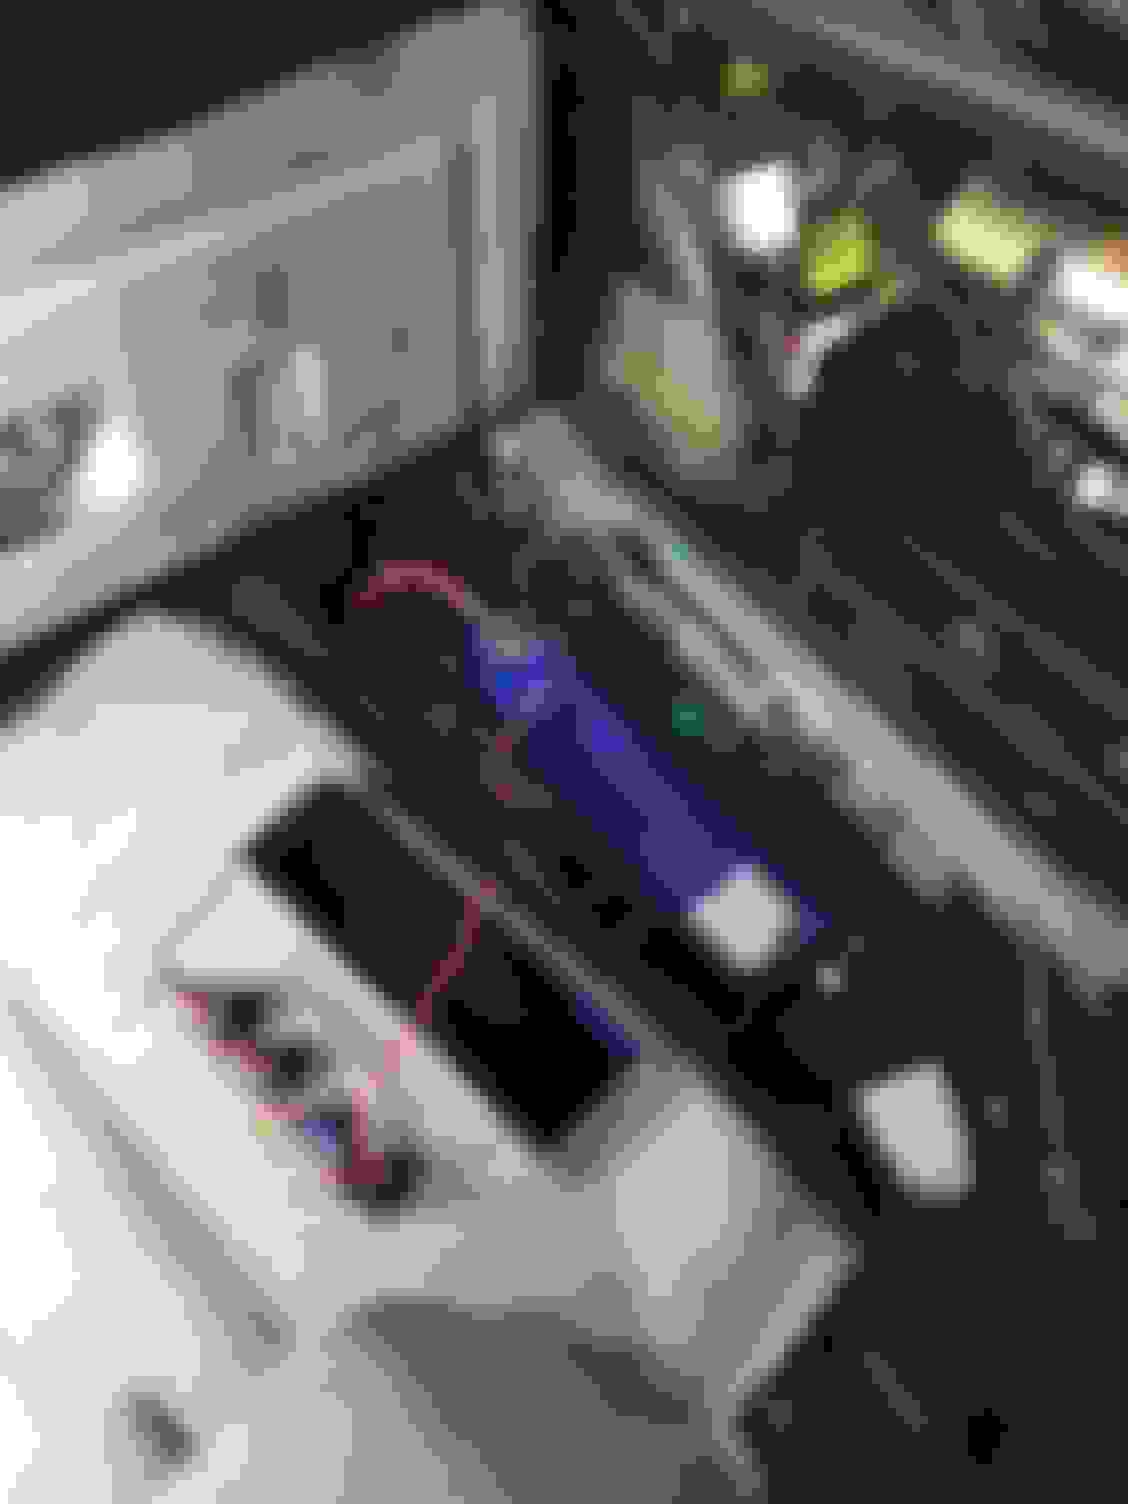
In an effort to replace brittle plastic with potentially less brittle plastic, removed the 'green' connector under the driver engine fuse box and replaced it with another 'green' connector. Since it appears that this connector is no longer manufactured, I had to replace it with one scavenged from a left side wiring harness I recently relieved from another XK8.
Advantage to the 'new' connector: tab was still intact.
Photo taken midway into transplant. Surprisingly, nothing further broke on either connector during the pin popping.
Well done. Aging plastic on these cars is a battle we all eventually have to fight. I replaced the VVT solenoid electrical connector I broke when removing the air filter box. I ordered new connectors for both sides figuring that I would one day break the other one as well....
Had a lot of electrical glitches recently, and saw something at the marine jetty shop, similar to what fellow forum member installed. So I followed what rothwell did.
Should be very Easy to check battery voltage now. My plan is to use a battery micro charger through the panel�s cigarette lighter socket.
It was relatively simple to wire up with a 10A inline fuse, using stuff on my garage shelves. Using the spare space in the trunk�s RHS rack as no Sat-Nav or music amp in my car
In trunk and looks innocuous.
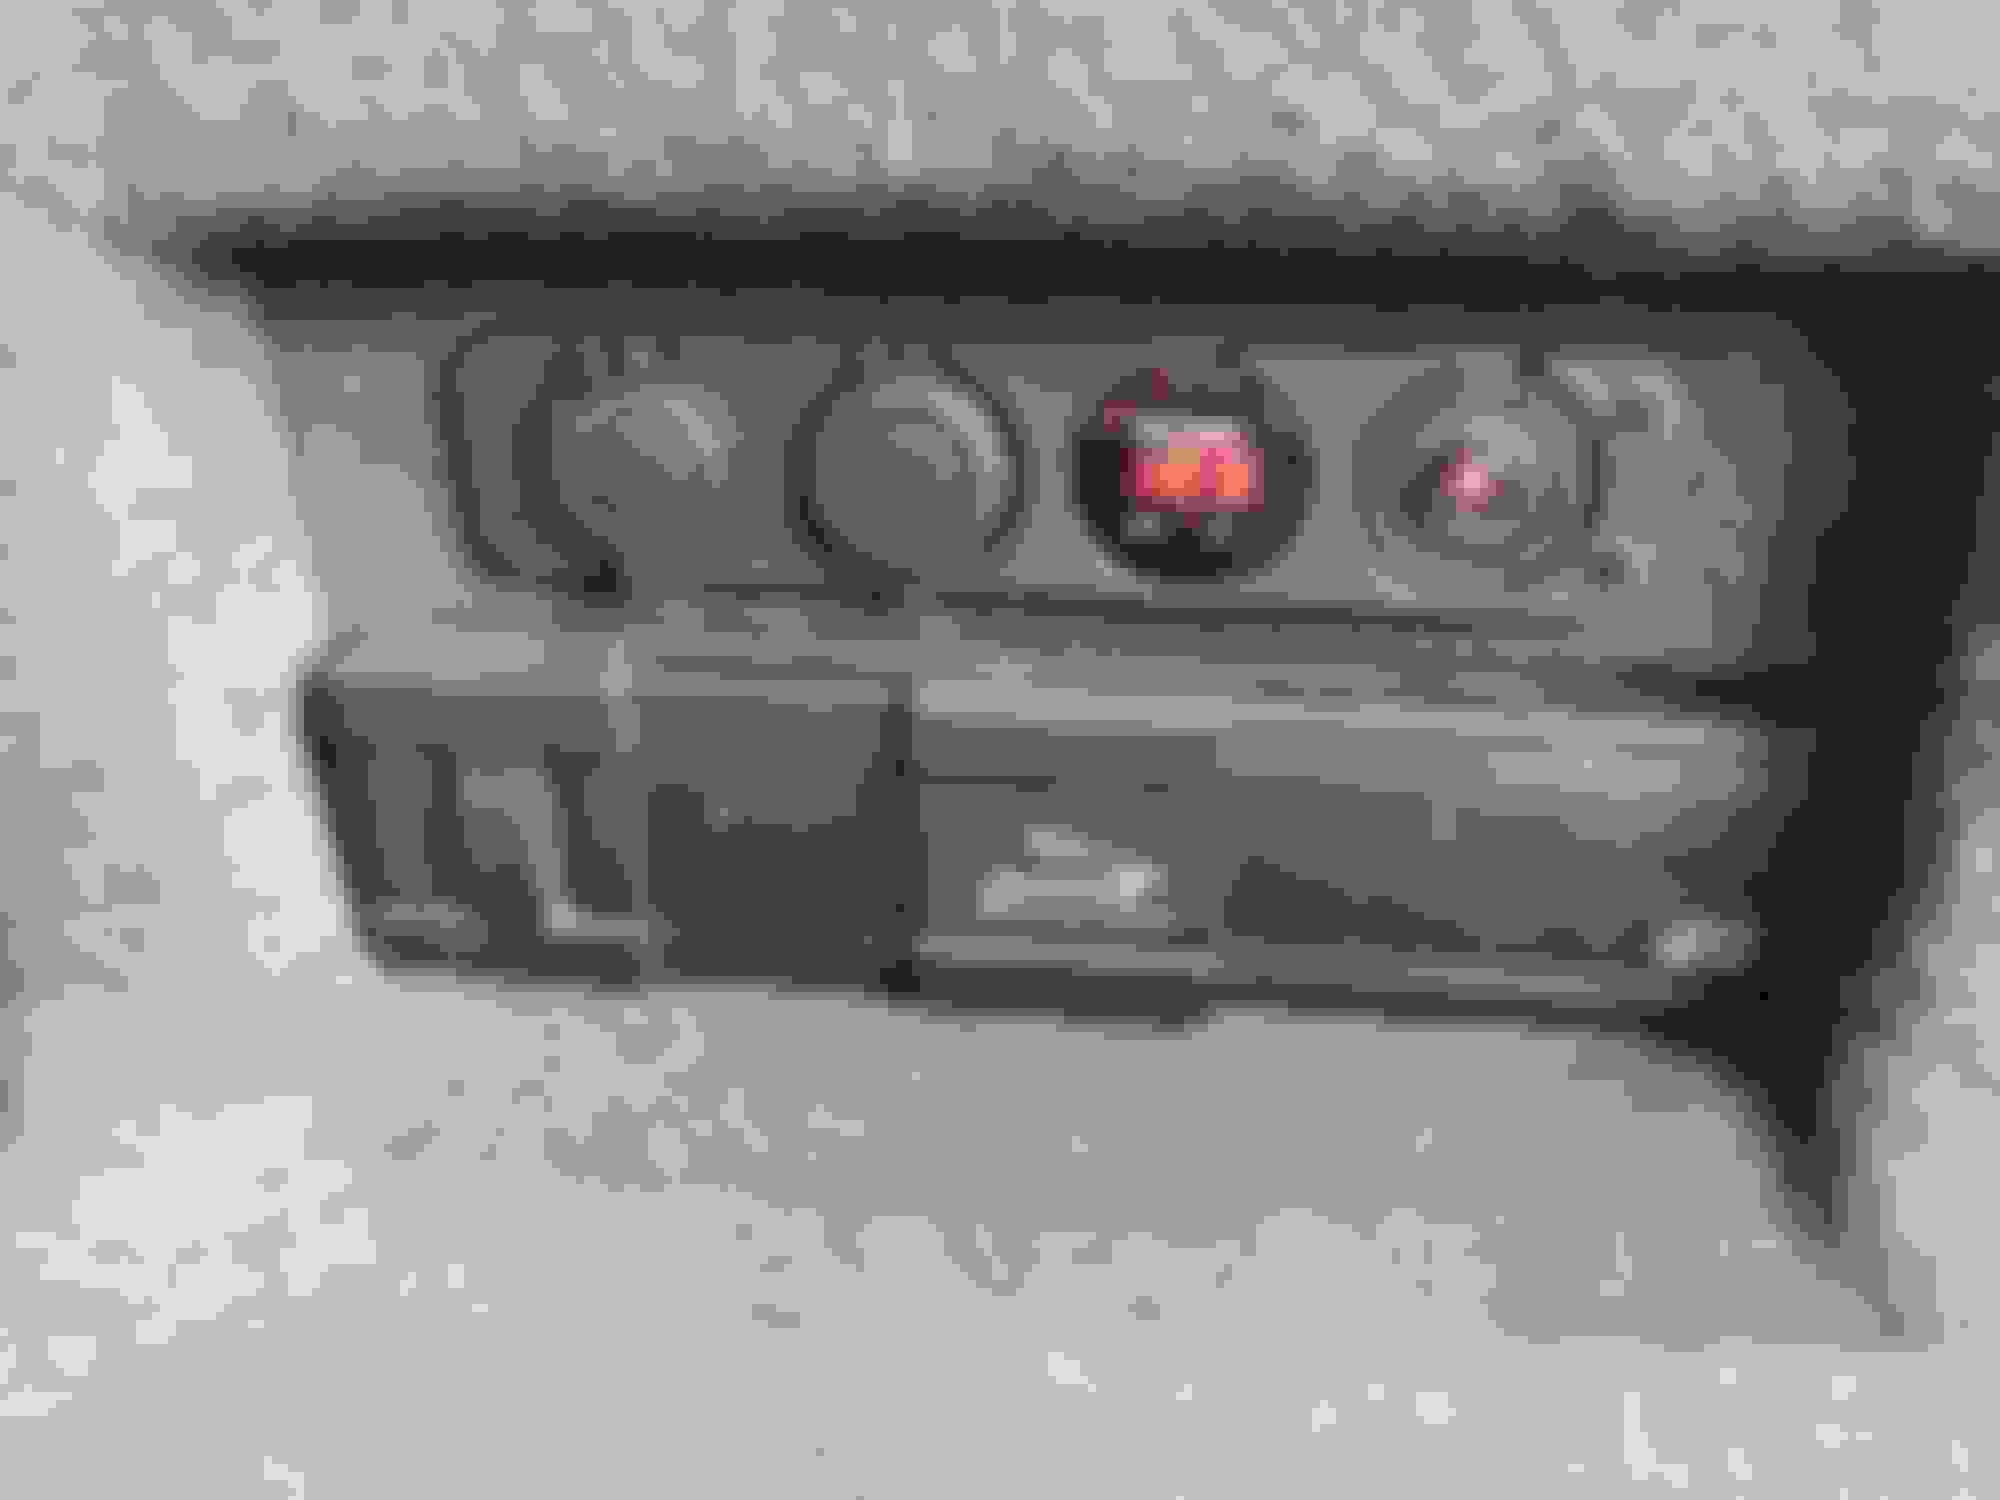
I installed this in the trunk panel today. The panel isn't installed in the car yet but I test fit it and it looks and functions well.
I like the look of the panel and that it's recessed for protection. It looks like it belongs there.
My panel has red lighting which matches my car. Cool.
I cut a piece of thin fiberboard as a backing to give the panel some support.
Now it's going to be easy to charge the battery, check the battery voltage, and check the alternator output.
I finished this morning. I put a 12v plug on the end of a trickle charger, and voila, no more dead batteries for me.
I started by putting blue painter's tape on the area where I wanted the panel, then marked it up and carefully cut the hole. I put some fiberboard behind the panel to give it some rigidity. Final product. I'm very happy with it.
It's a great idea. Thanks for turning us onto that. It's the biggest (only?) modification to my car. I like to keep it stock but this just made too much sense.
Cheap to purchase, easy to install, and useful as hell. I now know that my alternator is putting out 14.1 volts and the battery is 12.8 and the trickle charger puts out 13.0 volts. That is a great baseline to see if anything is going south.
Today I decided that the car had gotten too dusty while I was doing this and replacing all the heater hoses so I washed it. After I was done I decided that it looked pretty damn good for a 19 year old car so I took some pictures.
Performed several surgeries to get the patient breathing properly again.
1. Replaced both VVT connectors (not strictly a breathing problem, but the cable ties were distasteful and the connectors were only held together by geometry).
Crispy connector insides disintegrated
2. Replaced partial load breathers and air breather hose from left cam cover.
3. Replaced left cam cover since I had yanked the air breather hose snoot out of the cover but apparently need new torque wrench. (Note to self: make sure to check if the loanee knows how to use it (i.e, not as some kind of fancy universal crowbar/hammer tool) before loaning it out...)
Unfortunate, but no harm done in the removal (or the second removal) before I started questioning everything, eventually blaming the first torque wrench. The second one made short work of it...
Patient now fuel trims properly, so I must have done something good.
I finished removing and resealing the cam covers with some red RTV. I'm going to start it up tomorrow (gotta let the RTV cure) and hopefully I won't have any oil leaks from the cam covers. I did see some evidence of leaks when I removed them so hopefully that is over.
I just received the upper shock mounts so guess what the next project is.
I was hoping that the smoke wafting from the exhaust manifold area was from oil leaking from the cam covers that I removed a year and a half ago when I did the timing chains. I haven't driven the car much since.
I removed the cam covers, cleaned the seal and mating surfaces with alcohol, put red RTV on the mating surface of the head, and RTV on the front, back, and bottom of the cam cover seal (the top looked dry when I removed it so I figure that the RTV on the head is enough in that area).
I did see some wetness on the bottom of the cam cover past the seal. I reinstalled the cam covers two days ago and let the RTV cure. I didn't start the engine until today and I let it idle. The smoke went away in about a half hour then I took it for a 50 mile drive on the highway.
I'm calling this issue resolved.
Replaced the crispy connector on the coolant temperature sensor on one of mine.
My sin? I touched it a while back, and the tab fell off. Held on by cable tie since then. No difficulty, of course, getting the pins out since the inside was as crispy as the tab.
Econoseal J-2 as specified in the electrical guide easily ordered and extremely widely available, fresh and bendy...
Mid-transplant. New connector half on (or is that half empty?)
Getting my '06 ready for paint, I decided to 'Delete' my rear seat. Useful only for packages, and always susceptible to potential tears, I felt the seat could be replaced with a package deck per other members of the forum designs. I drew up a design based on what I saw others had done, and took the car to a local full service auto restoration center. Working with my design and his experience, "J.P." and his crew came up with what I believe is a great solution to the 'useless' XK rear seat. They reworked the design several times until satisfied it met their standards. Base is high Next is a rework of a 'Fox Body' Mustang rear seat. They are considering making a kit available for anyone interested is redoing their own car. If I did it right, pix are enclosed.
Nice work Sam. The storage wells are a great idea.
The embossed logo is a nice touch.
What is the material used for the shell pieces?
I think I would prefer to not cover the base with carpet, rather use the same as the back. Unless I could get matching carpets for the footwells then that would be awesome.
Would also prefer to not have the speakers in the back panel. Maybe that could be a kit option?
Am curious if you notice any increase in the road sound from the rear now that there is less foam to deaden things.
The carpet over the deck is as close to the original as we could find. Light/angle makes it look different. I have only driven it once since I picked it up(read 'Paid for it'). Dropped the top, so sound was not an issue. The back panel is same as the deck. 1" HD fiberboard, with a layer of foam for sound deadening, so I should not notice a difference. I will be trying it out later in the week. The speakers were installed, at my suggestion, as I had bought them for the side panels, and when I opened the panels, it appeared prev. owner had already replaced originals. Had extra speakers, so......
Embossed logo was at the suggestion of the upholsterer. I thought embroidery, but he came up with this, and it definitely looks more' factory'. I designed the steering wheel cover, and it is embroidered.
Of course, now I have a very nice rear seat/back. I will keep for resale unless someone close enough for pickup wants a great deal on rear seat (Attic is getting full).
 10-09-2020, 10:56 PM