When you click on links to various merchants on this site and make a purchase, this can result in this site earning a commission. Affiliate programs and affiliations include, but are not limited to, the eBay Partner Network.
Any way to show the angle that needs to be cut. Thanks for the idea for sure, now we know where to start.
It's probably somewhat over-engineered, but I had the time due to the long-awaited bushing tools, plus I originally thought I could weld an old socket inside to stop the tendency for the 'adaptor' to slide off. Then I decided I couldn't trust my welding skills nearly enough given the amount of pressure needed.
This is the profile for one 'adaptor'. Cut, grind and test fit, then rinse and repeat as necessary. The other is a mirror image:
The bolt angle is needed to set the top of the arm horizontal. Opposite slope for the other arm
Amazing how quick you can accomplish a job when there is a U tube showing exactly what what needs to be done.
When I parked the car a few weeks ago, noticed the radio antenna didn't finish into the fender. Looked up the video on how to get all the sections straight and lube it up, like a magic, disappeared into the fender.
Finally made a double washer for the accelerator adjustment and was surprised how little it took to get it on the money.
While I was right there, checked the oil and water and the tank was down. Remembered I had a leak on the thermostat housing a while back and after putting the pressure test on to make sure, used a crow foot wrench I made and stopped it. Guess what, forgot to add the coolant it lost. Needed about a half a cup.
Now if it wasn't going to rain for the next 5 days and 48 degrees, I would have taken it out.
Time will come, with any luck at all.
Not available to the unwashed masses, as I found out trying to order by phone: I managed to obtain via the local dealership, but got rinsed on the mark-up so I'm this week's special tool
...so I was able to push the bushings for the lower control arms ready for the weekend build.
The pic. shows the tools referenced in the attached TSB, which describes the correct procedures for the R&R of these bushings. I've also attached the full procedure from JTIS as it contains the torque figures.
Note the differences between the TSB and JTIS procedures. The latter shows a different special tool which is used to push the bushing out through the arm in the same direction it's fitted, shearing off the flange in the process. I'm sure that can only be valid for the early nylon-cased versions.
JTIS also describes using a flat steel plate on the new bushing to press in. I don't see how that would work as the inner bearing sits quite proud of the face on the front bushing (CA):
I'm sure these tools could be easily replicated by anyone with a lathe. I can likely get them scanned if that would be of use to anyone.
Separately, the rear arm bolt can be extracted from the crossmember without moving the steering rack by detaching the rack bellows at the inner end, although note the retaining clamp (JLM20684) is single-use.
The front suspension went back together uneventfully, so the car is finally back on four wheels after three months.
Three years ago, the A/C condenser had a leak, so I replaced it. 18 months later, the compressor leaked from the front seal so I replaced it. Today while I was finishing off underneath, I found I had 'obtained' these:
1 - a leak at the joint to the condenser. I can't find a part # anywhere for the associated 'O' ring. Every other, but not this one:
2 - a leak at the suction joint on the compressor. This one is quite the biggest PITA to get to. New compressor, new OEM 'O' ring:
Clearly, I'm not cut out to be a refrigeration engineer.
I'm not as p*ssed about having to re-do so much as the �200 it will cost to have the system evac and recharge done yet again
Washed all of my babies today, see below, except the baby dog who spent the entire time playing in dirt. After a couple of years washing the Jags, a couple of items of genius have become apparent:
Genius...
1. The wall mounted vacuum. Never before have I had cars that were so consistently clean inside, essentially because I or a minion can vacuum without hassle any time I feel like (at least without hassle from the vacuum).
2. The blower/drier. After the cars were 'ceramic'ed, the water beads up and is very quickly blown off, halving the time needed to dry the car. Much more fun too.
I have also determined 'things that are not genius', principally
Not Genius...
a. Wash with distilled water. This is tossed around on the internet as a great way to avoid water spots. I did this for a few months a couple of years ago. This is idiotic, it does not work, and is a giant pain in the a$$ besides, even with a high capacity sprayer (just wastes distilled water faster...). Use the blower to get the water off of the ceramic finish and you will not have water spots.
Questionable.
i. My daughter gave me extensive side-eye when I put up the calendar below to watch over the Jags. I think it's genius, she thinks it's not genius, wife is agnostic. Daughter said nothing about the Lucky Strike sign.
Two of three pretty babies. Third is behind the photographer and would be visible in a panorama shot if the photographer were more clever with the iphone.
Genius item #1: Wall mounted garage vacuum. Try to rip it from my hands or my wall...
Genius item #2: Purpose built car drier/blower. Oh my god this is great! Dries the car in half the time it takes to use towels (or less).
Not Genius Item #a: Who the hell washes their car with distilled water? And what other idiot takes months to realize this is idiotic?
Item of Questionable Genius. Dale: Yes! Daughter: You Must be Joking, Wife: Crickets. For some reason, probably threats from my daughter, my sons did not get to vote.
Clearly, I'm not cut out to be a refrigeration engineer.
I'm not as p*ssed about having to re-do so much as the �200 it will cost to have the system evac and recharge done yet again
Sympathize, it seems so simple, yet it goes wrong inexplicably often. In the long ago R-12 days, had four successive failures requiring evac and recharge. Cheap then, though.
I also have a sneaking suspicion that the ozone hole thing was just a conspiracy to comprehensively research/investigate/determine how much the consuming public will pay to perform a quick and simple task that requires only minorly specialized equipment. In fact, you could get a suitable pump for less than 200 GBP.
Changed the engine oil pan gasket and oil filter adapter seal. Think the leak was mostly the adapter. Also changed the trans oil pan and metronic connector, think the sleeve was the major leak. The last time I changed the trans filter it didn't come with new bolts so I used hardware store cap screws with star washers which I reused. Turns out the screw bosses in the new pan are not fixed as were the previous ones. leaked like hell. did over with the supplied fasteners. Could have used flat washers on the hex screws. The wire sleeve is a bitch. Finally removed the trans mount for access. The sleeve is indexed, had to use a mirror to get it aligned. Of course it took longer than just yesterday, Especially being 80 yrs old and working on ramps and jack stands and having only rudimentary tools. 05 VDP.
I finally got a wind deflector, and installed. Came from "CAMBRIO" not one I would recommend. No instructions, pictures of how it should look. Just box, and device. Not the best mounting as far as I can tell. It does work. Cuts down on inside wind by about 70%.
Today I did the headrest repair. Instead of using marine adhesive heat shrink wrap, which I had available in the case that was the method chosen by the previous owner, I opted to cut the sheath at the metal from the end, drill out what was left within it, and then crimp the metal end back on. Tested it out and it worked flawlessly. My headrests work and I don't have the potential failure point of the heat shrink wrap.
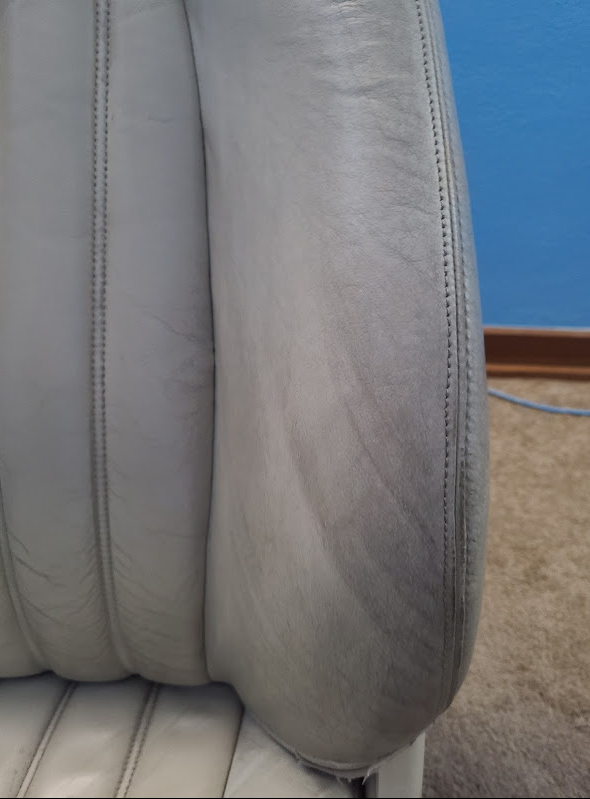
My drivers' seat has been at a local leather reconditioning shop getting a once-over - I've been advised it's ready for collection today. Excited to see how it turns out - it had no serious damage in the leather - but it did have plenty of stress cracks and some typical staining on the bolster/seat edge area.
The next step is to refit the seat covers to the frame/back. As you can see, it's like the front half of the seat has come forward and separated from the rear. Presumably someone (possibly me) has been pulling the seat forward using the wrong part of the seat.
When I took the seat in I asked the guy if he could take care of this but he said it wasn't his specialty (as much as reconditioning the leather and repairing holes).
Any recommendation on what I do to push the front half back on to the back or otherwise refit it?
I swapped out my radiator and serpentine belt! It had developed a crack at the top right post, with a slight leak. I bought my new one last year, but only just got to put it in. Overall not a horrible job really!
Swapped out the driver's side window switch with a new one from Parts Geek. Took about 10 min, not including watching the video..
Tools and parts used:
Thanks to @Reverend Sam for his YouTube video, which made it a breeze.
Ceramic coated my XJ8 on Thursday and while going over the body saw this:
The car was only resprayed completely in March 2019, so a bit disappointed. I went back to the sprayer who wants �550 to cut out rust and re-plate it. Not sure what to do? Thought it would be cheaper to sand it down, treat with rust prevention and fill it. Would welcome forum members comments please.
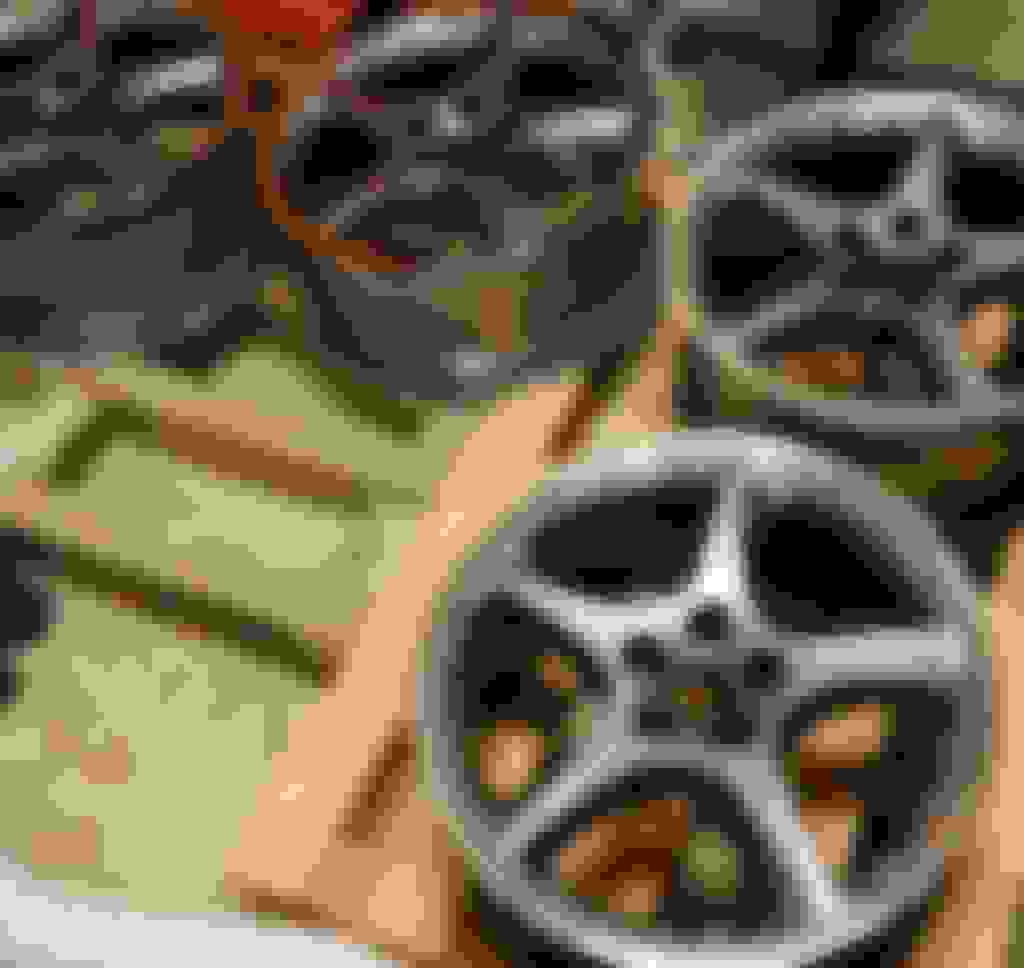
Finally finished my quest of 'bargain Detroit BBS' refurb. Final cost per rim composed by base rim + powder coated center (3rd party made)+ calcium blasted barrel (3rd party made)+ 2K epoxy base & 2K water based paint of barrel (done by myself) + new steel hula hoop from UK = about $550/rim + new tyres next.
Finally finished my quest of 'bargain Detroit BBS' refurb. Final cost per rim composed by base rim + powder coated center (3rd party made)+ calcium blasted barrel (3rd party made)+ 2K epoxy base & 2K water based paint of barrel (done by myself) + new steel hula hoop from UK = about $550/rim + new tyres next.
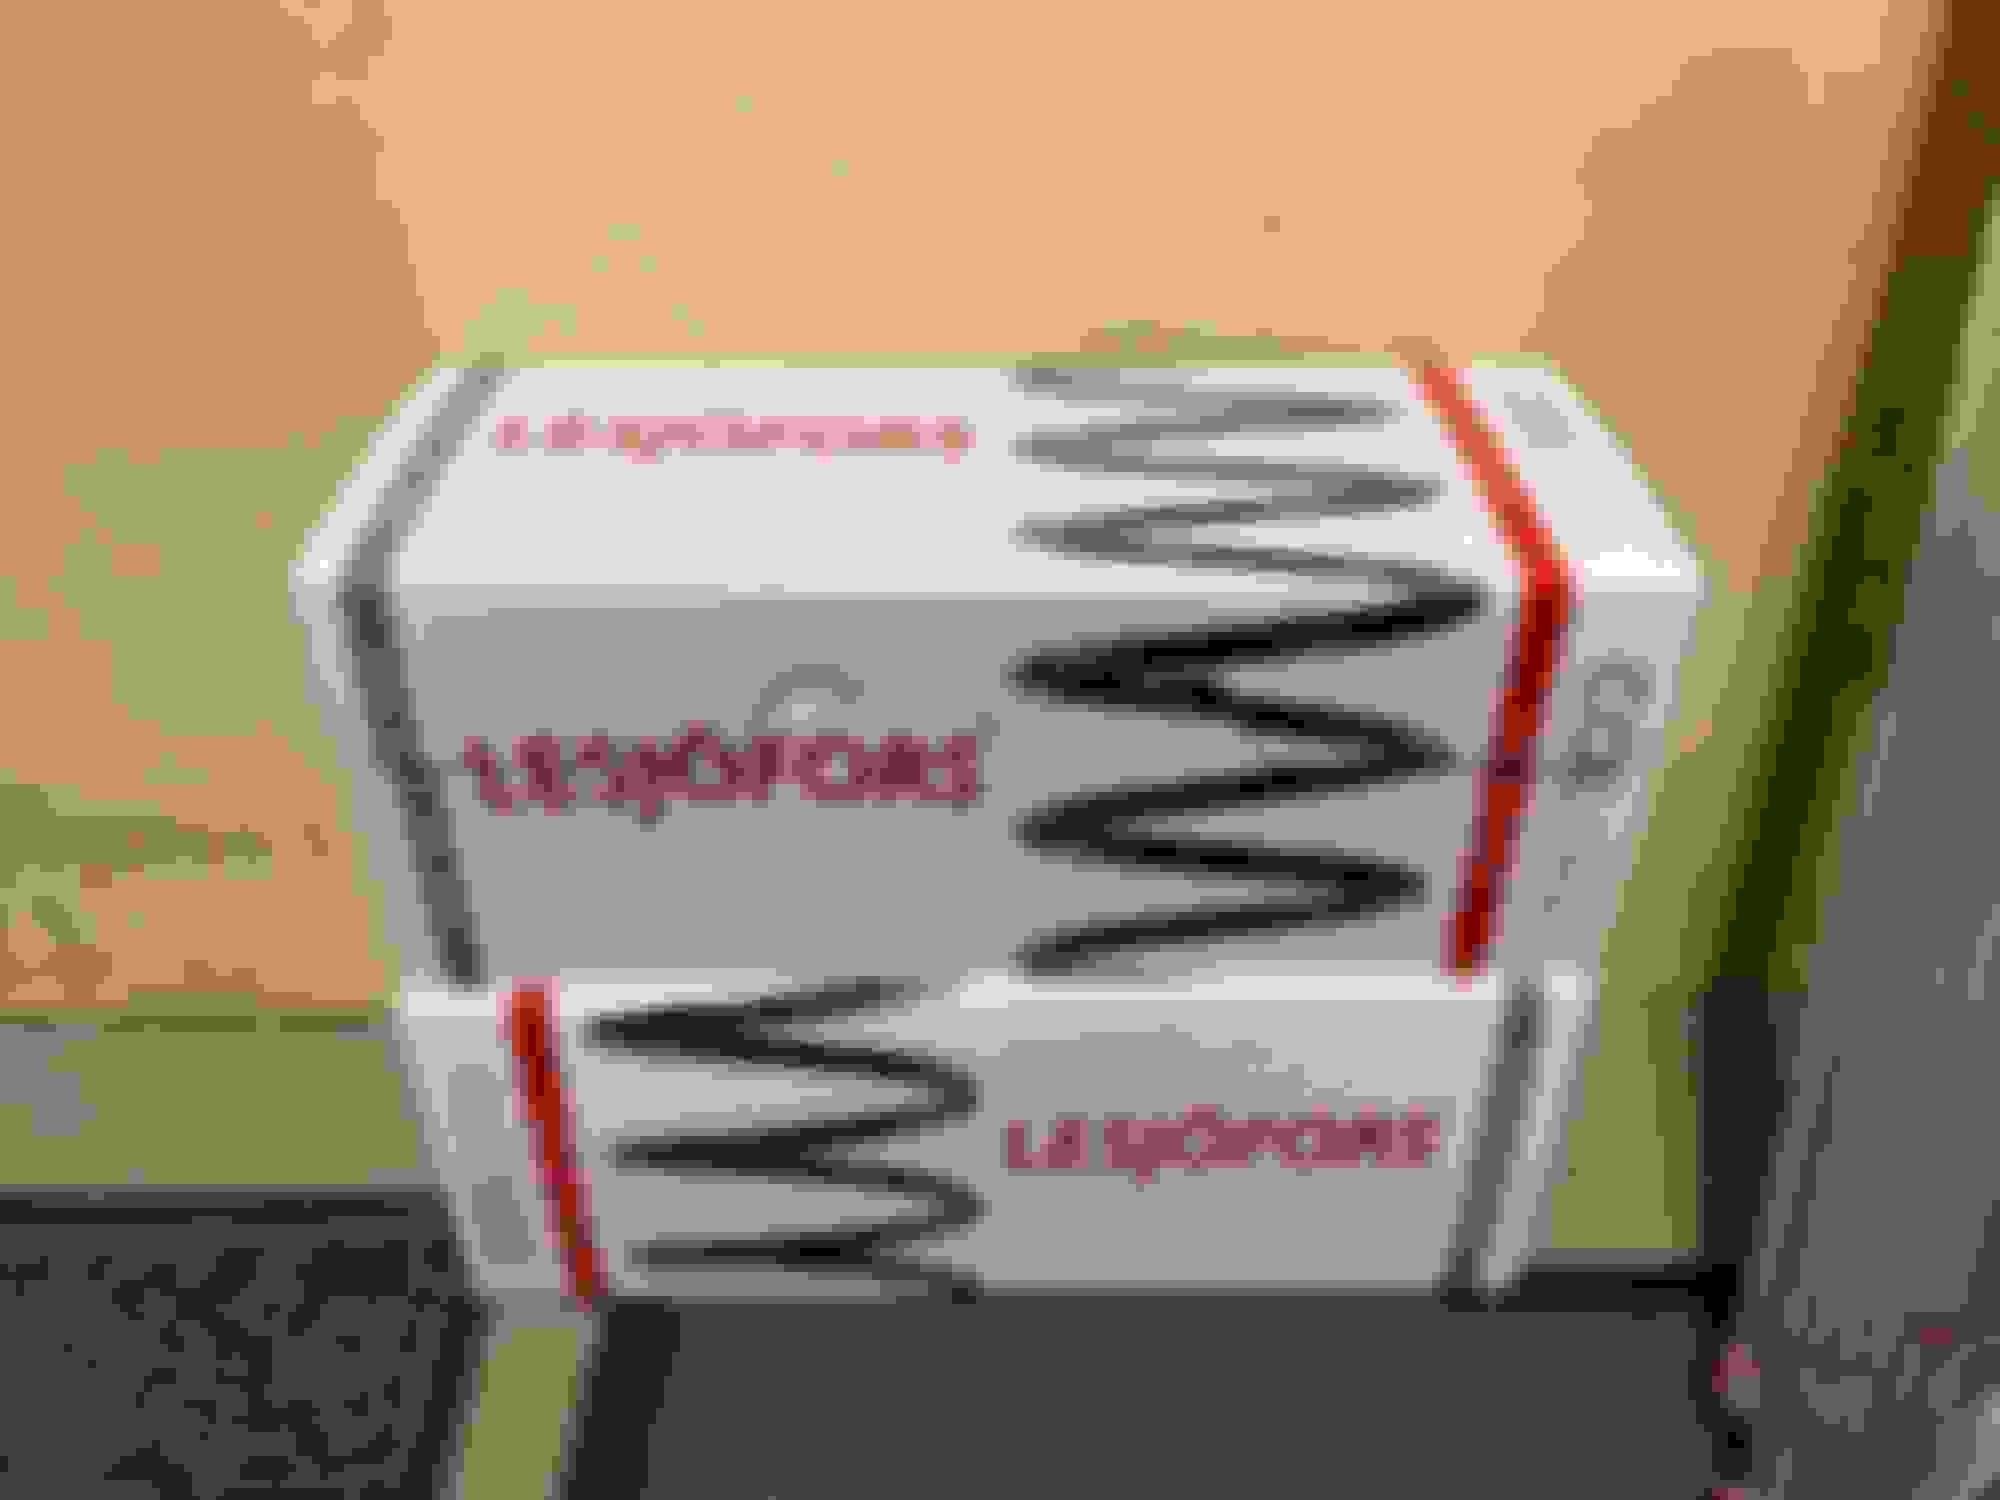
I have done the front suspension but didn't replace the springs or strut (shock absorber). Since I am still droopy in the front I ordered new springs from a seller on Amazon of all places. Arrived pretty quick. So, I'm at work the other day snoopy around the warehouse/storage area and find a crate I hadn't noticed before. I'll take it as a sign of some sort, LOL. We do NOT do anything that has to do with springs and certain not a crate full. I'll be getting to this soon when I coordinate get my curbed wheels fixed and I'll do the struts while it's on the rack at home.
I took the car out of hibernation on April fools day (seemed appropriate ) and she fired up on the first crank after 6 months in the garage. Replaced the air filter, air box that had a huge hole in the front of it, repaired the broken trim piece that holds the lights above the rear licence plate and reattached the third brake light, again. Gave her a good wash inside and out to get off the winter dust and now I'm ready for the 6 - 7 month driving season. I can hear the police getting out the speeding ticket book already.
 02-22-2021, 04:45 PM