When you click on links to various merchants on this site and make a purchase, this can result in this site earning a commission. Affiliate programs and affiliations include, but are not limited to, the eBay Partner Network.
Refurbished roof fabric as old one finally gave up. Problem was if old one was oatmeal or nimbus one .. and ordered wrong one; original was nimbus but no big deal as it is easy to change roof color w/a pillars.
Cleaned old stuff.
New Oatmeal (AGD) canvas. Studied from youtube how to glue. 3M 74 used as a glue. It is super fast glue unfortunately so my suggestion is to use slower glue but managed to glue new canvas pretty good.
Back in. Driver side a-pillar is currently in progress for new coat.
Replaced the alternator this week end. This is a well documented job, a few bolts, a connector and the belt. No big deal. Observations:
Locally sourced alternators seem to be inexistent. Local parts store seem to have nothing available.
Had to order online, which cause a delay, but the (no brand) part seemed well built. Fit was perfect.
Battery message on the dash went away instantly after replacement of the alternator (did not do much research on this one).
FWIW, the occasional flicker on the message center or even the headlights is now gone. Old alternator was probably trying to tell me something all this time.
Alternator was bought as new, so no core to send back. Looking around on eBay, there are several rebuild kits available for these Denso. I assume the electronics went bad, bearing were smooth.
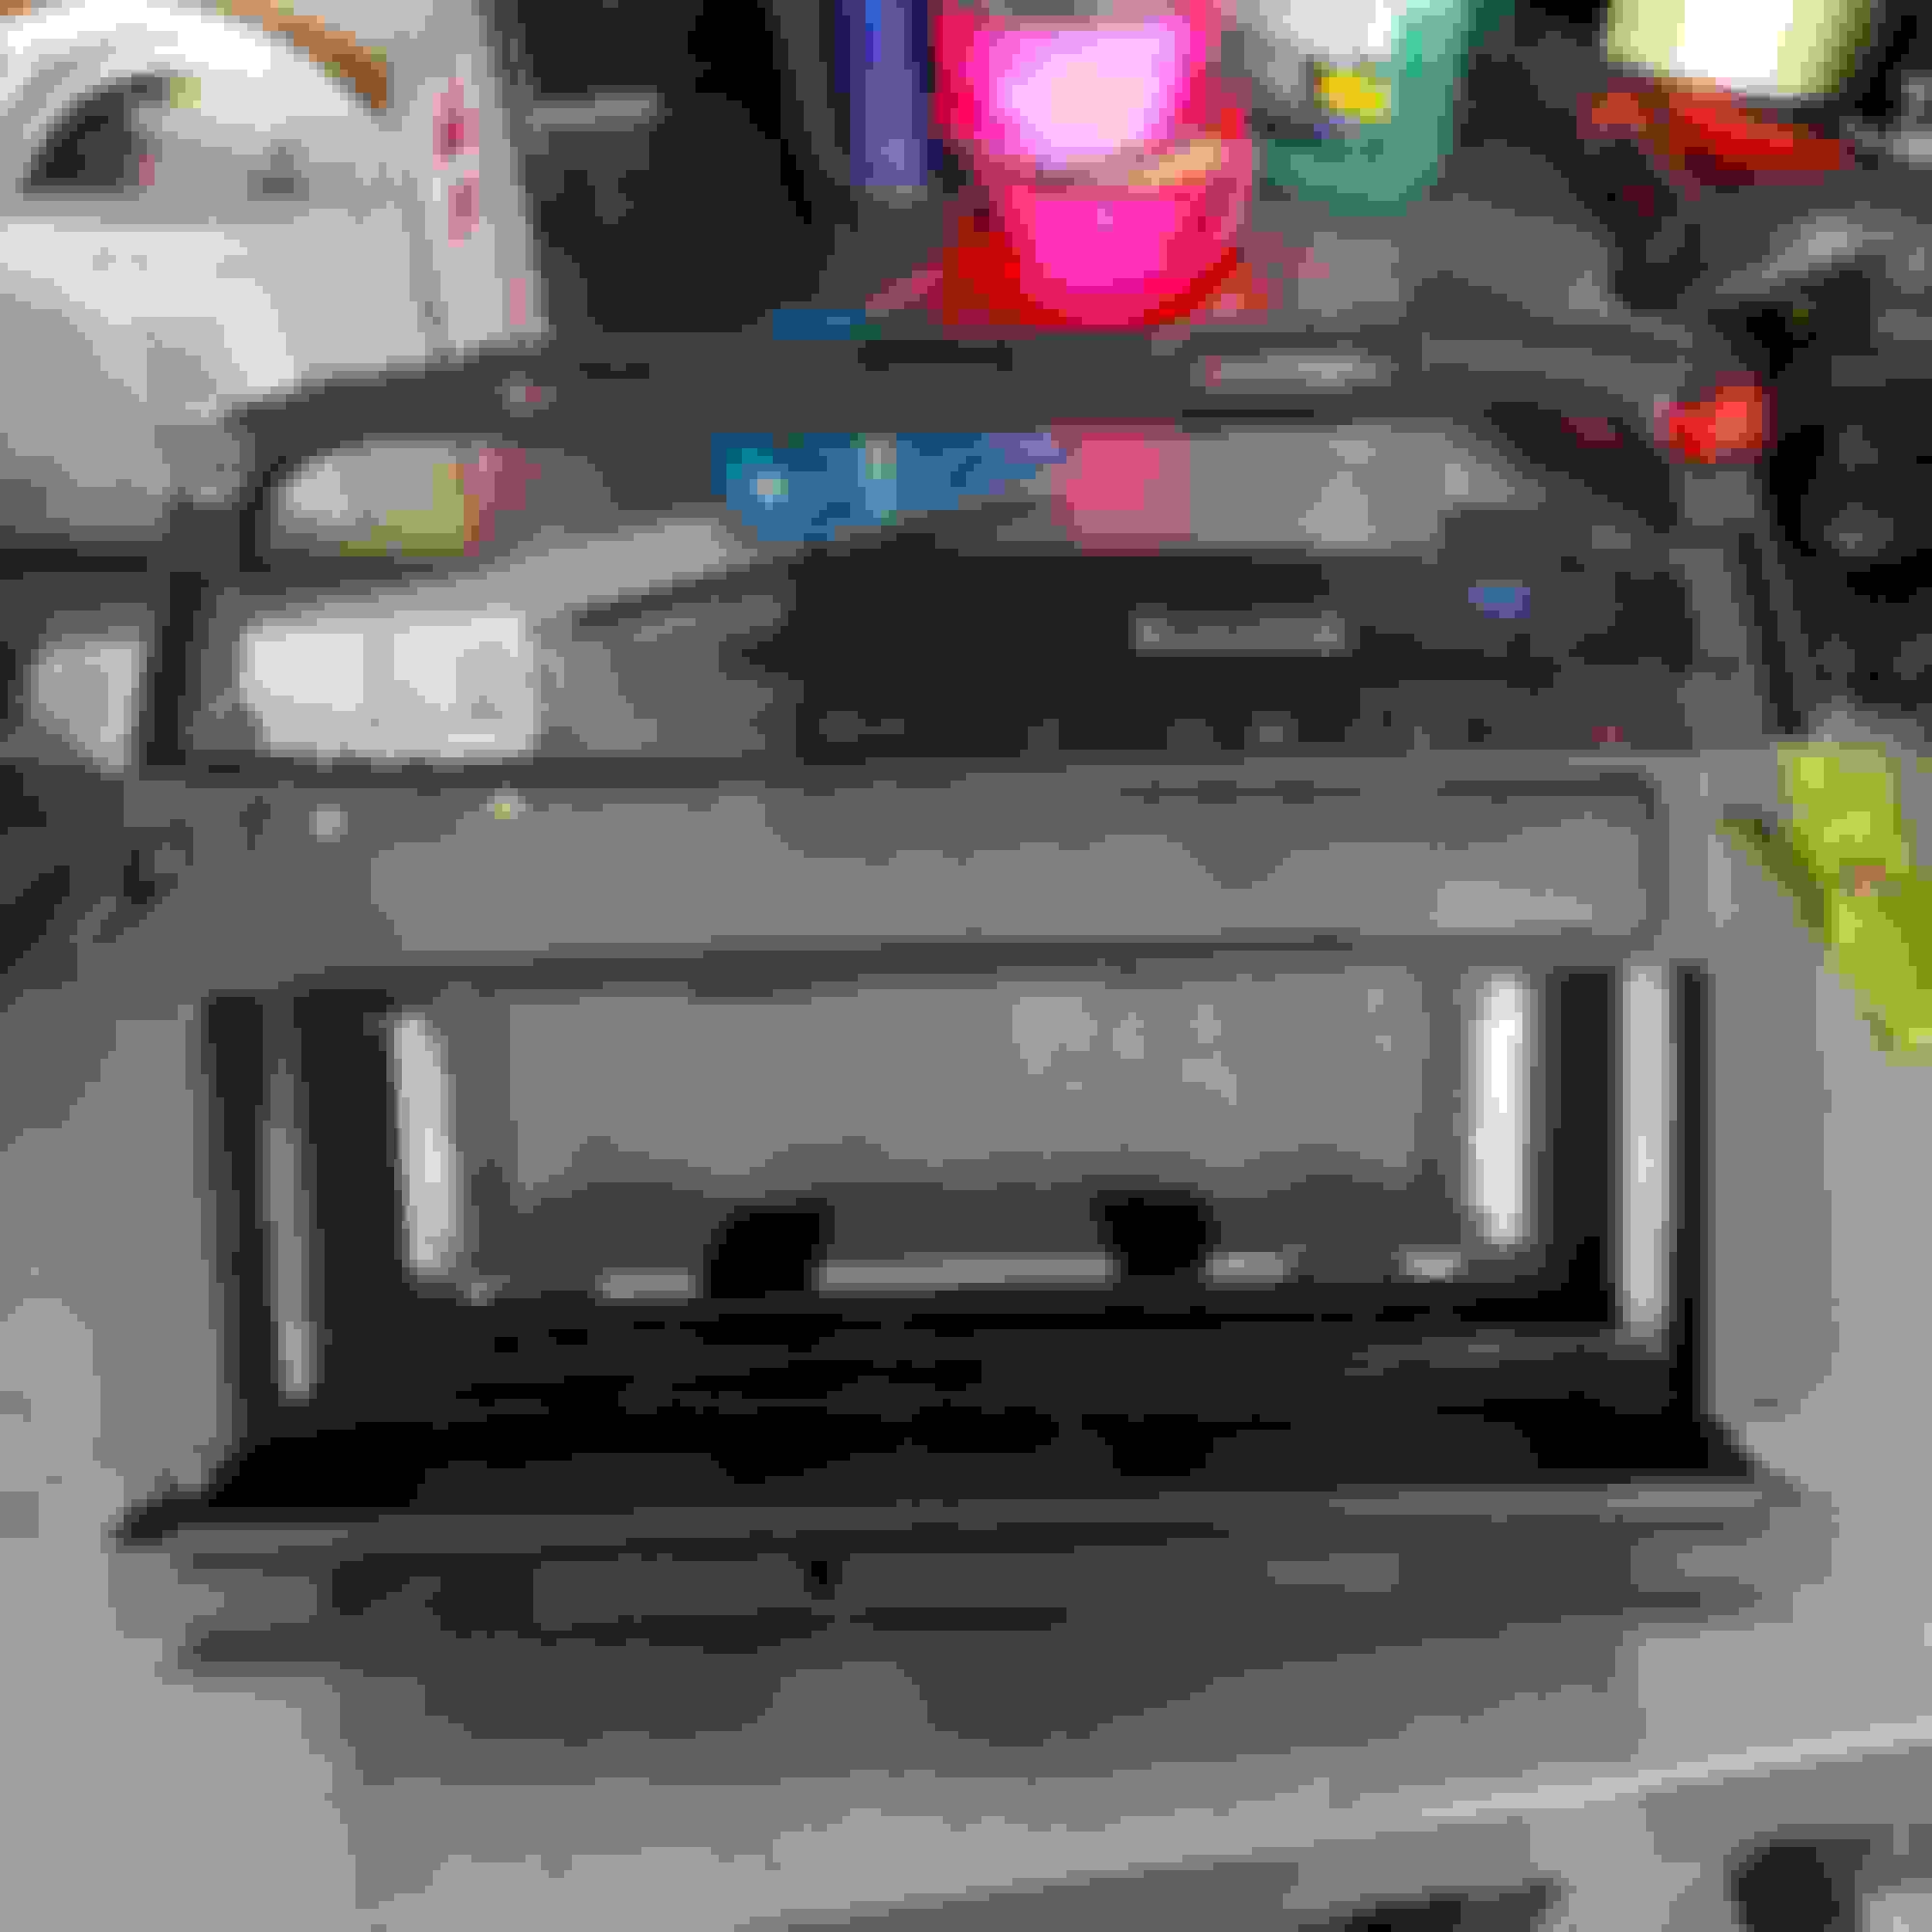
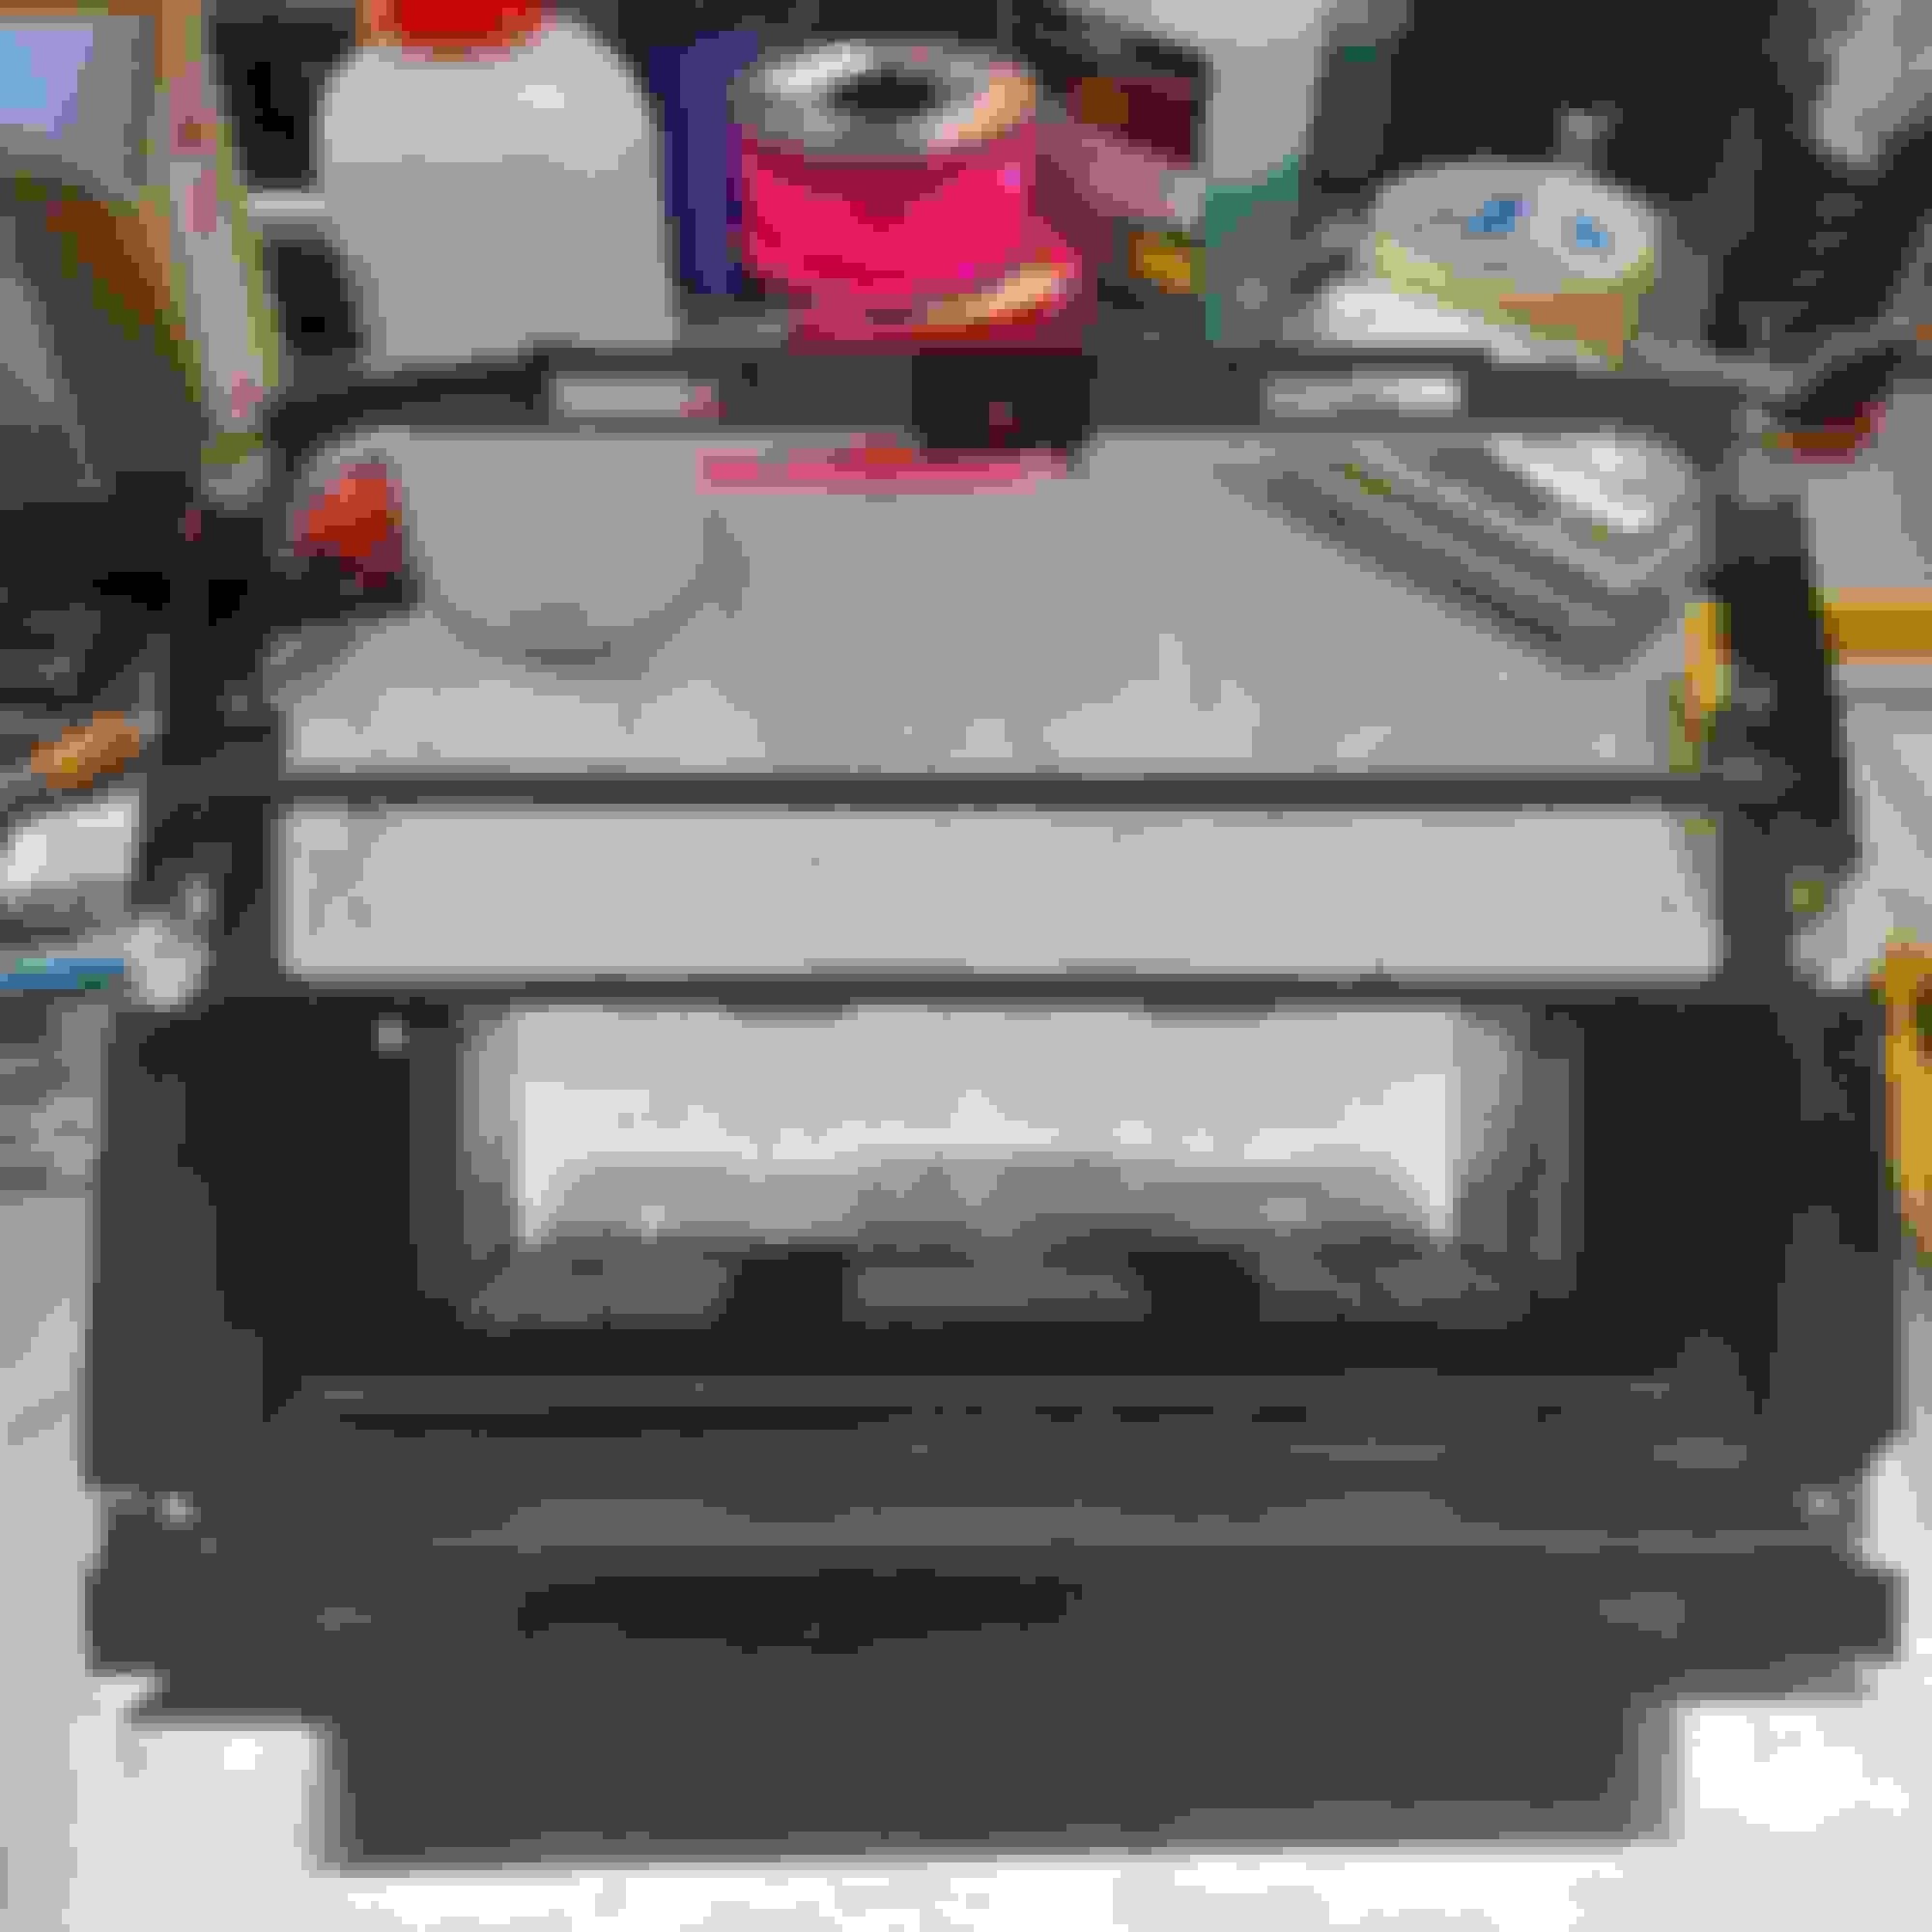
I've been looking for a rattle behind the switch panel and discovered a totally wrecked switch panel frame. All the screw holes were completely missing and the whole panel was secured by the centre console.
I used 2 part epoxy glue to fix some 1/4 inch nuts where the holes used to be. It turned out to work really well. The rattle is almost gone, so I'll go back in to add some thin foam between the switch panels as they're still not as secure as they would be in a new frame. Pics of before and after
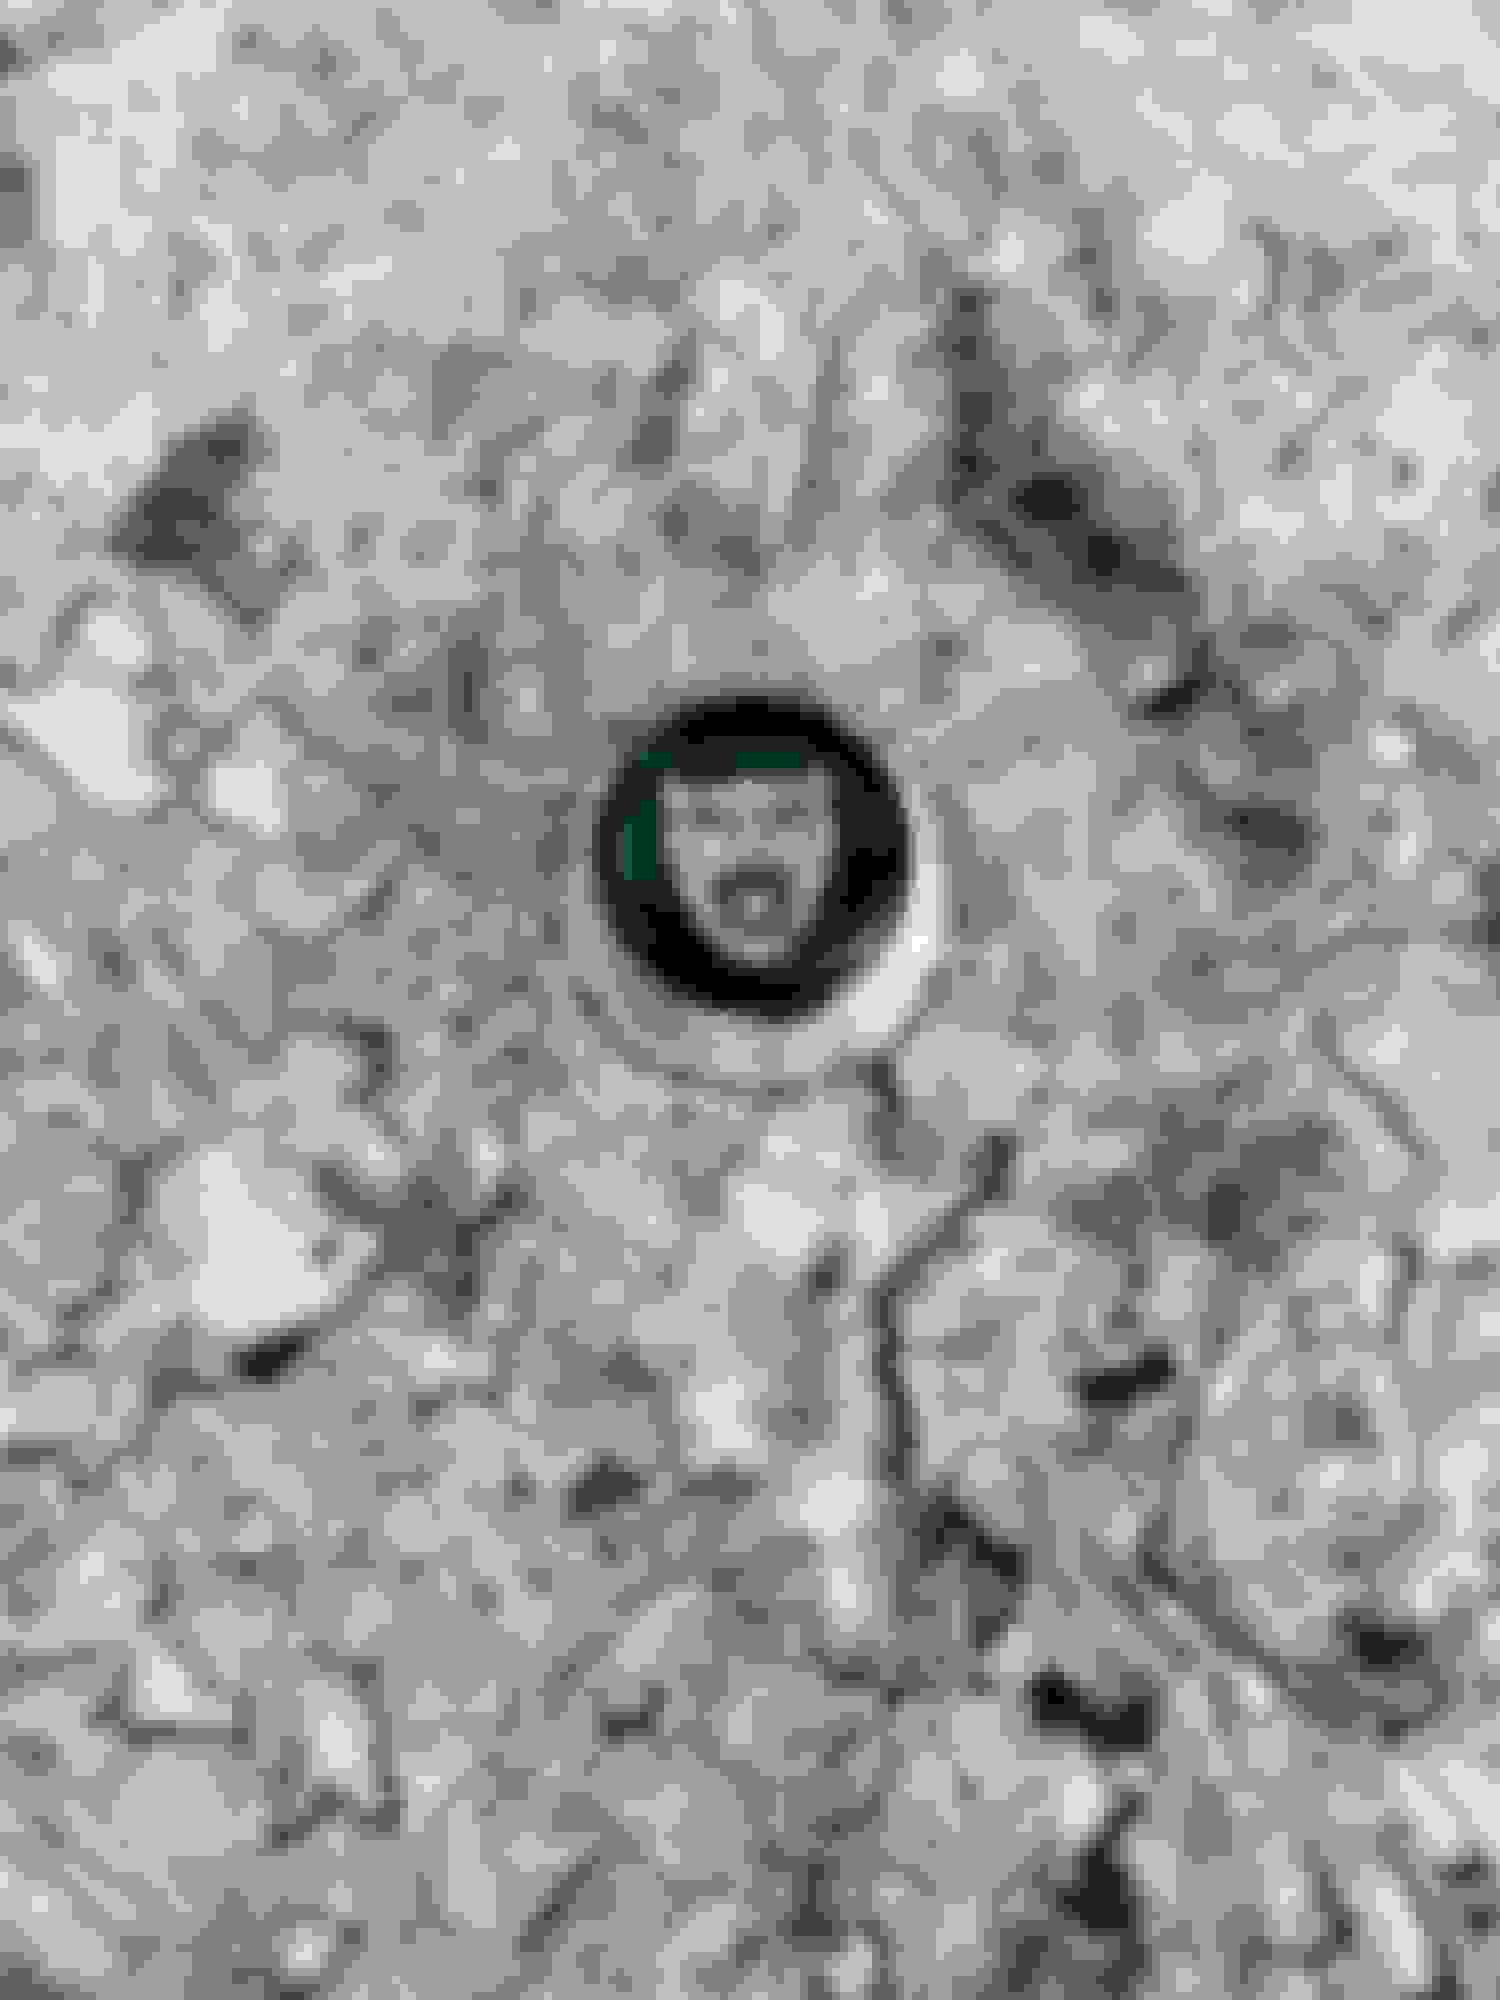
After locking myself out of the trunk and opening it by reaching for the �Hoffa Handle� with a hook on the end of a Fish Stick and an endoscope taped to it, I thought I should give the whole system some love. A little Dawn dish soap and a little wet sanding Some matte clear paint I had on the shelf Two coats later. Huh! -I didn�t know it was green! Reinstalled and looking proud of himself.
Impressive results. Savings of $30.
Now you tell me....doh!
The paint is left over from re-doing my plastic headlamp lenses on another car about 5 years ago. Despite the paint being the cheap stuff, the lenses are still nice and clear except in some small places where I didn�t prep well or put it on too thick.
I think having just the two coats should keep it looking good for at least that amount of time, and shouldn�t be hard to sand off when it�s time to do it again
Using dielectric grease directly on a metal contact has no science based beneficial effect. Just because you have �gotten away� with using it on electrical contacts doesn�t mean it was the right thing to do .
Z
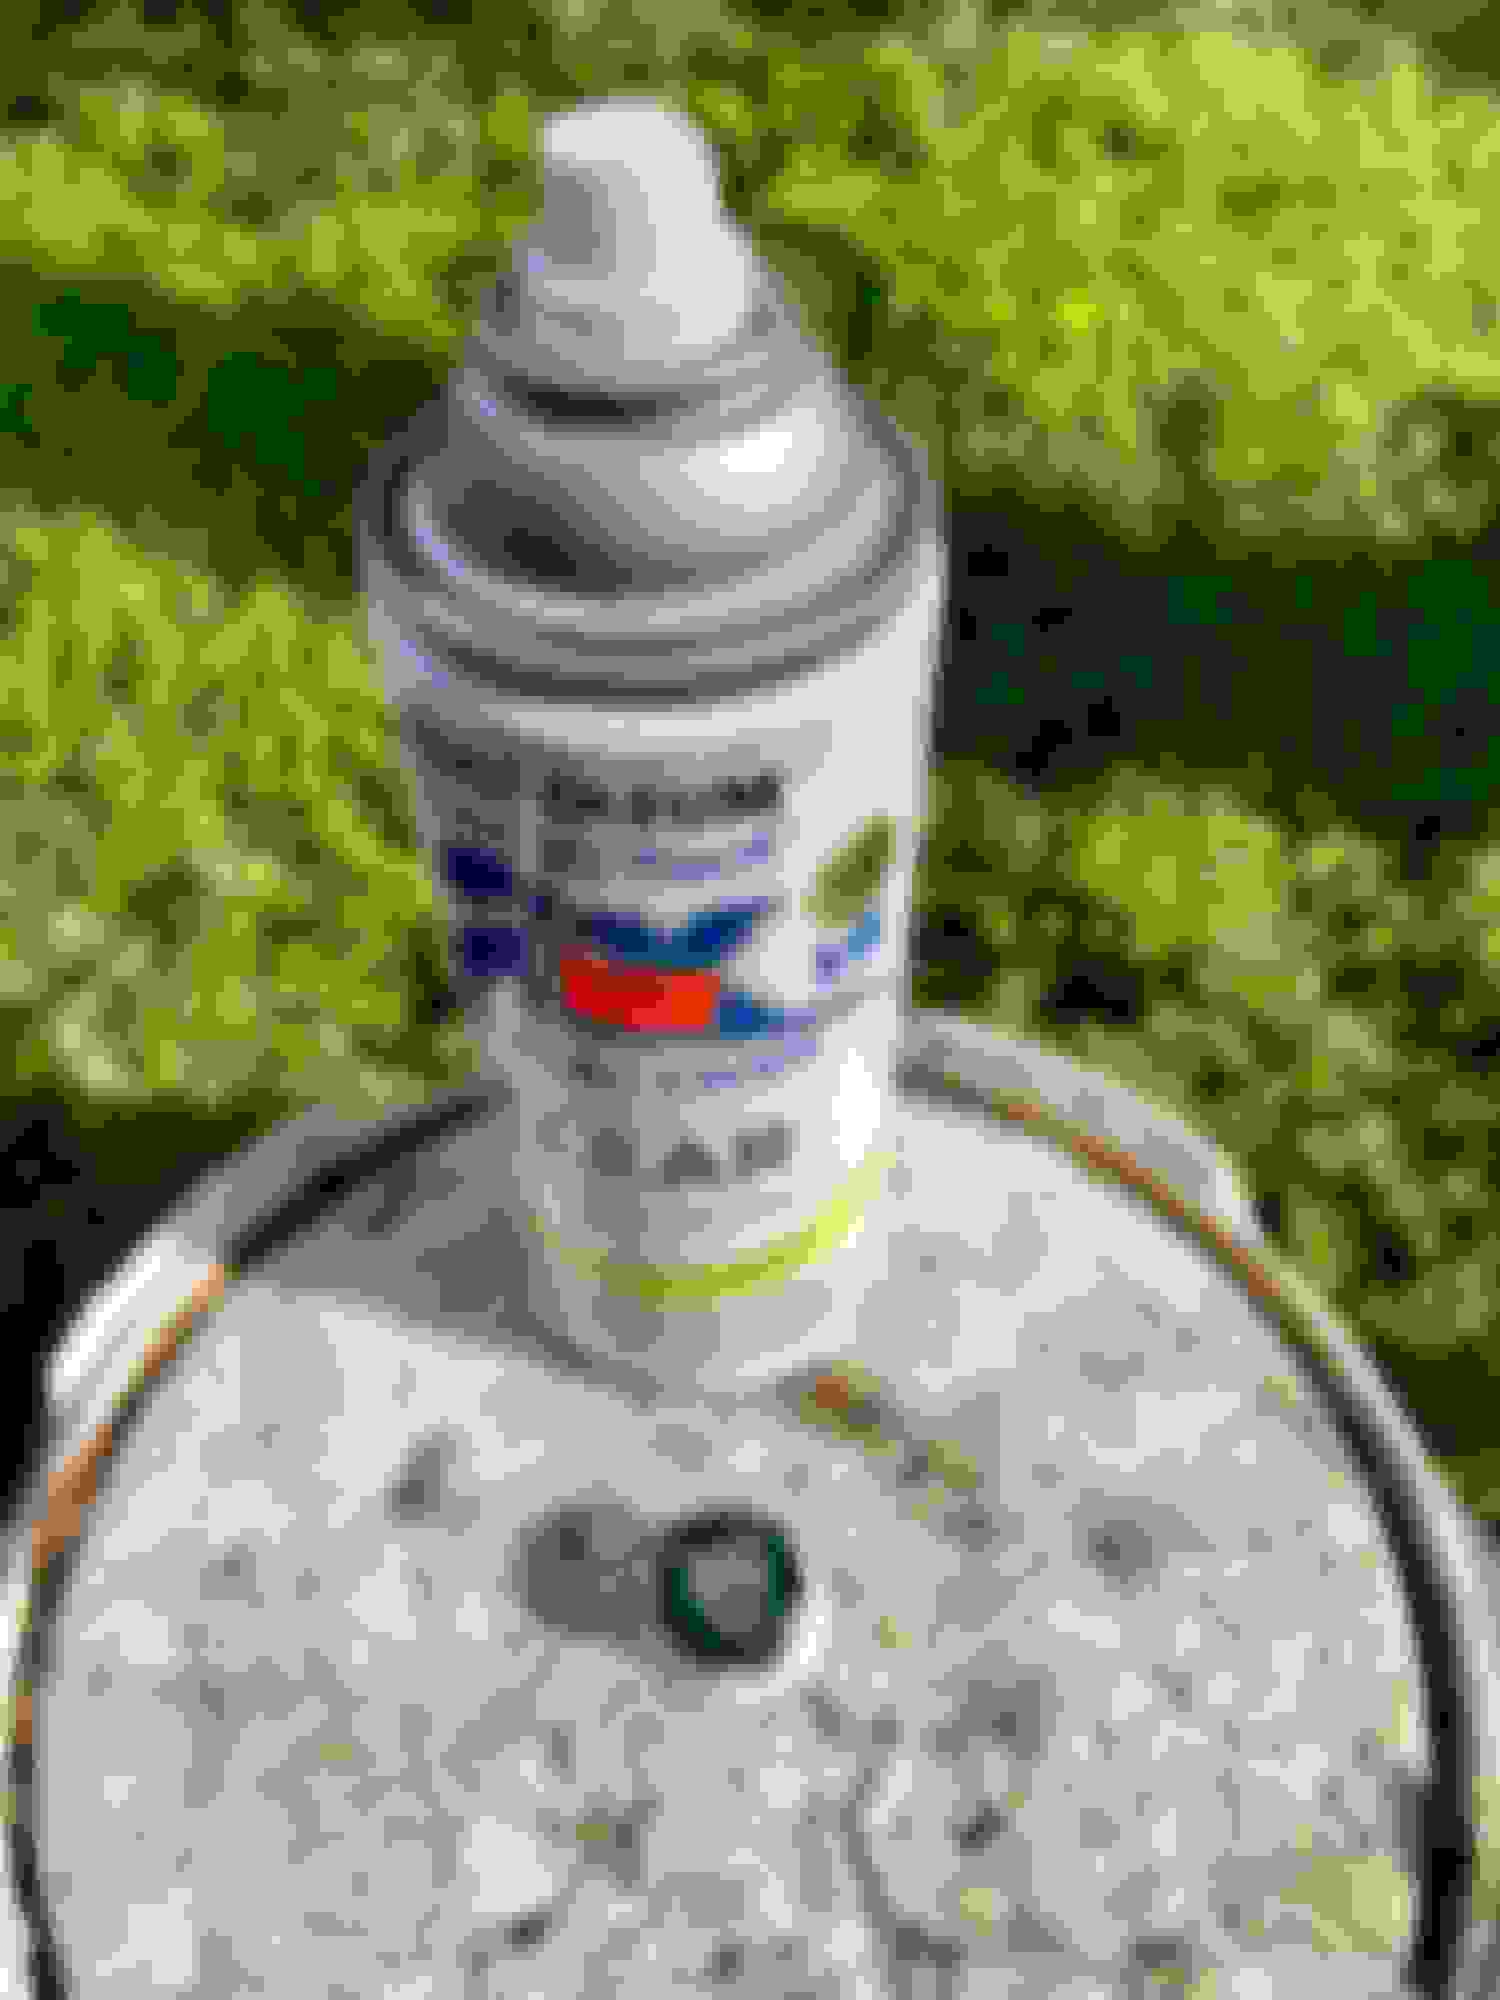
I�ve been using this stuff on my 80�s Porsche 928 and have been quite happy with it. Despite the claims, it doesn�t last forever, but does a good enough job to justify the price. I typically get 3-5 years of good occasional use out of a cleaning before I�m tempted to hit the contact with it again.
I�ve been using this stuff on my 80�s Porsche 928 and have been quite happy with it. Despite the claims, it doesn�t last forever, but does a good enough job to justify the price. I typically get 3-5 years of good occasional use out of a cleaning before I�m tempted to hit the contact with it again.
Smart for doing so.
Deoxit is great for electrical/electronic contacts. It's the goto for Vintage stereo equipment.
Hi I cleared an engine light today. The code was PO442, Evaporative Emission System leak detected. (small leak). Anyone have an idea for this DIY. Ty
Mine is a 2005. Of course the code popped up the day before I had to do smog. Check the connections going into your evap canisters (2) back by the rear tires.
I had a dried out �o� ring, and given that I needed to pass smog right away, I bodged the connection with silicone bathroom sealant. I passed smog and no check engine light has returned. $0 Fix.
A new O ring and some proper RTV for the location (I think it must be pretty hot back there near the exhaust pipes and it also is exposed to water in the slipstream when it rains) and it might be good for many years.
My bathroom sealant bodge. Yes, that�s a Ford logo on the evap canister. An O ring from them will likely work in this application too.
Is there any video available showing how to replace the seat covers for a 1998 XK8 that you are aware of? I can find tutorials on fixing broken seat switches but none on replacing the leather seat covers.
Attended to a leak on my driver side �A� pillar causing water down the side of the fascia & door panel . Not a deluge, but enough to dampen the sill carpet.
Karma strikes as it�s been like this for ages, but now she�s forced to sleep rough until her new garage is built, I had to actually do something.
So, I removed the door seal (very carefully since they�re marked up on Heritage at �293.05/$392.75)
Meh. Someone�s obviously been there before during the car�s early life: So where is the screw head??
The black lava is from the foam tape pieces attached to the back of the door seal. I don�t know the manufacturer of the clear sealant, but it�s the toughest RTV I�ve ever encountered.
The drip moulding retaining screws go into square plastic plugs set into the bodywork, so they don�t contact the metal. I�m presuming it�s electrolytic activity between the steel screw/aluminium moulding dissimilar metals that assisted the screw head to rot off. The others were unaffected
With no screw to clamp the end of the moulding, it had sprung away from the body enough to allow water behind.
Cleaned off the crap the best I could (I didn�t want to leave any bare metal by scratching the paint) and refitted the drip moulding using SS screws & washers. I put a thin bead of neutral-cure RTV along the uppermost inside edge to help the foam seal to do its job.
It was the same story at this end of the drip moulding. The original screw head was missing:
All back together and a quick check with a jug of water over the roof showed everything now draining as it should. We�re promised some rain this evening so that should be a proper test.
All pretty straightforward other than sourcing replacement plastic screw inserts. They�re not shown in JEPC but I managed to get half a dozen gratis from a very obliging gent at the local Ford body repair shop.
My kit containing "a selection of nearly every car fastener you�ll ever need" er � didn�t.
There are two videos linked in this post from ChrisHens which I found helpful:
2003 XKR Coupe - all functions on the driver's door stopped working. Fuse ok.
Jagrepair.com has the wiring diagrams so I was able to confirm the module gets live and earth so wiring appears intact.
Opened the module and no apparent loose solders so I think I'll be looking for a replacement.
Chris
Cruise control stopped working and got a "check rear lights" and a "performance" message.
Turned out to be the brake light switches. I actually swapped the two switches soldered in the bracket.
The wiring diagram shows that one switch is wired to the normally open side and the other is wired to the normally closed side.
Figuring the contacts may be pitted, due to slight arcing over the last 20 years the opposite contacts should be pristine.
Everything back to normal with only a cost in time!!
Also, replaced a water pump with a weeping seal. I have never had an easier experience with a modern car!!
Remove the hood lift struts at the bottom, put the hood in the "service" position and insert safety bolts in the hinge holes.
Loosen the three pulley bolts first, release the belt tension, remove the belt.
Remove the pulley, remove the 5 pump bolts and with a little tappety tap from a persuader(BFH) Bobs your uncle!
Now, depending on the gasket you get - Permatex Ultra Black over the paper gasket or light oil over the o-ring/ rubberized aluminum. If you get the rubberized stamped gasket, just slap'er together.
Now put down the bad pump, pick up the new pump and rewind.
OKAY OKAY!! So the real story is I had to do an engine change, used the "newer" water pump from the dead engine and could never get a good seal on the gasket. Finally got a good seal and 100 miles later the friggen bearing seal went out!!!!
Four. Four friggen times I took that pump off and on in the last month!!!
Thank goodness it is an easy job!
Finally got warm enough in the garage + I worked up enough courage to pull apart the steering column to replace the speaker for the turn signals and warning chimes. Success! For the first time since I bought this car (March 2021) I have turn signal sounds! Thanks to @giandanielxk8 and To the Garage's YouTube channel
I also replaced the two bulbs in the three-dial cluster (one had burned out) with LEDs. Of course I installed one with the polarity reversed, so I had to open it back up again and turn it around, but the return trip took less than 5 minutes. Thanks to O&DRModural YouTube video!
Just another guy, can you give me the name of the Youtube channel. Sounds like it would be good resource. I too would like to change my dash lights to LED's.
Chuck...just another Chuck
1999 XK8 Convertible Black
 02-11-2022, 08:38 PM