When you click on links to various merchants on this site and make a purchase, this can result in this site earning a commission. Affiliate programs and affiliations include, but are not limited to, the eBay Partner Network.
Thanks for the additional information - much appreciated. I will order some of the same amazon.com T3 bulbs you did and go back in there and replace them sometime during the holidays. I also need to replace one of the bulbs in the tachometer display. I believe that one is a 194 bulb (the same type of bulb I replaced in the coolant temperature display back in March) which my local NAPA keeps in stock and charges about 50 cents for....
You will probably have to replace the hydraulic line I had to have that done on my own xk8 04 last summer there are six lines and you may not have to replace all of them .
You'll also need a couple gallons of orange DexCool.
I used ZERO sealer or lubricant during reassembly.
Here are a few pics of the replacement process. Its not a step by step just the important things I noticed.
To drain the coolant I used a 32 quart container that was wide enough to catch about 90% of the coolant that splashed and seems to run all over the place.
I opted to remove the undertray as well as the plastic air channel required to get to the coolant drain plug.
.
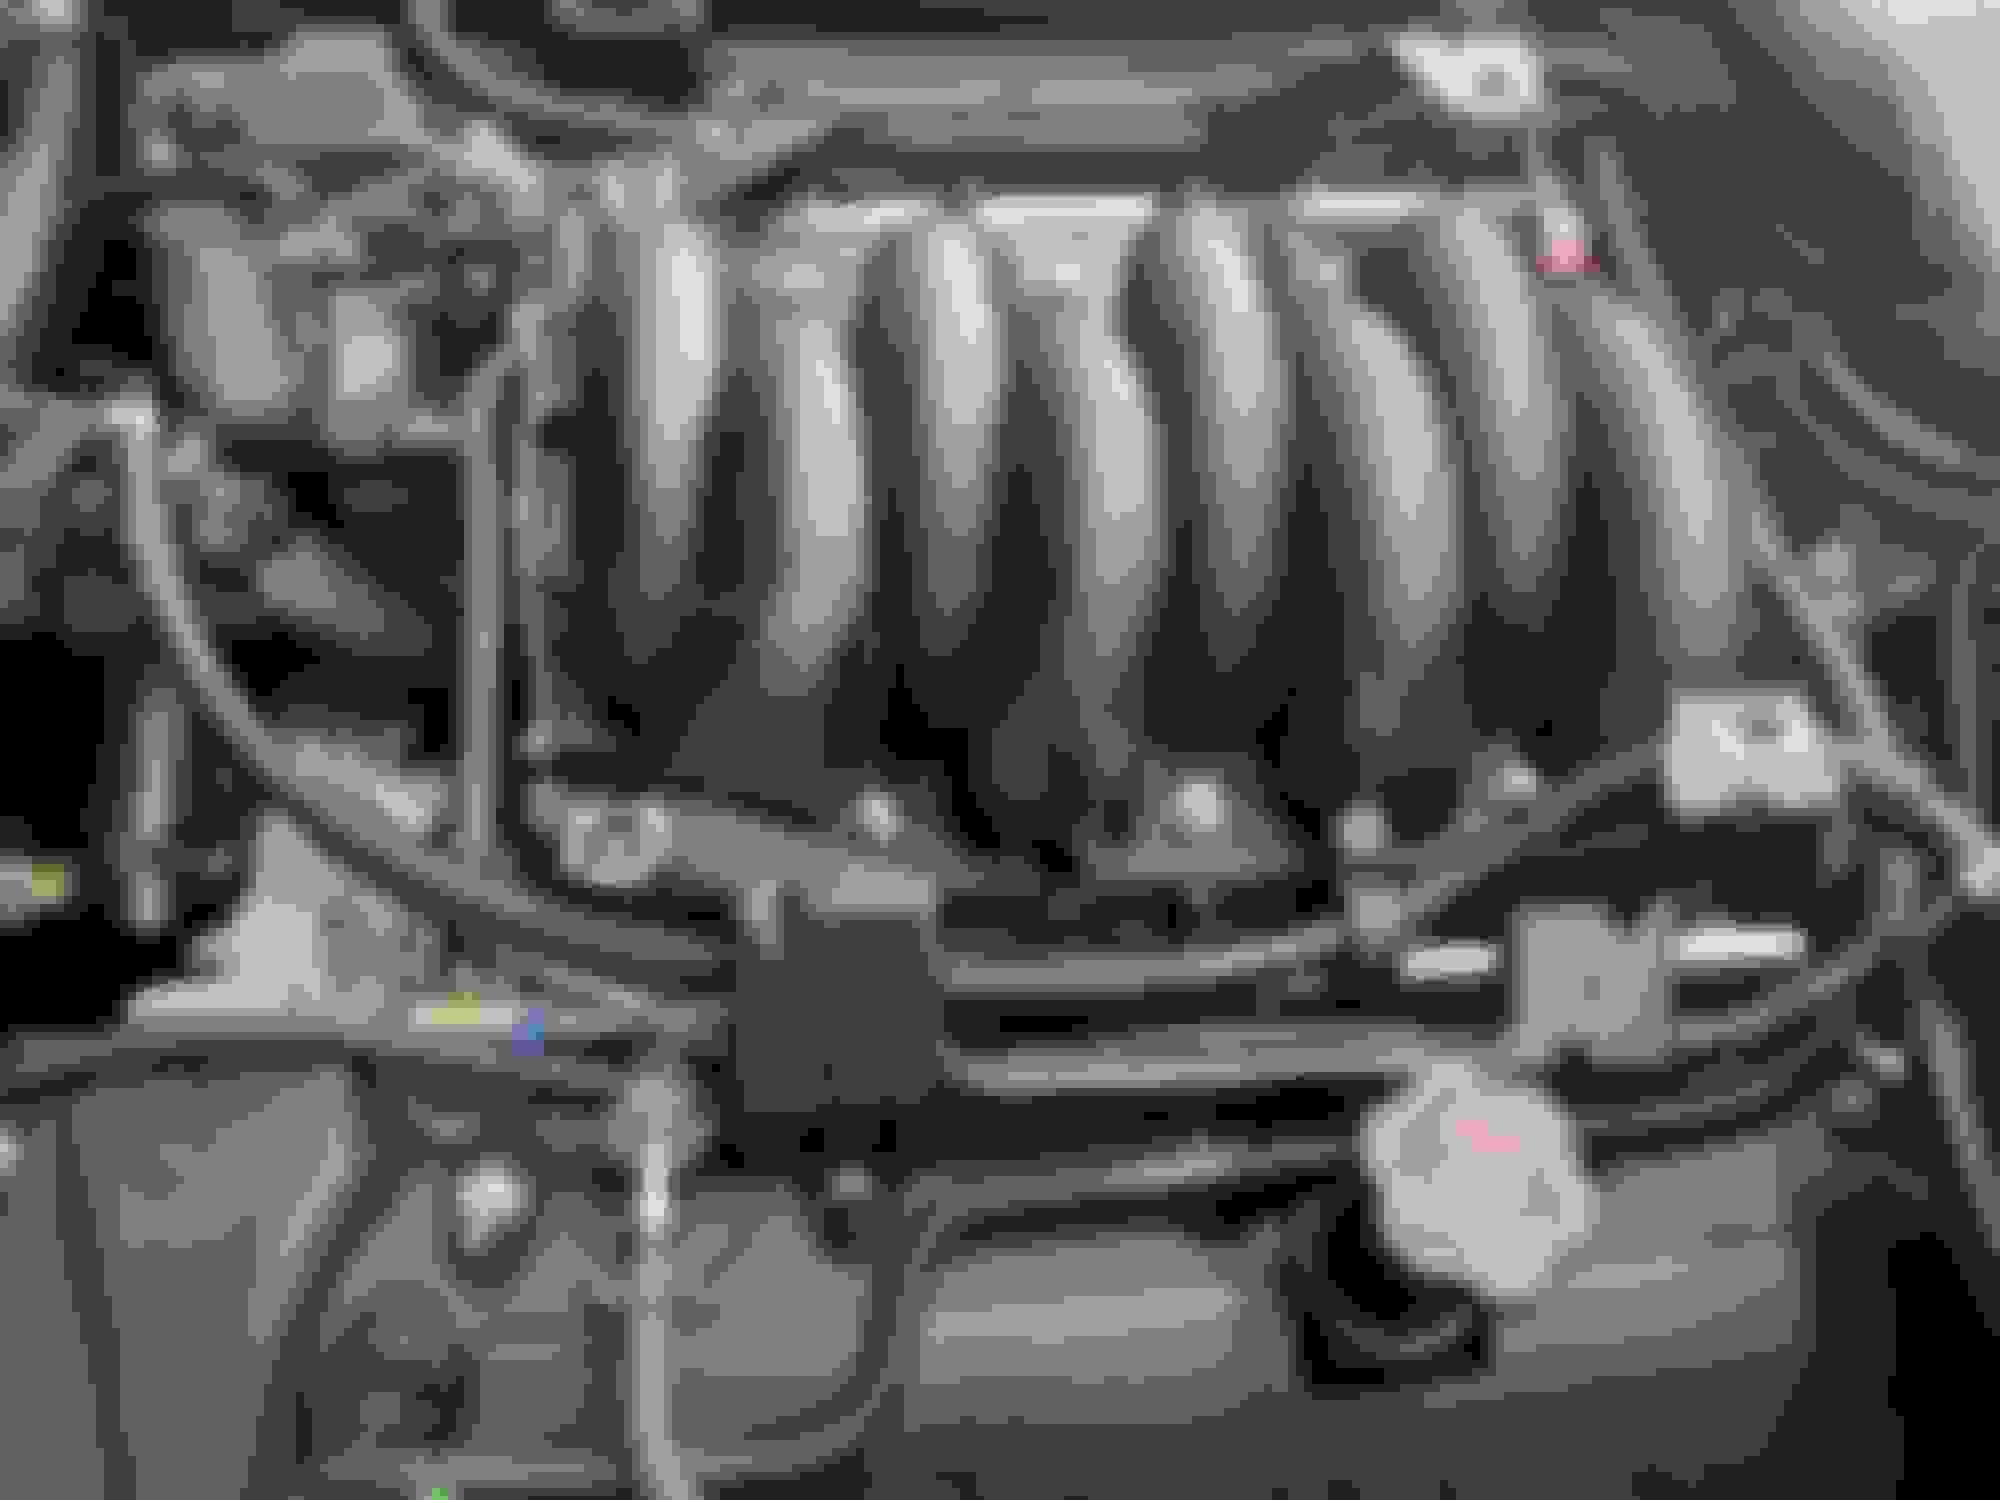
I opted to remove the front manifold cover to gain better access to the hex bolts that held the elbow portion of the t-stat assembly. There are 3 hose connections and the sensor plug.
All my hoses looked fine so I did not see a need to replace any. There are 8 bolts to remove on the assembly which were pretty easy.
I opted to remove the upper hose and the air filter cover for more room and visibility. The lower hose can be pulled out of the way and secured. I used a piece of string.
I was cautioned about the coolant return to the overflow tank being fragile. I got it off without issue but later made the mistake of leaning on it and I snapped the plastic tubing. So I had to make a trip to Napa for a length of tubing.
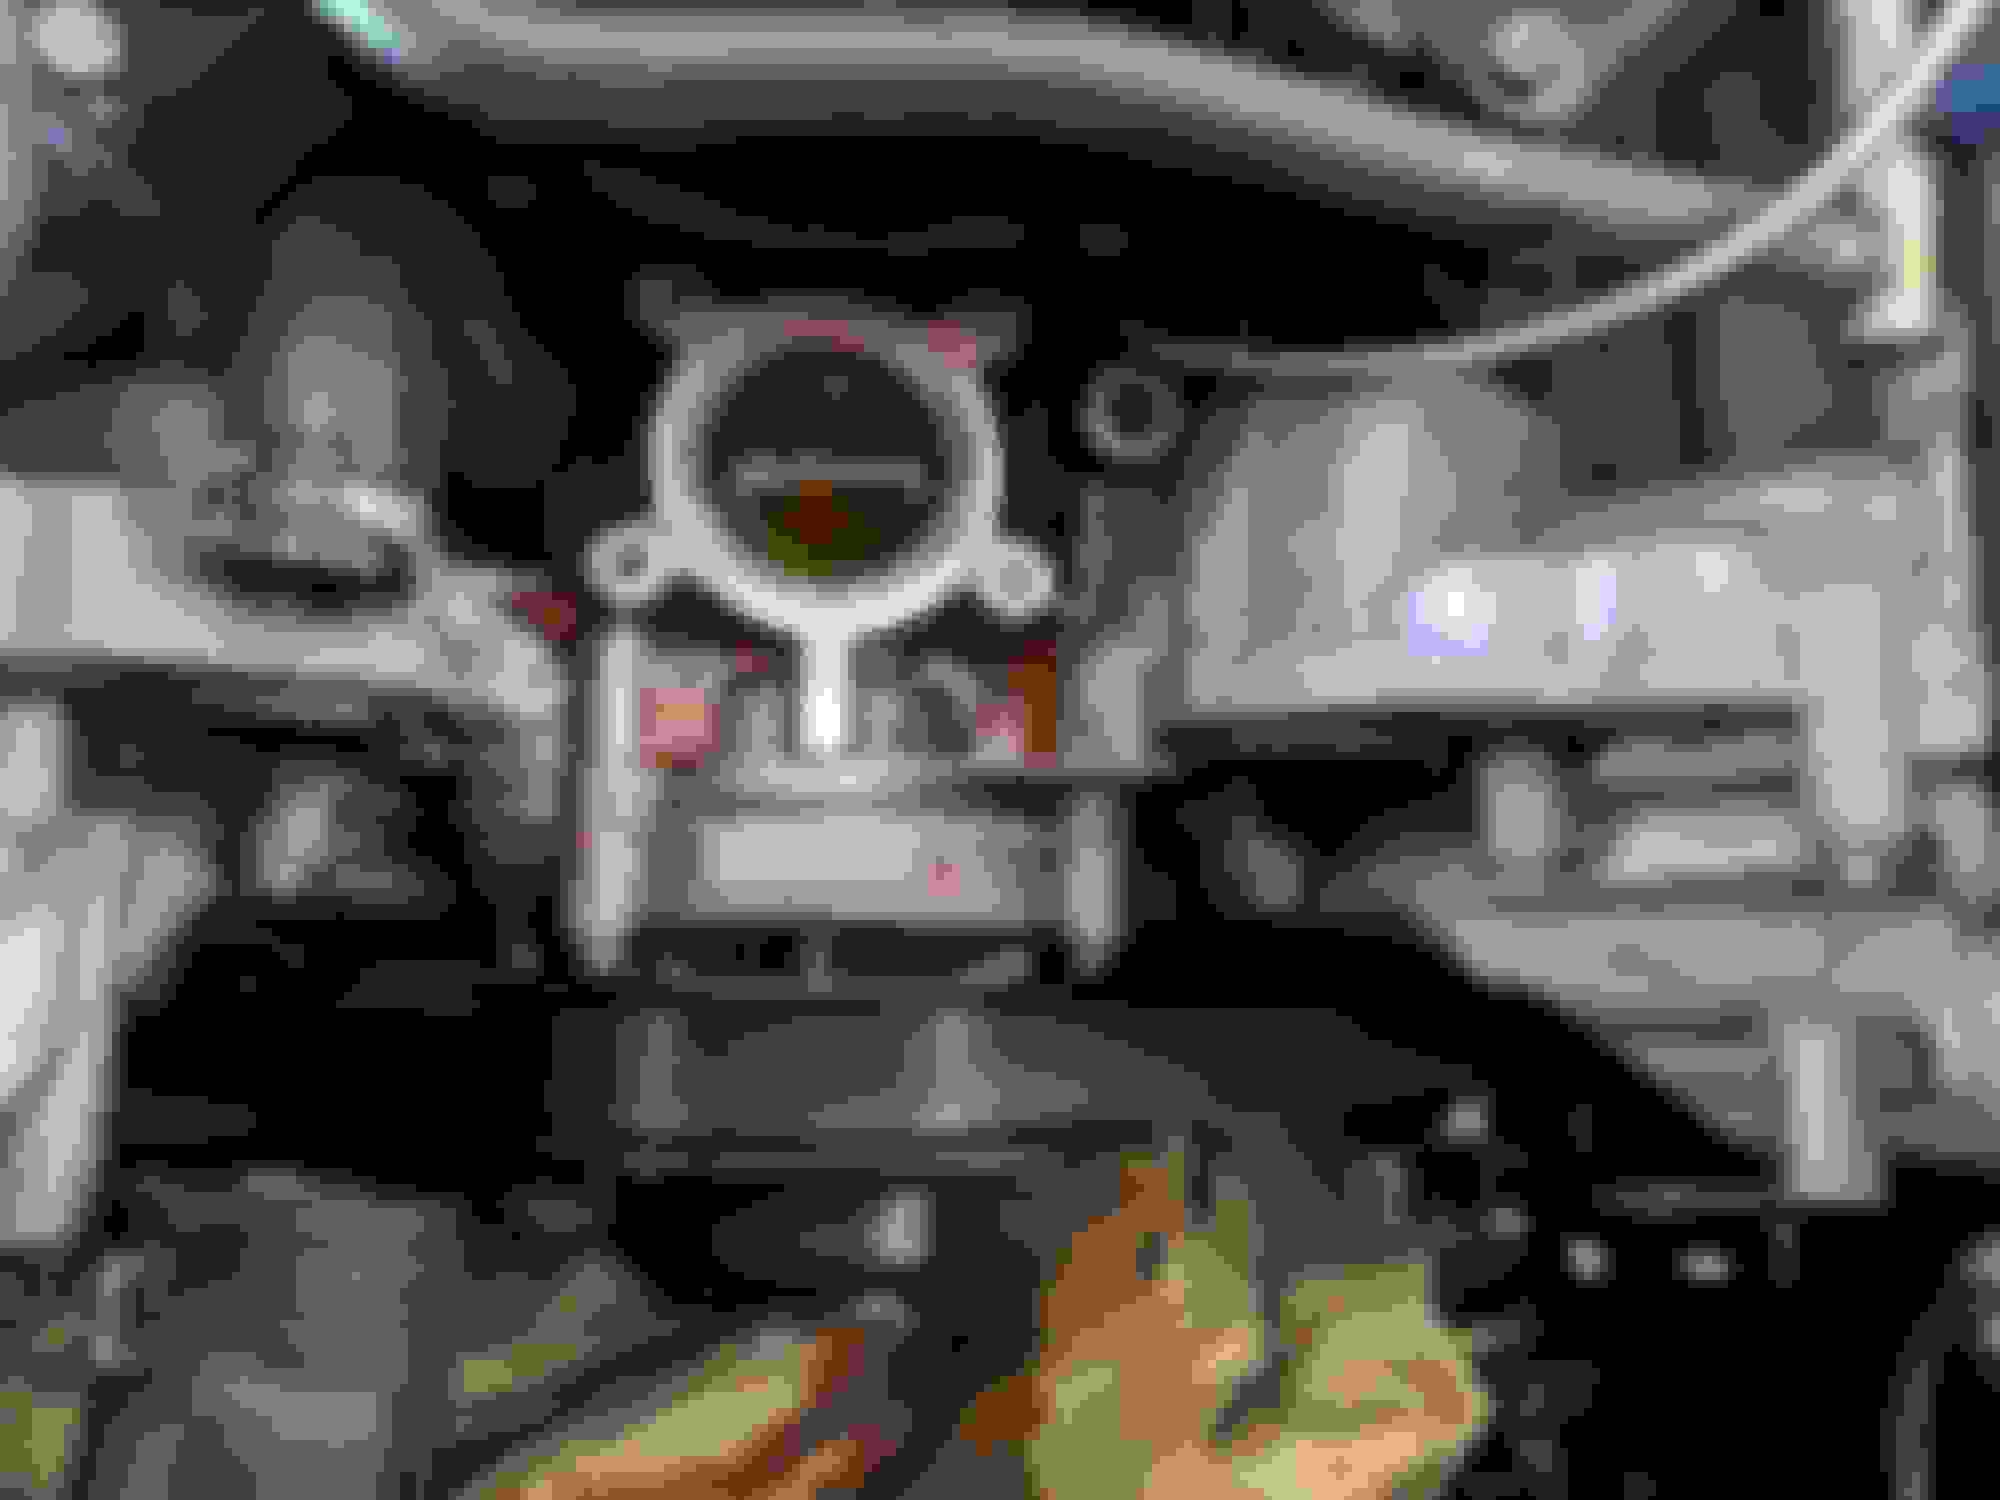
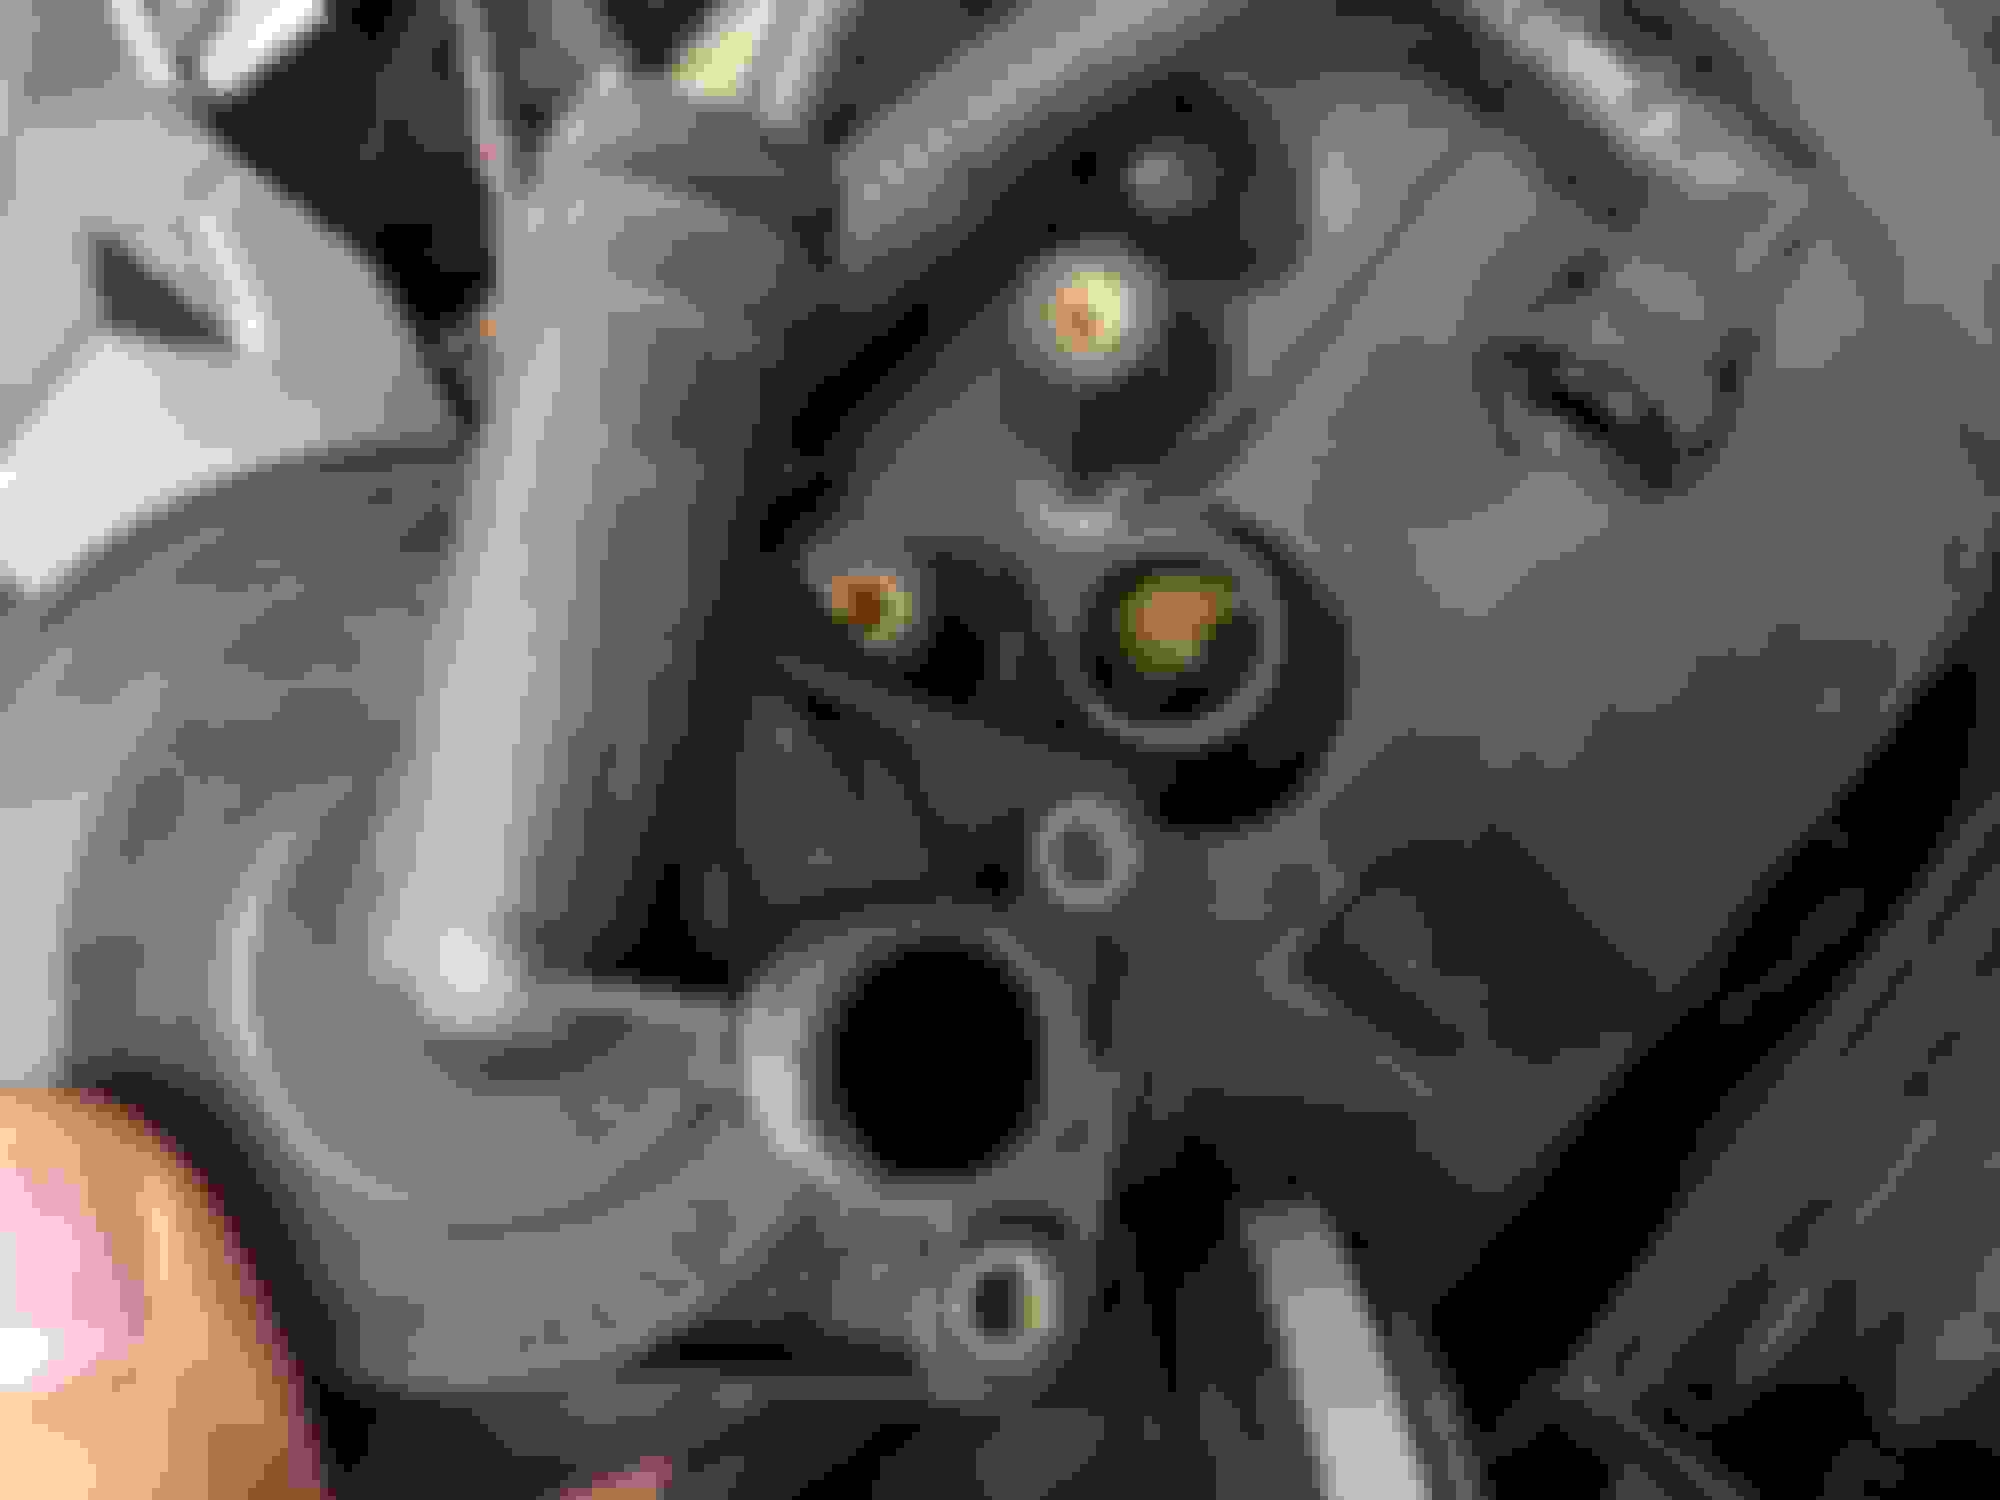
Once you get the thermostat assembly out of the way there is easy access to the water pump. Remember to break the pulley bolts loose before removing the belt.
Expect to have more coolant leak out when you remove the water pump but not a lot.
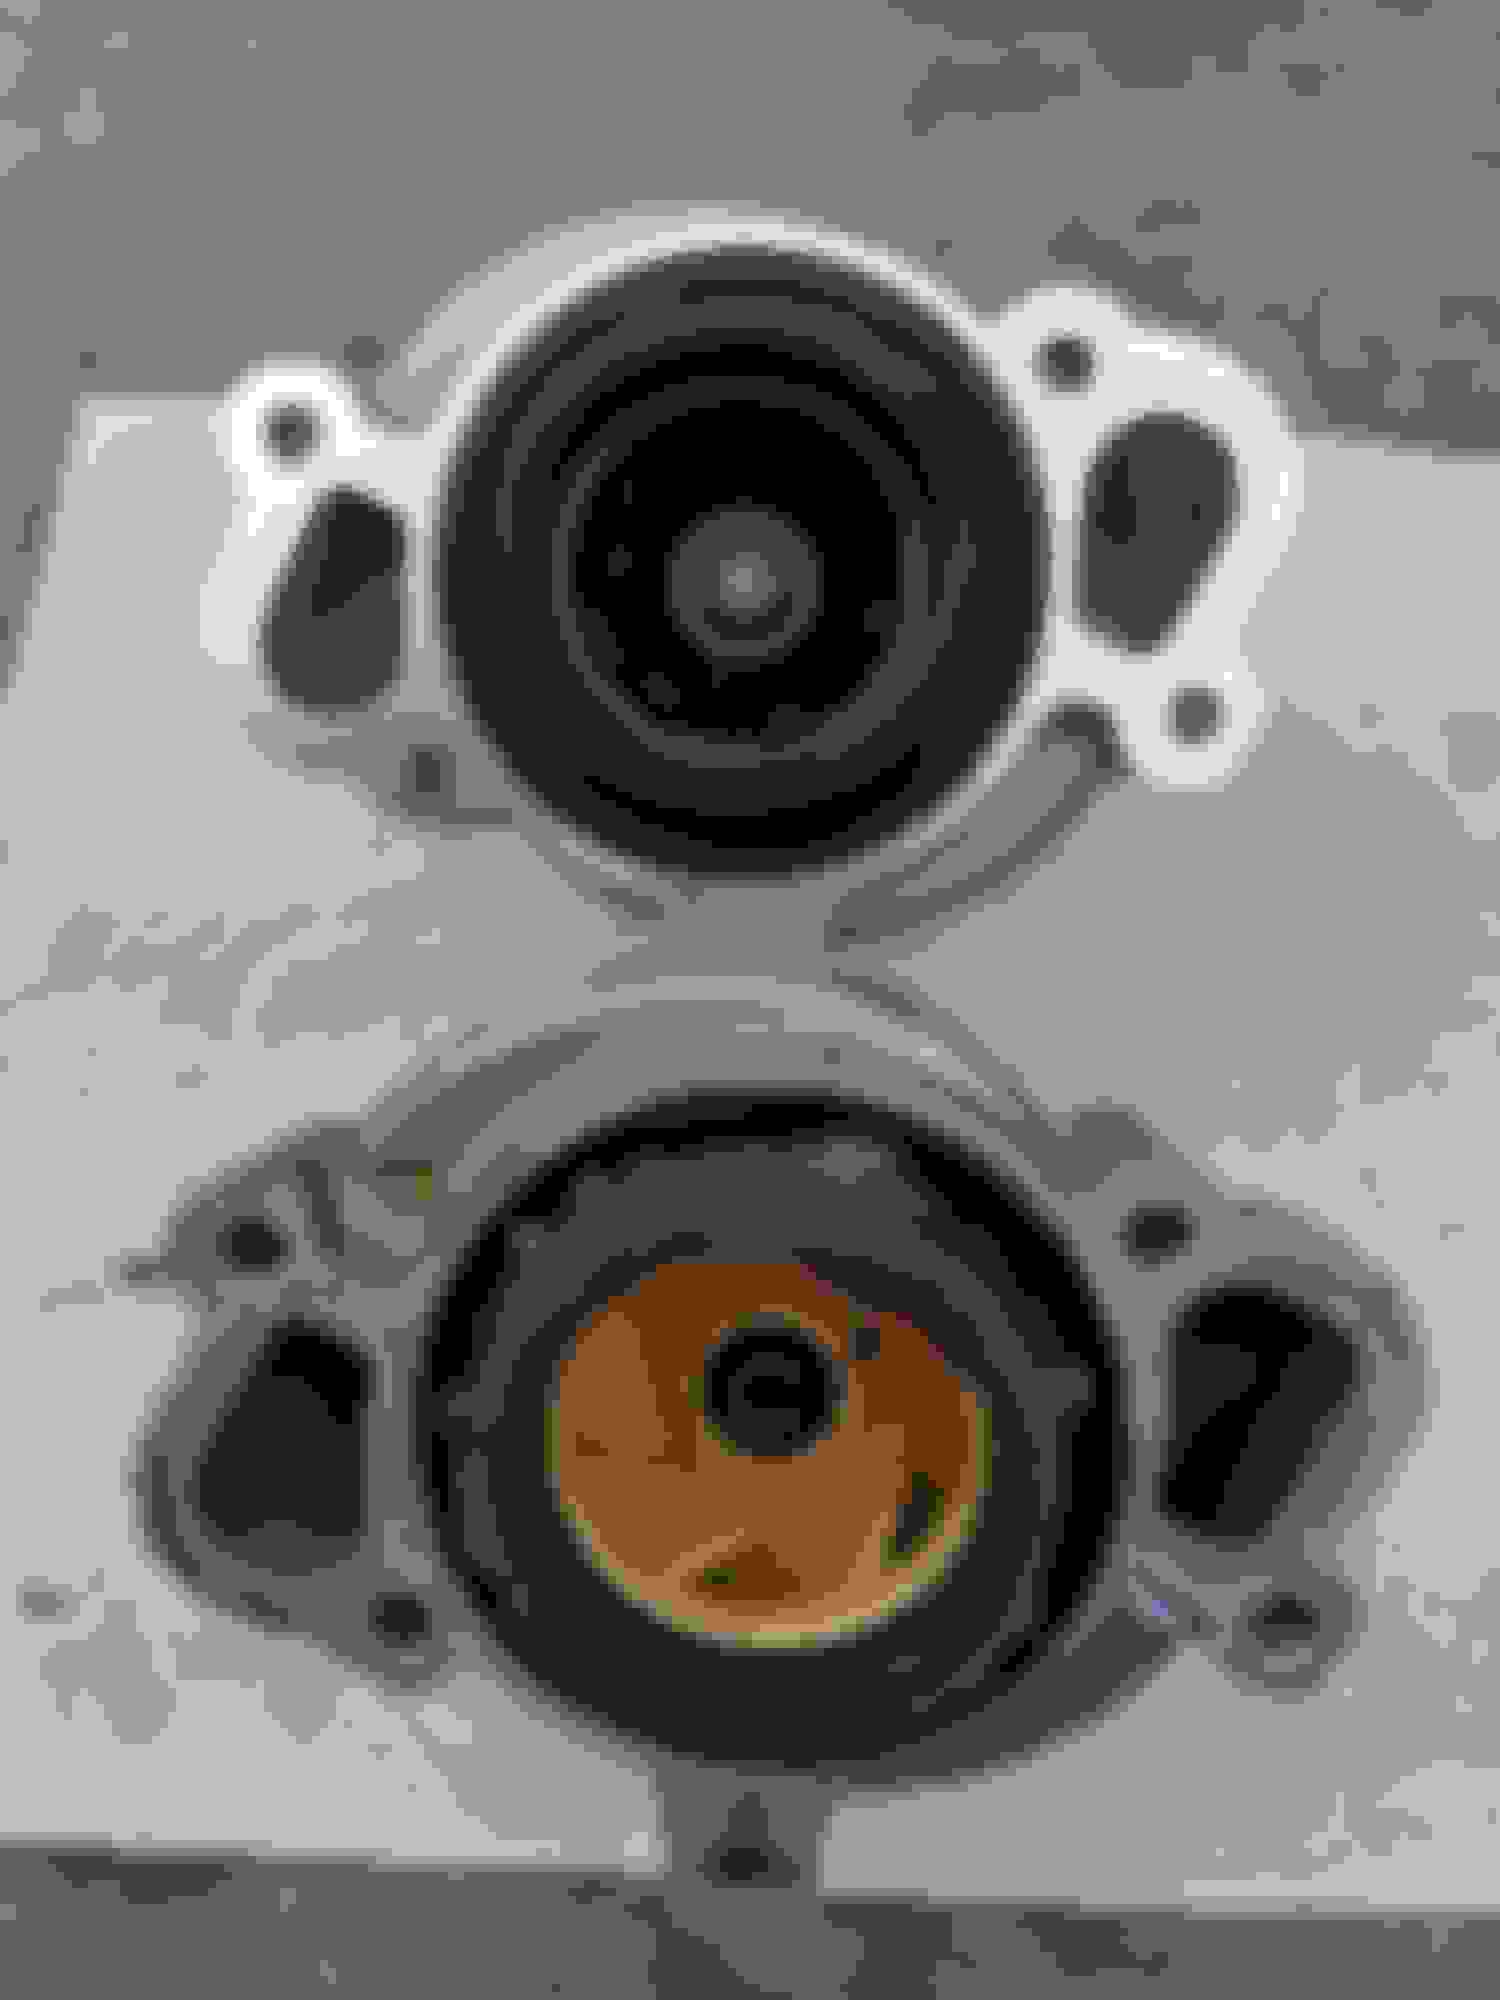
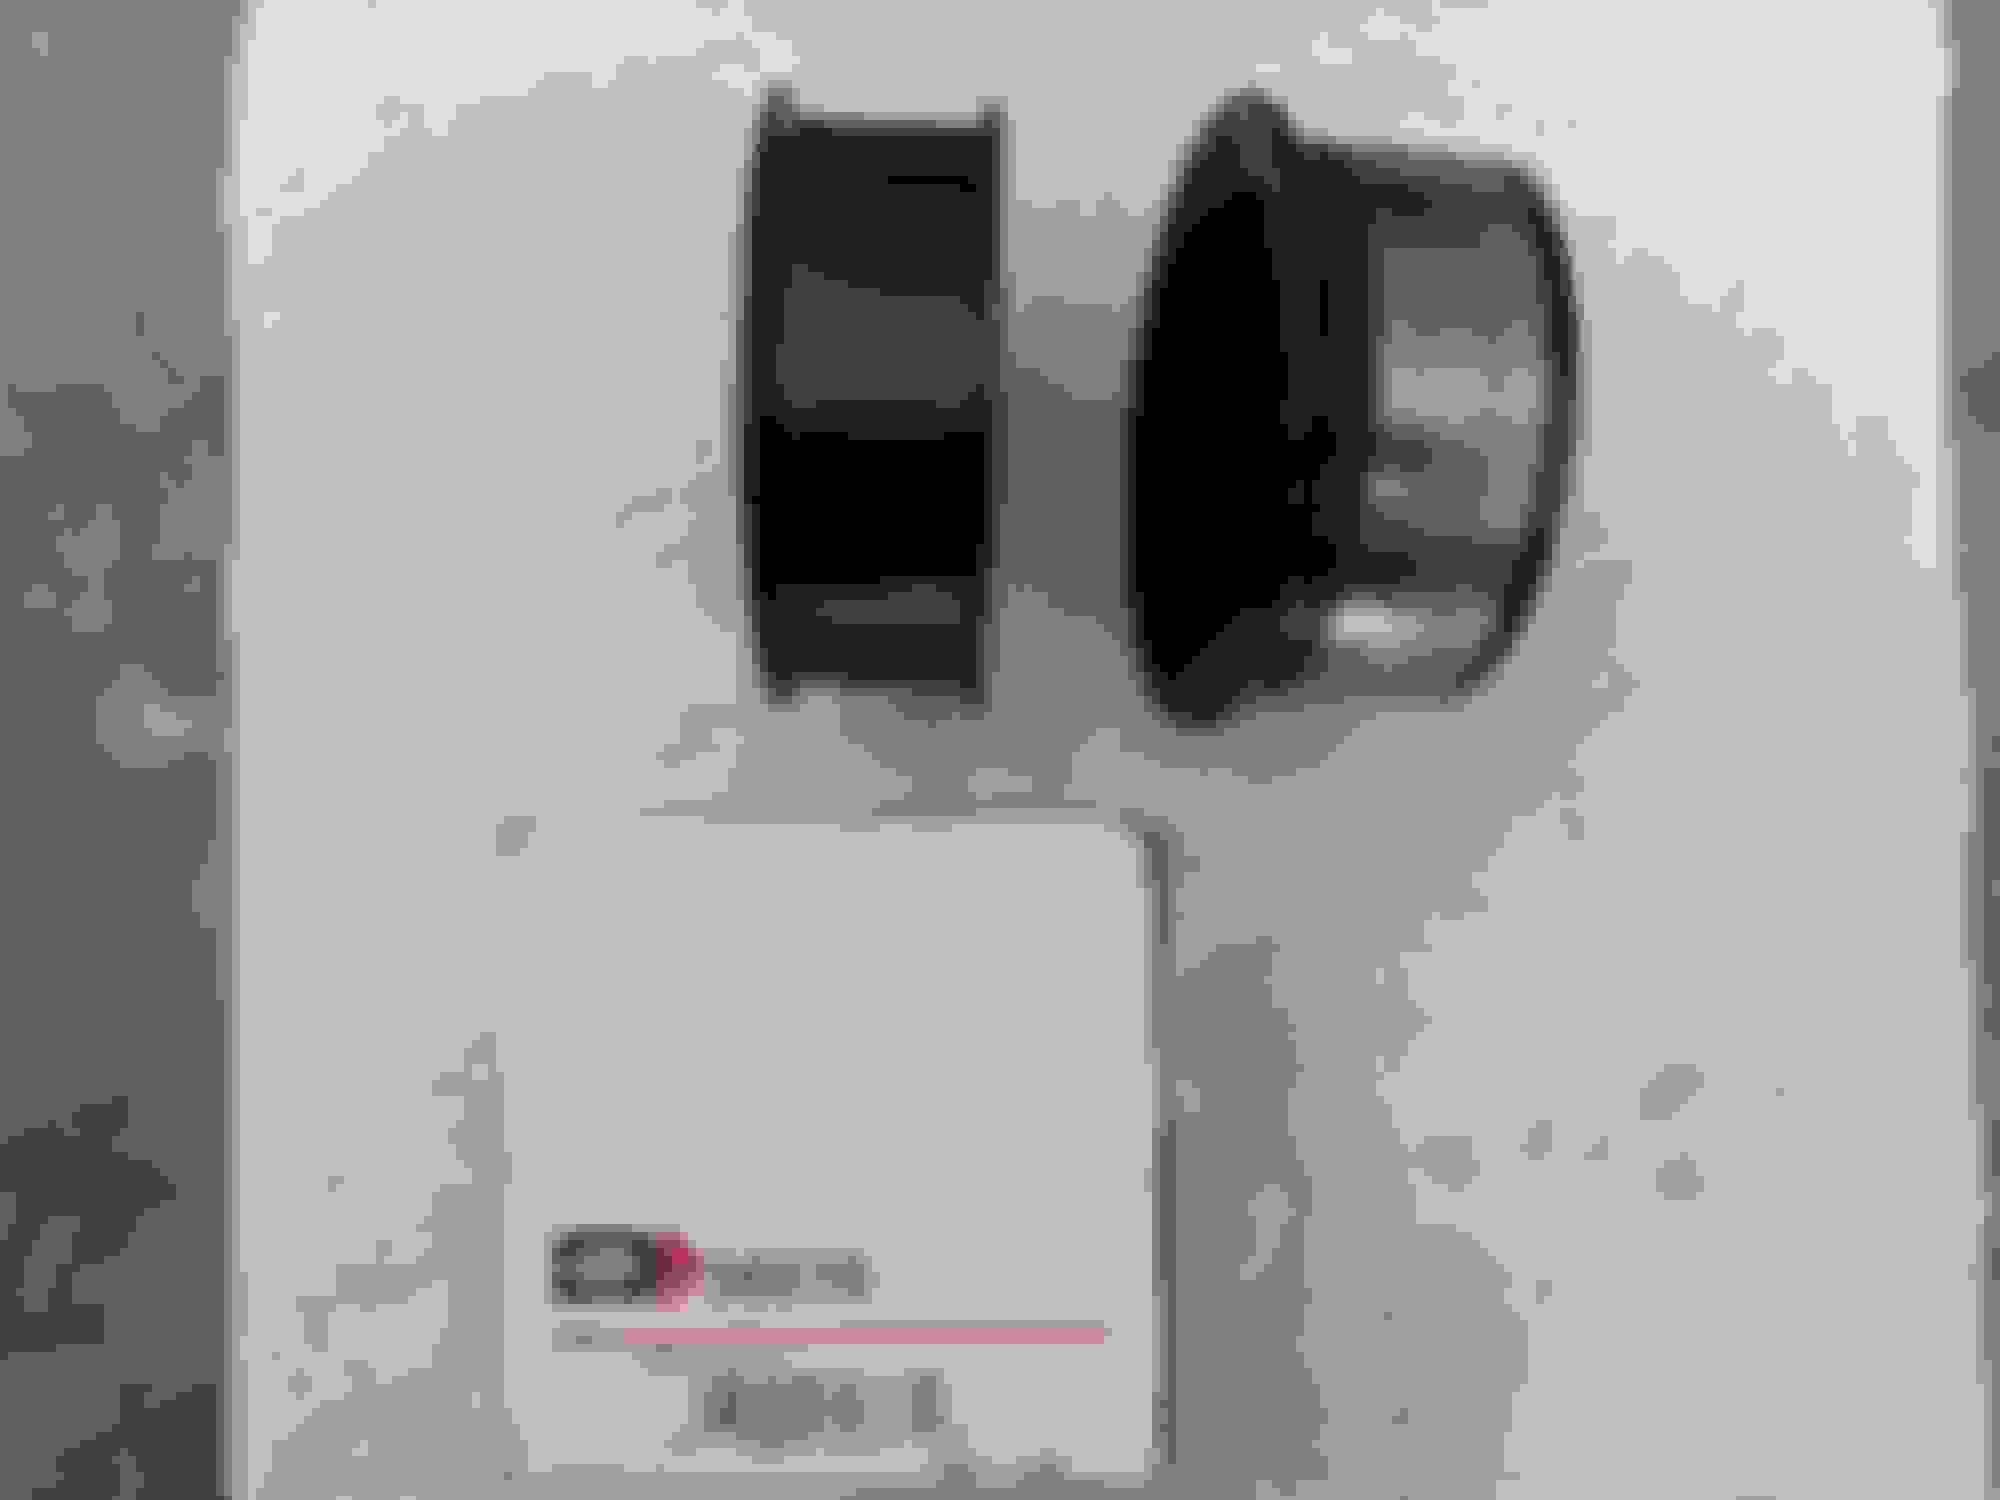
Old and new water pumps for comparison. Old water pump showed no signs of failure.
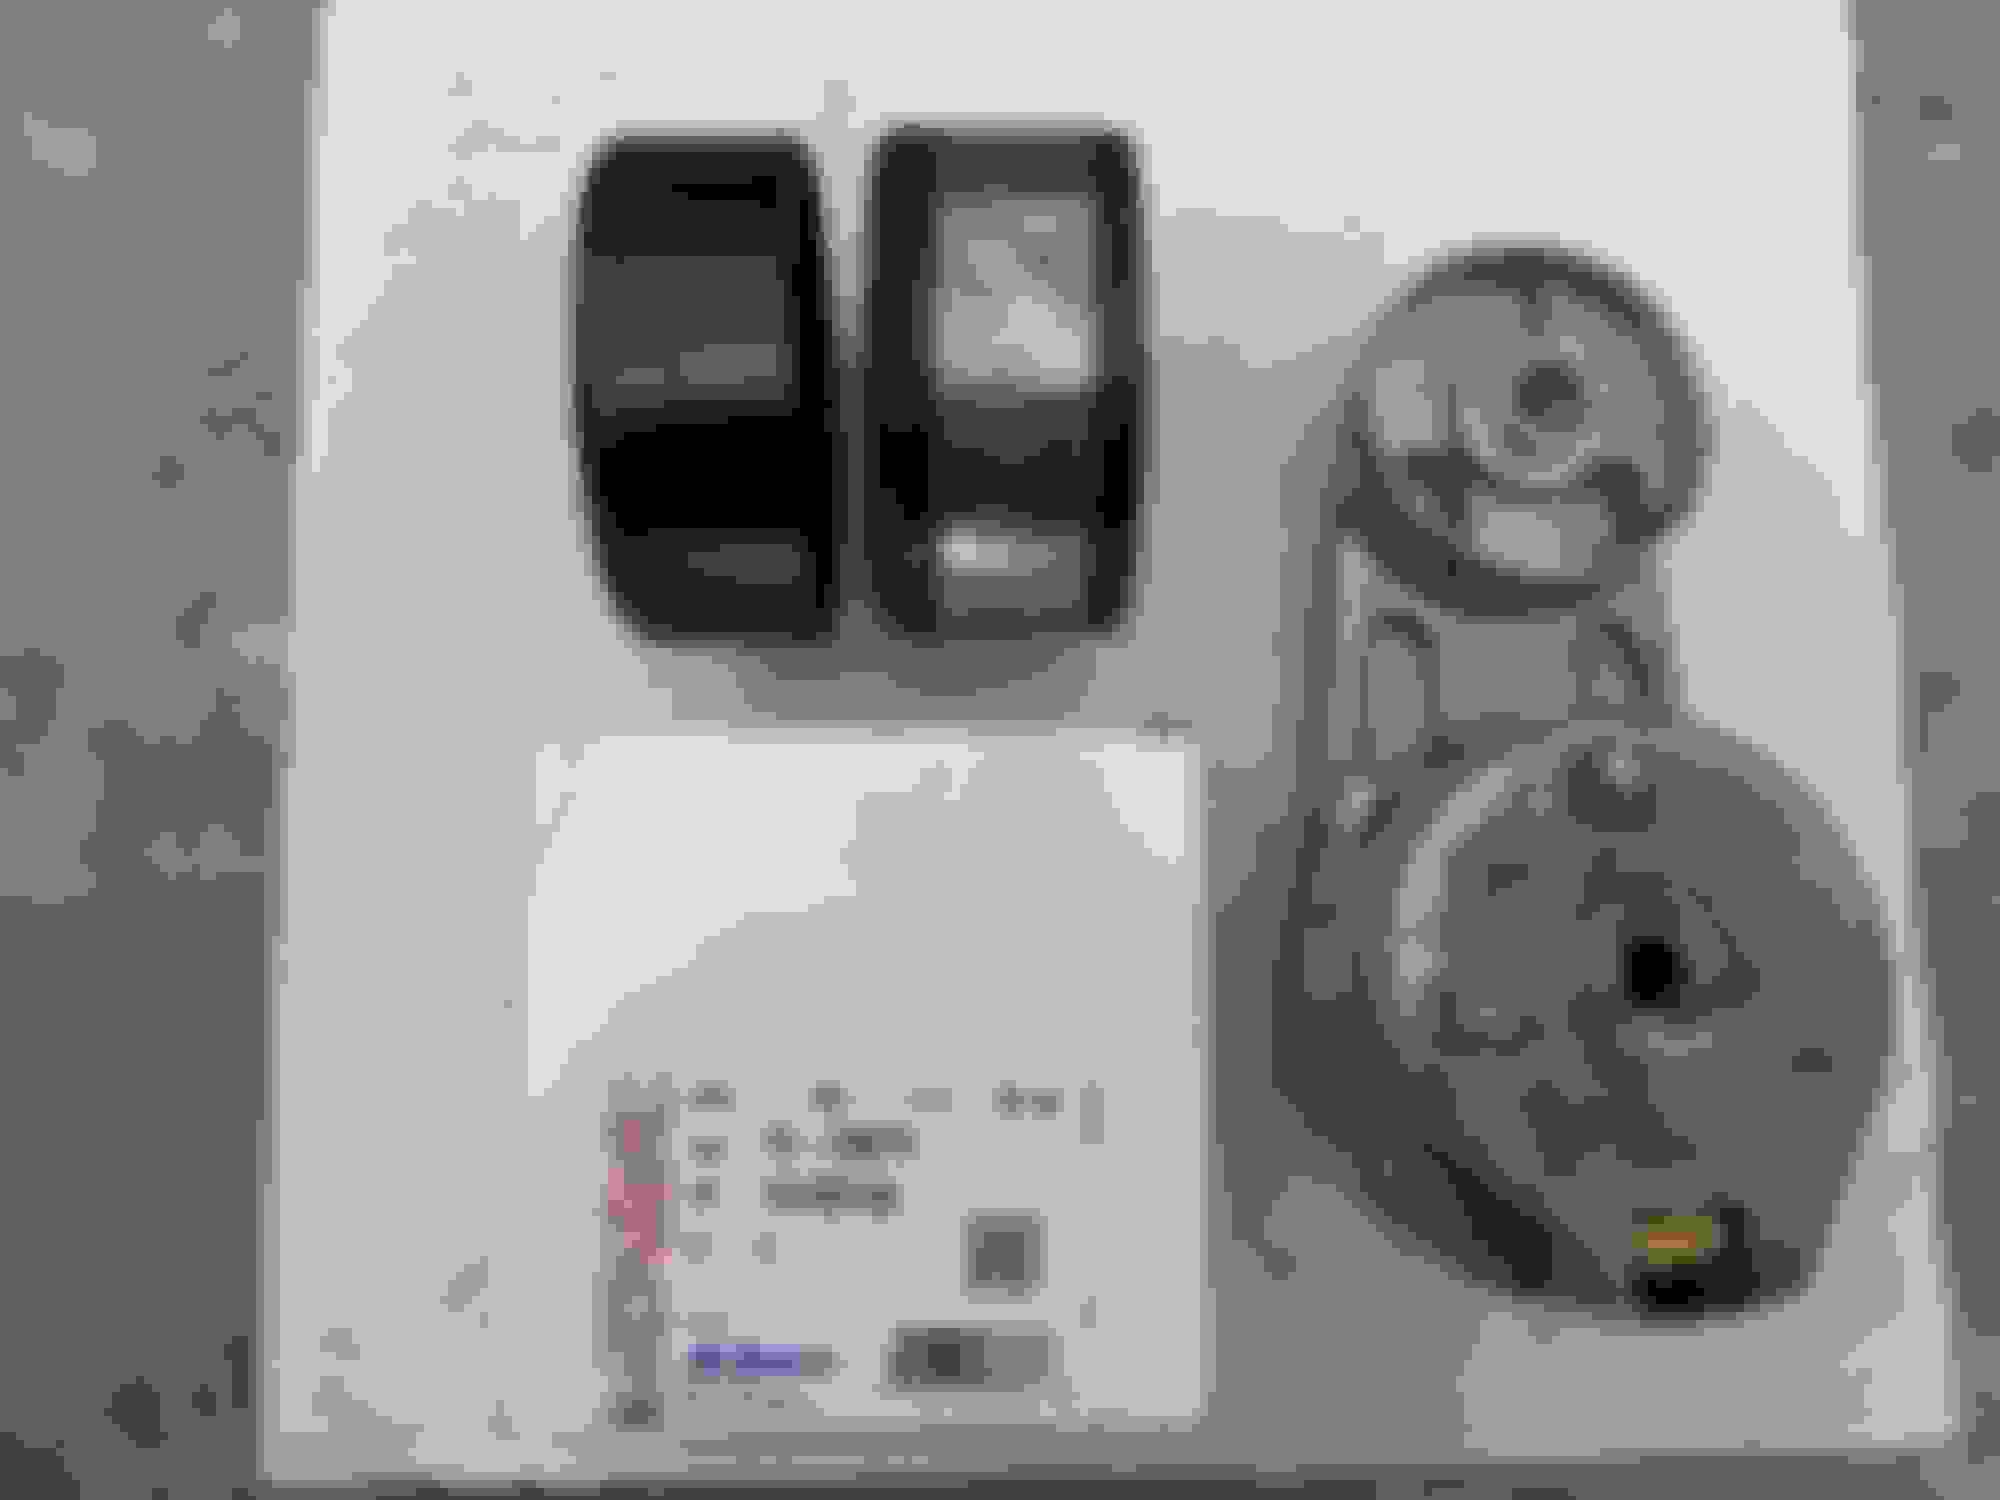
The belt is easy to remove using a 3/8 breaker or similar. Then the tensioner and idler pulleys can be removed since you have plenty of room. My tensioner pulley had some roughness but the idler was still smooth. Glad I decided to do this stuff now for sure. The old belt has zero cracks but I am still replacing it with a new one. The old one will go in the trunk.
I researched and decided on pulleys that closely matched my old ones. My idler pulley had a lip. Old and new pulleys for comparison.
New pulleys align perfectly.
New water pump takes about a minute to install. Took longer to clean up all the coolant residue.
Water pump pulley was torqued after I got the belt back on.
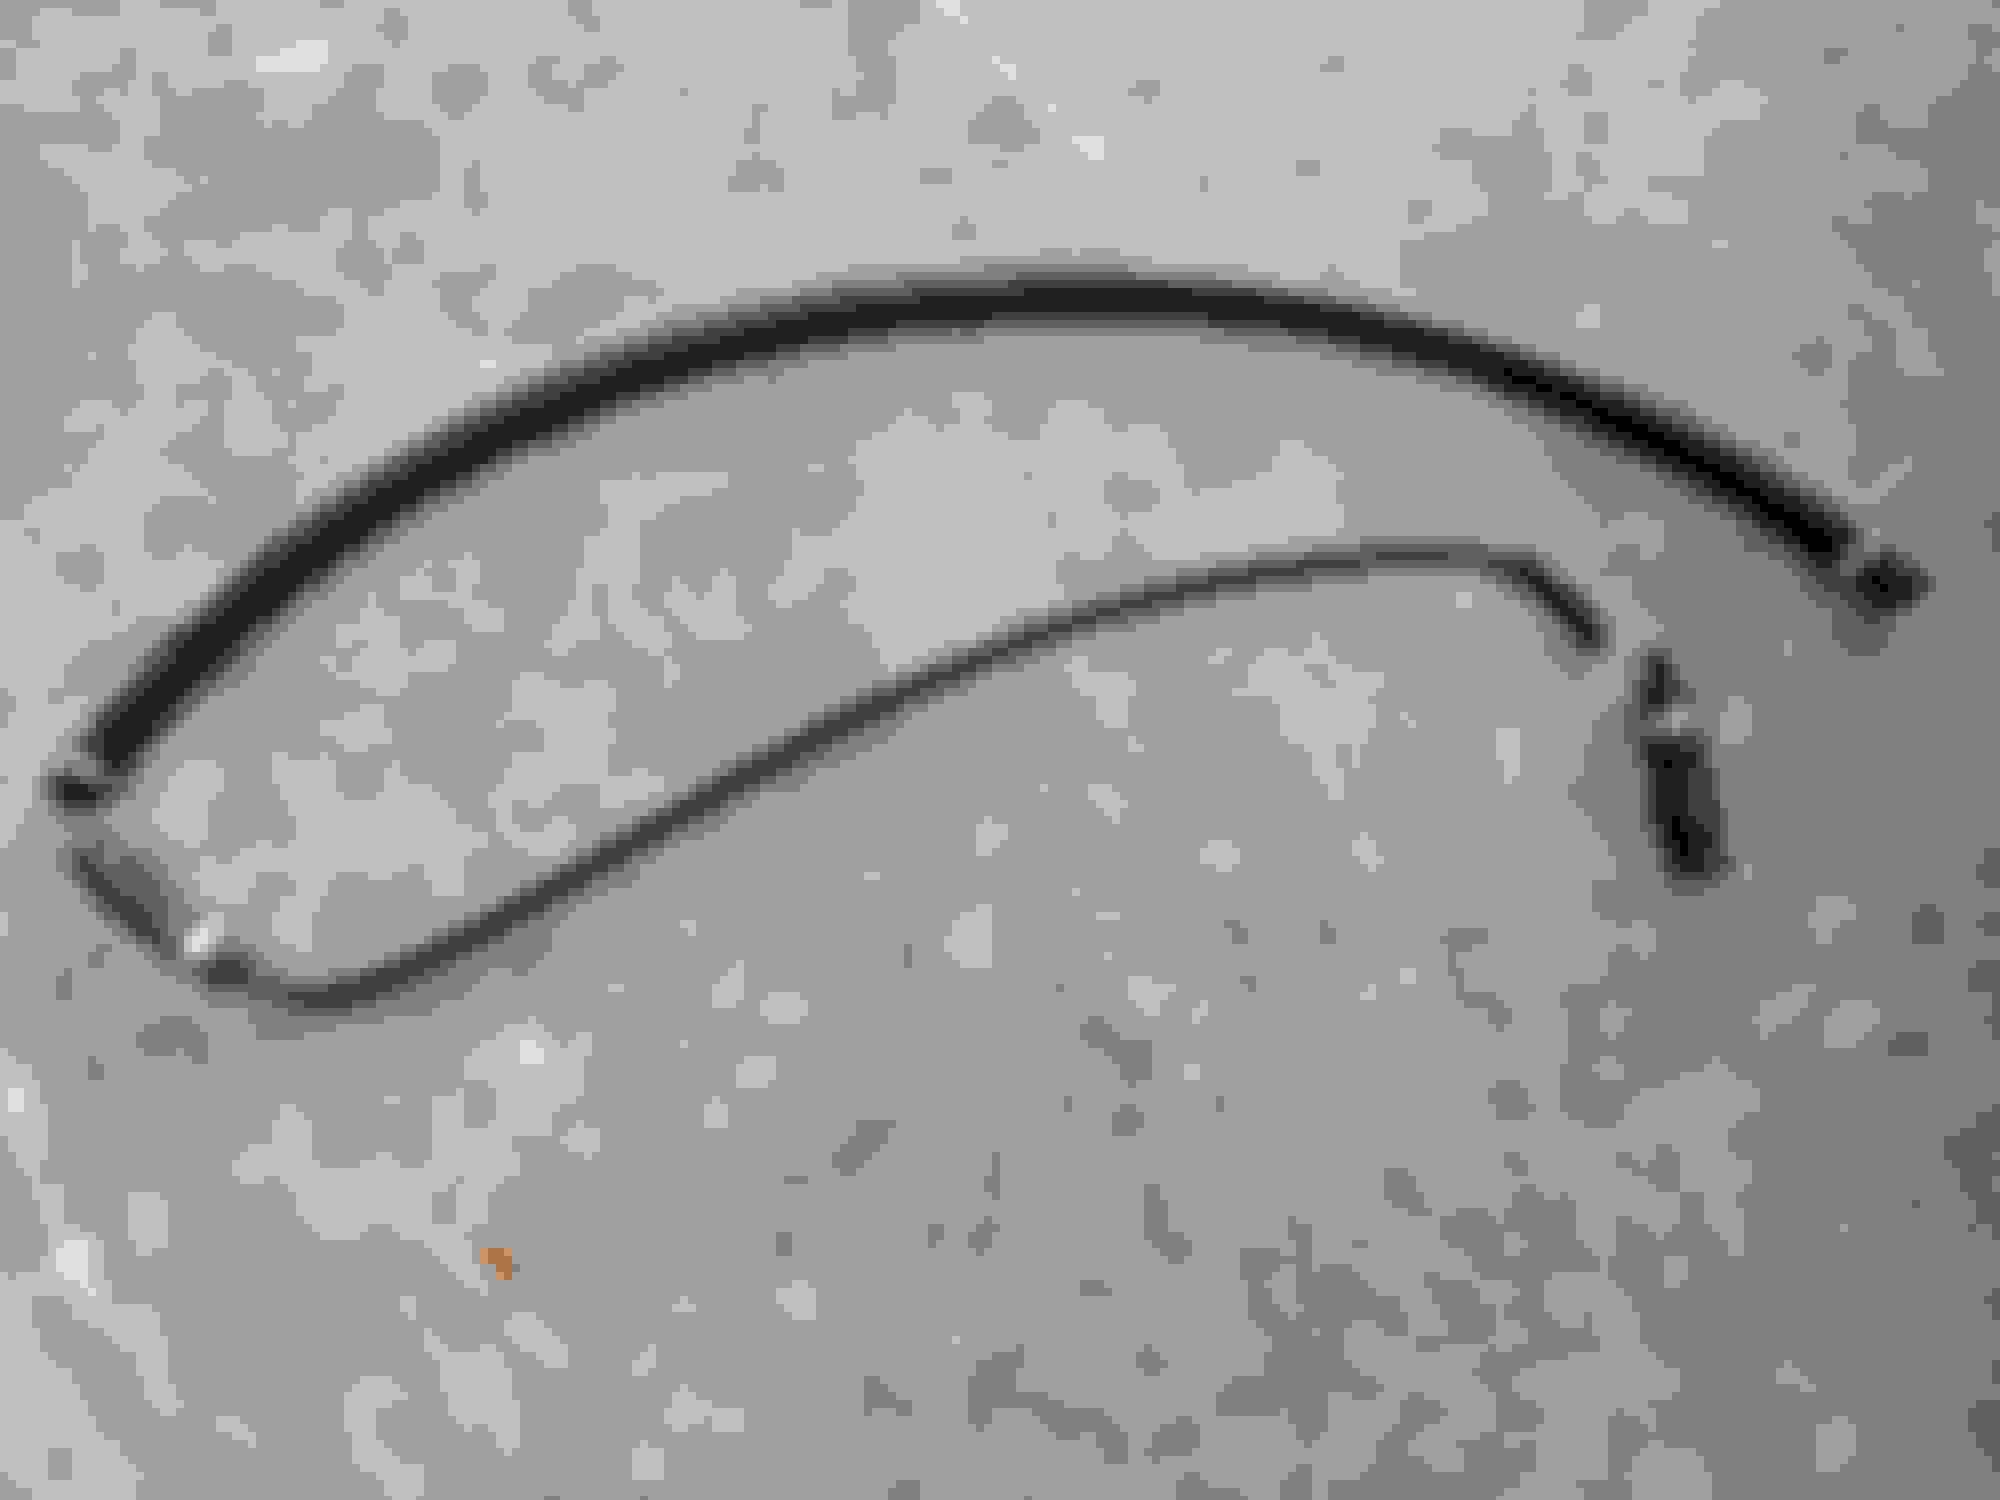
Here is the routing of the new hose that replaced the broken tubing. I used plastic accordion to protect the tubing from potential wear points. Mounted a retaining clamp using one of the holes in the plastic manifold.
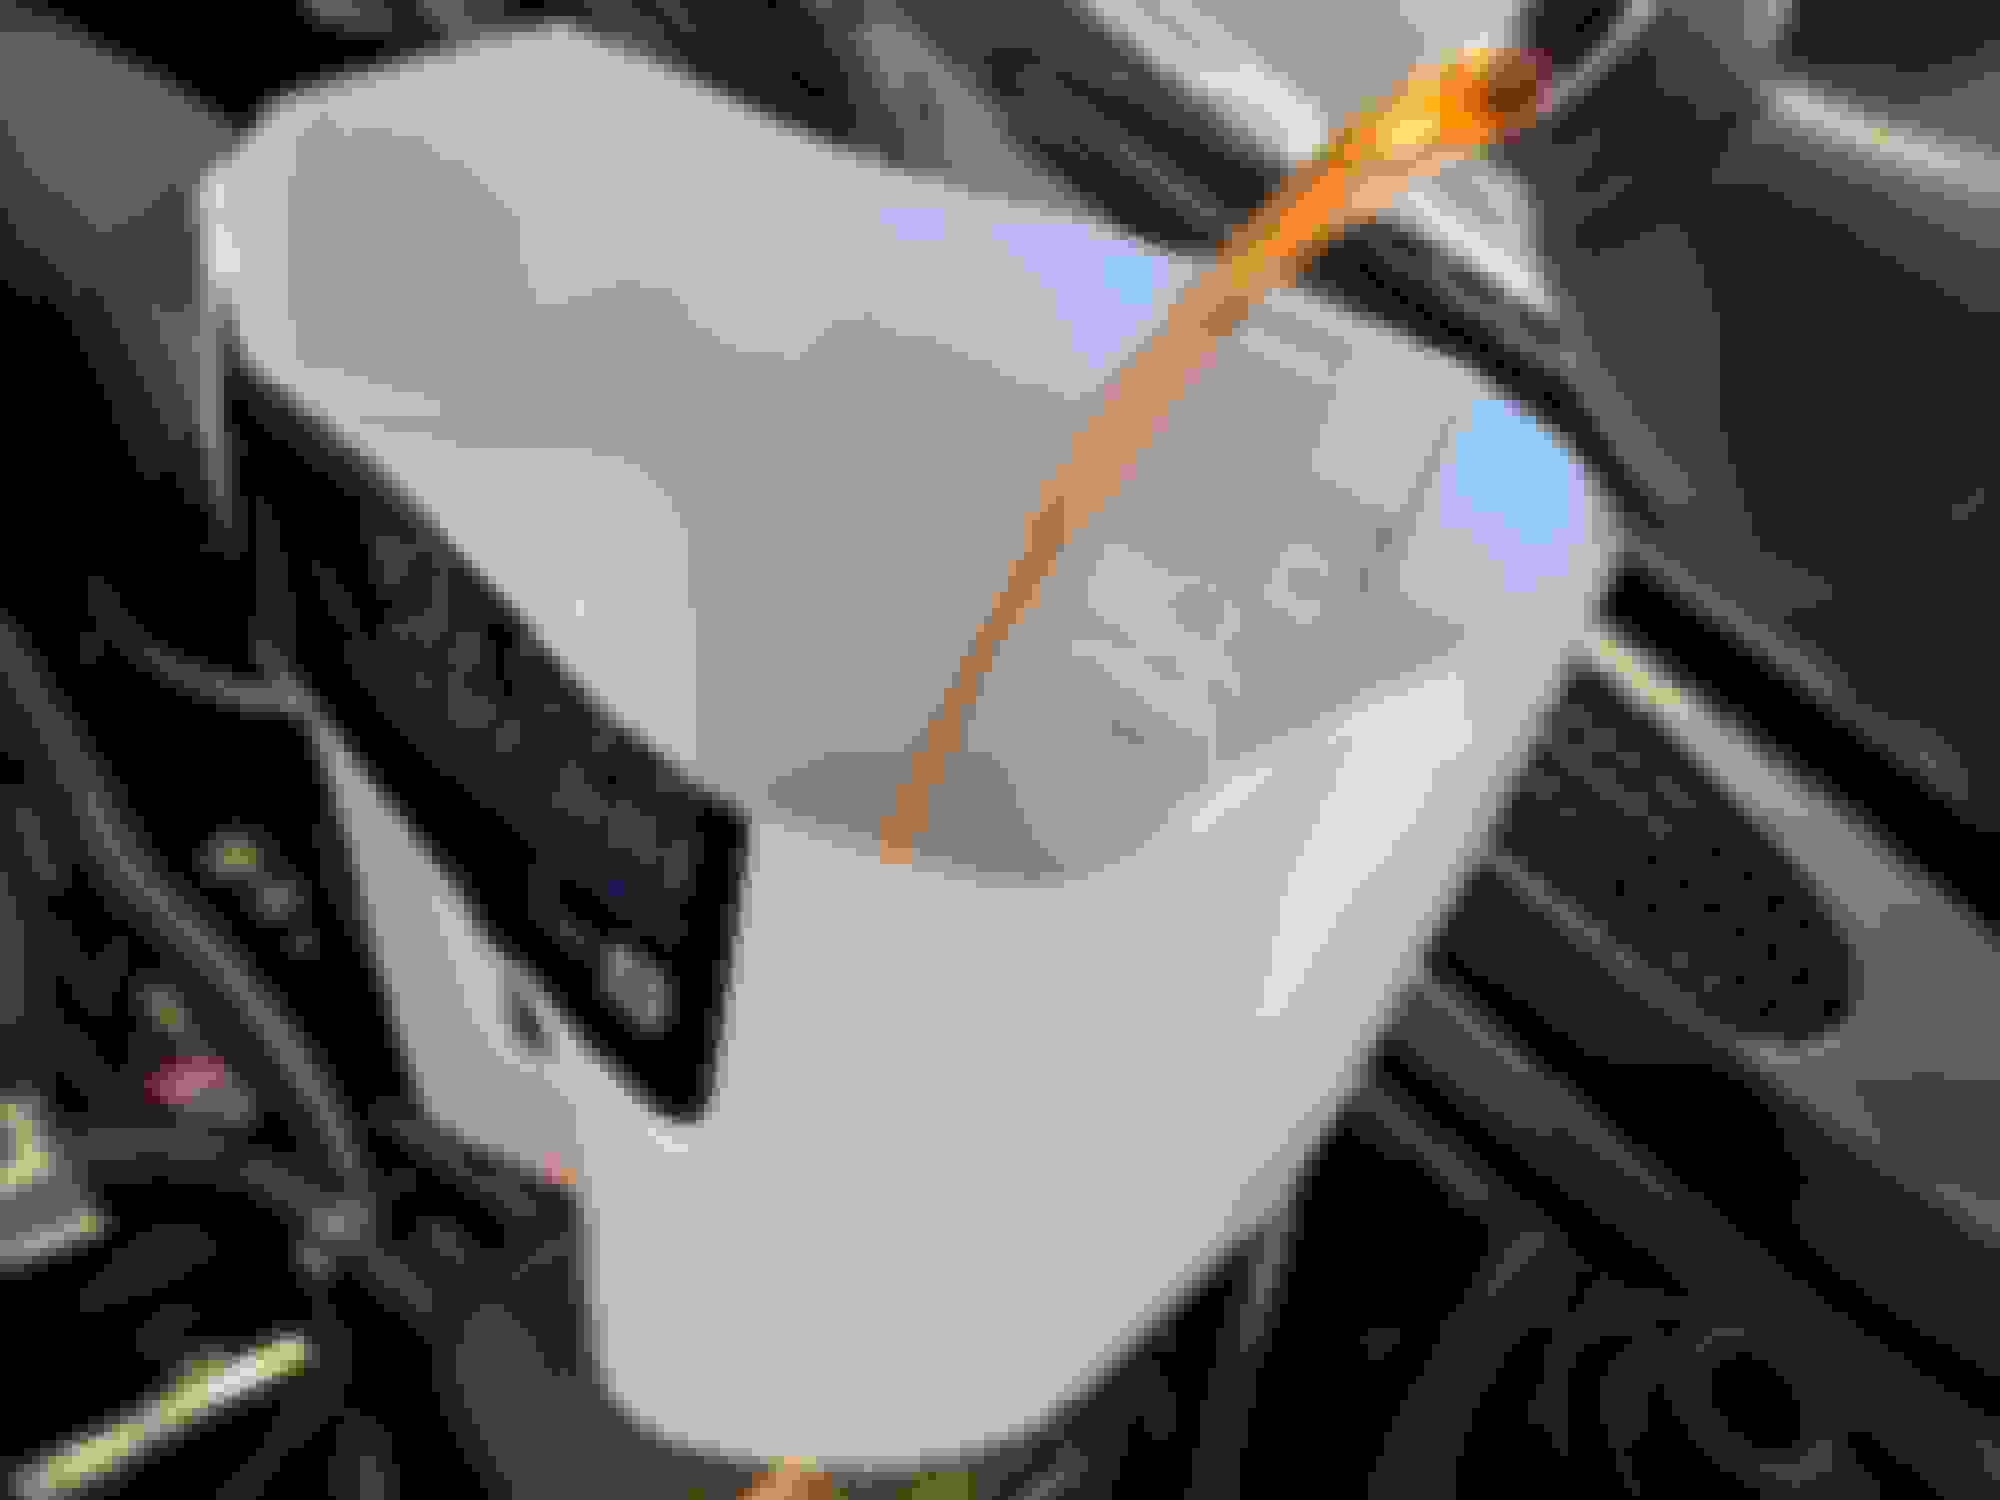
Refilling the system was easy with a makeshift funnel. The spigot fits snugly into the overflow tank inlet. Took almost 2 gallons of coolant to refill. I ran it a couple cycles and topped it up twice.
I have tried a few brands of air filters. This Mahle one is good quality and fits well. Put in this new one since I had it open.
Also checked the oil breather since I was right there.
I took my time and spent several days doing this job. I cleaned everything I could see/reach. I think it could be done in a single day if you just focused on replacing parts.
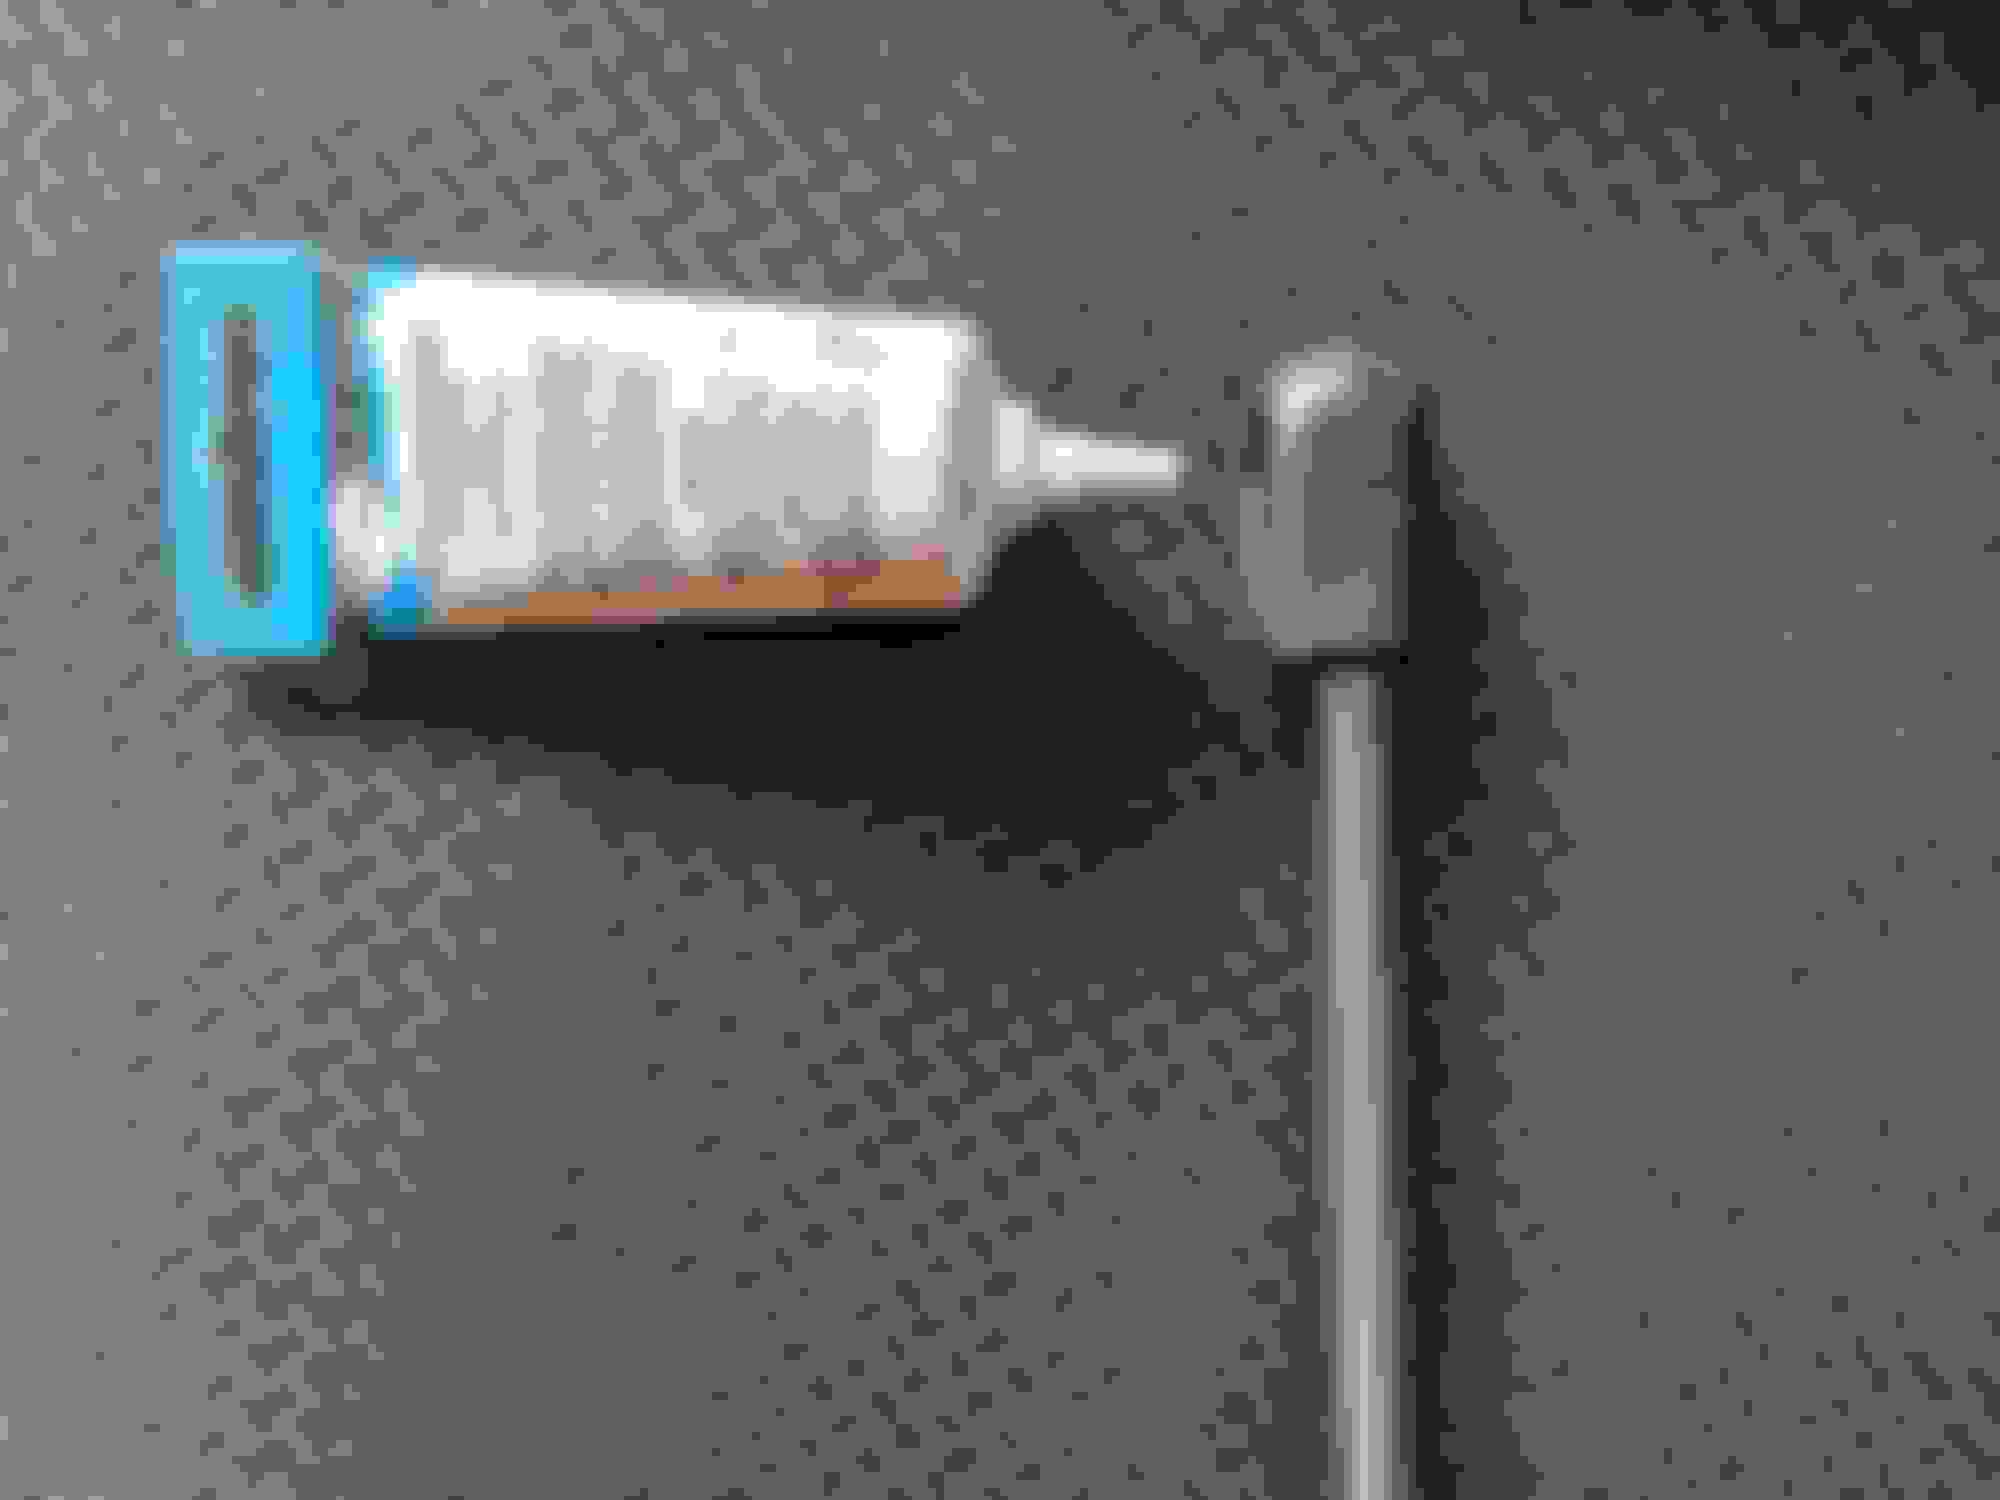
It all was done using common hand tools and a 18" long 3/8 torque wrench I got for $12 at harbor freight.
I thought this was all pretty easy but really messy. Total cost was about $285. Now I am confident my cooling system is in good order and ready for another long trip.
On November 5th I got the 6 digits. Figured it was worth memorializing it here in my thread.
So far I have put just over 61K miles on this car. Never has it broken down on me and I have driven it on multiple 1000+ mile trips (and a couple 3000+ ones).
It continues to be a joy to drive and to work on. At this point I think the only thing I did not DIY was the trans pan/filter/seals/fluid because it was not worth the trouble since I wanted to reset the adaptations too.
I was cautioned about the coolant return to the overflow tank being fragile. I got it off without issue but later made the mistake of leaning on it and I snapped the plastic tubing. So I had to make a trip to Napa for a length of tubing.
I'd say keep an eye on it over time. I did this same trick a while ago and it ended up leaking. This hose (I assume I used the wrong kind, obviously) turned super stiff and extremely brittle. Could not believe it until I traced a leak back the overflow end of the hose, past the clamp. I ended up caving in, and ordered the Jaguar part because there is really no winning against a cooling system.
On November 5th I got the 6 digits. Figured it was worth memorializing it here in my thread.
So far I have put just over 61K miles on this car. Never has it broken down on me and I have driven it on multiple 1000+ mile trips (and a couple 3000+ ones).
It continues to be a joy to drive and to work on. At this point I think the only thing I did not DIY was the trans pan/filter/seals/fluid because it was not worth the trouble since I wanted to reset the adaptations too.
Congratulations Rothwell! Quite an achievment! I'm about 30k behind you, and a whole lot of projects left to do!
One day I am in the garage and I have the hood up on the car. Its a beautiful, windy day outside. I am over by the toolbox doing something and I hear a big WHOMP as the winds cause my hood to slam closed. It was then that I decided it was time for new struts for the hood. And might as well do the trunk while I am at it.
So I did some reading here and found that I could get the replacements cheap enough on Amazon.
Removing the old ones is really easy. There is a saddle clip that you need to pry up with a small screwdriver. It doesn't have to pop all the way off.
Once it is up at least this far then the strut will slide right off the ball connector. Does this for both ends. Once I got both ends free I just held the hood up with my shoulder and swapped the strut out.
The new one comes with it own clips and just pops on. Before installing I filled the sockets with waterproof grease.
Looks great and is way stronger than the old one.
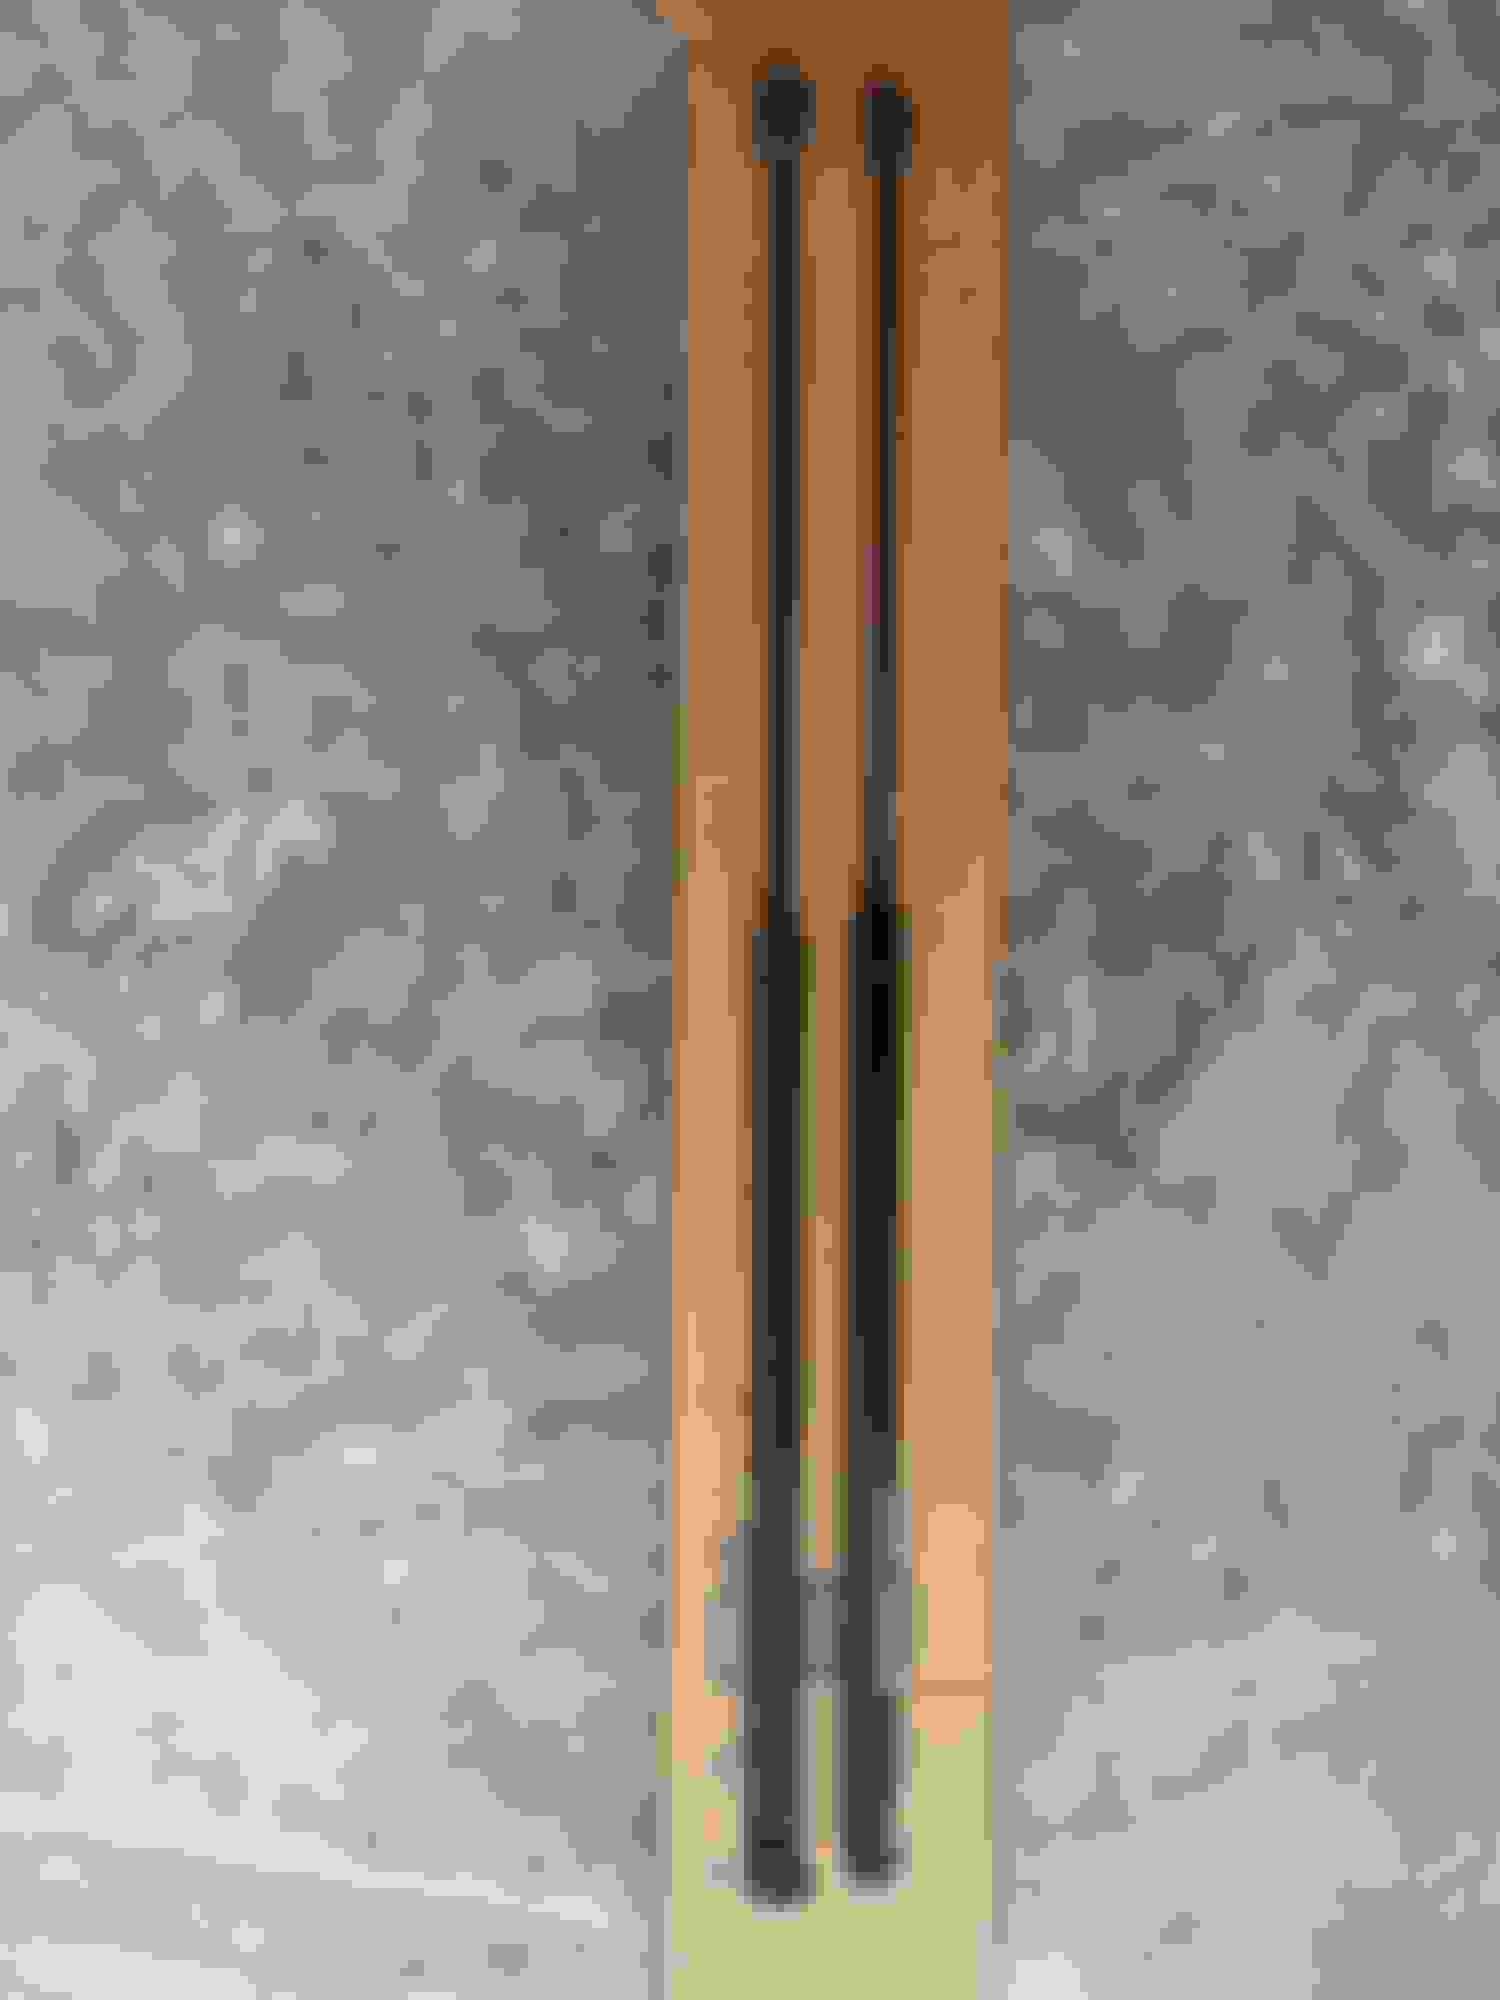
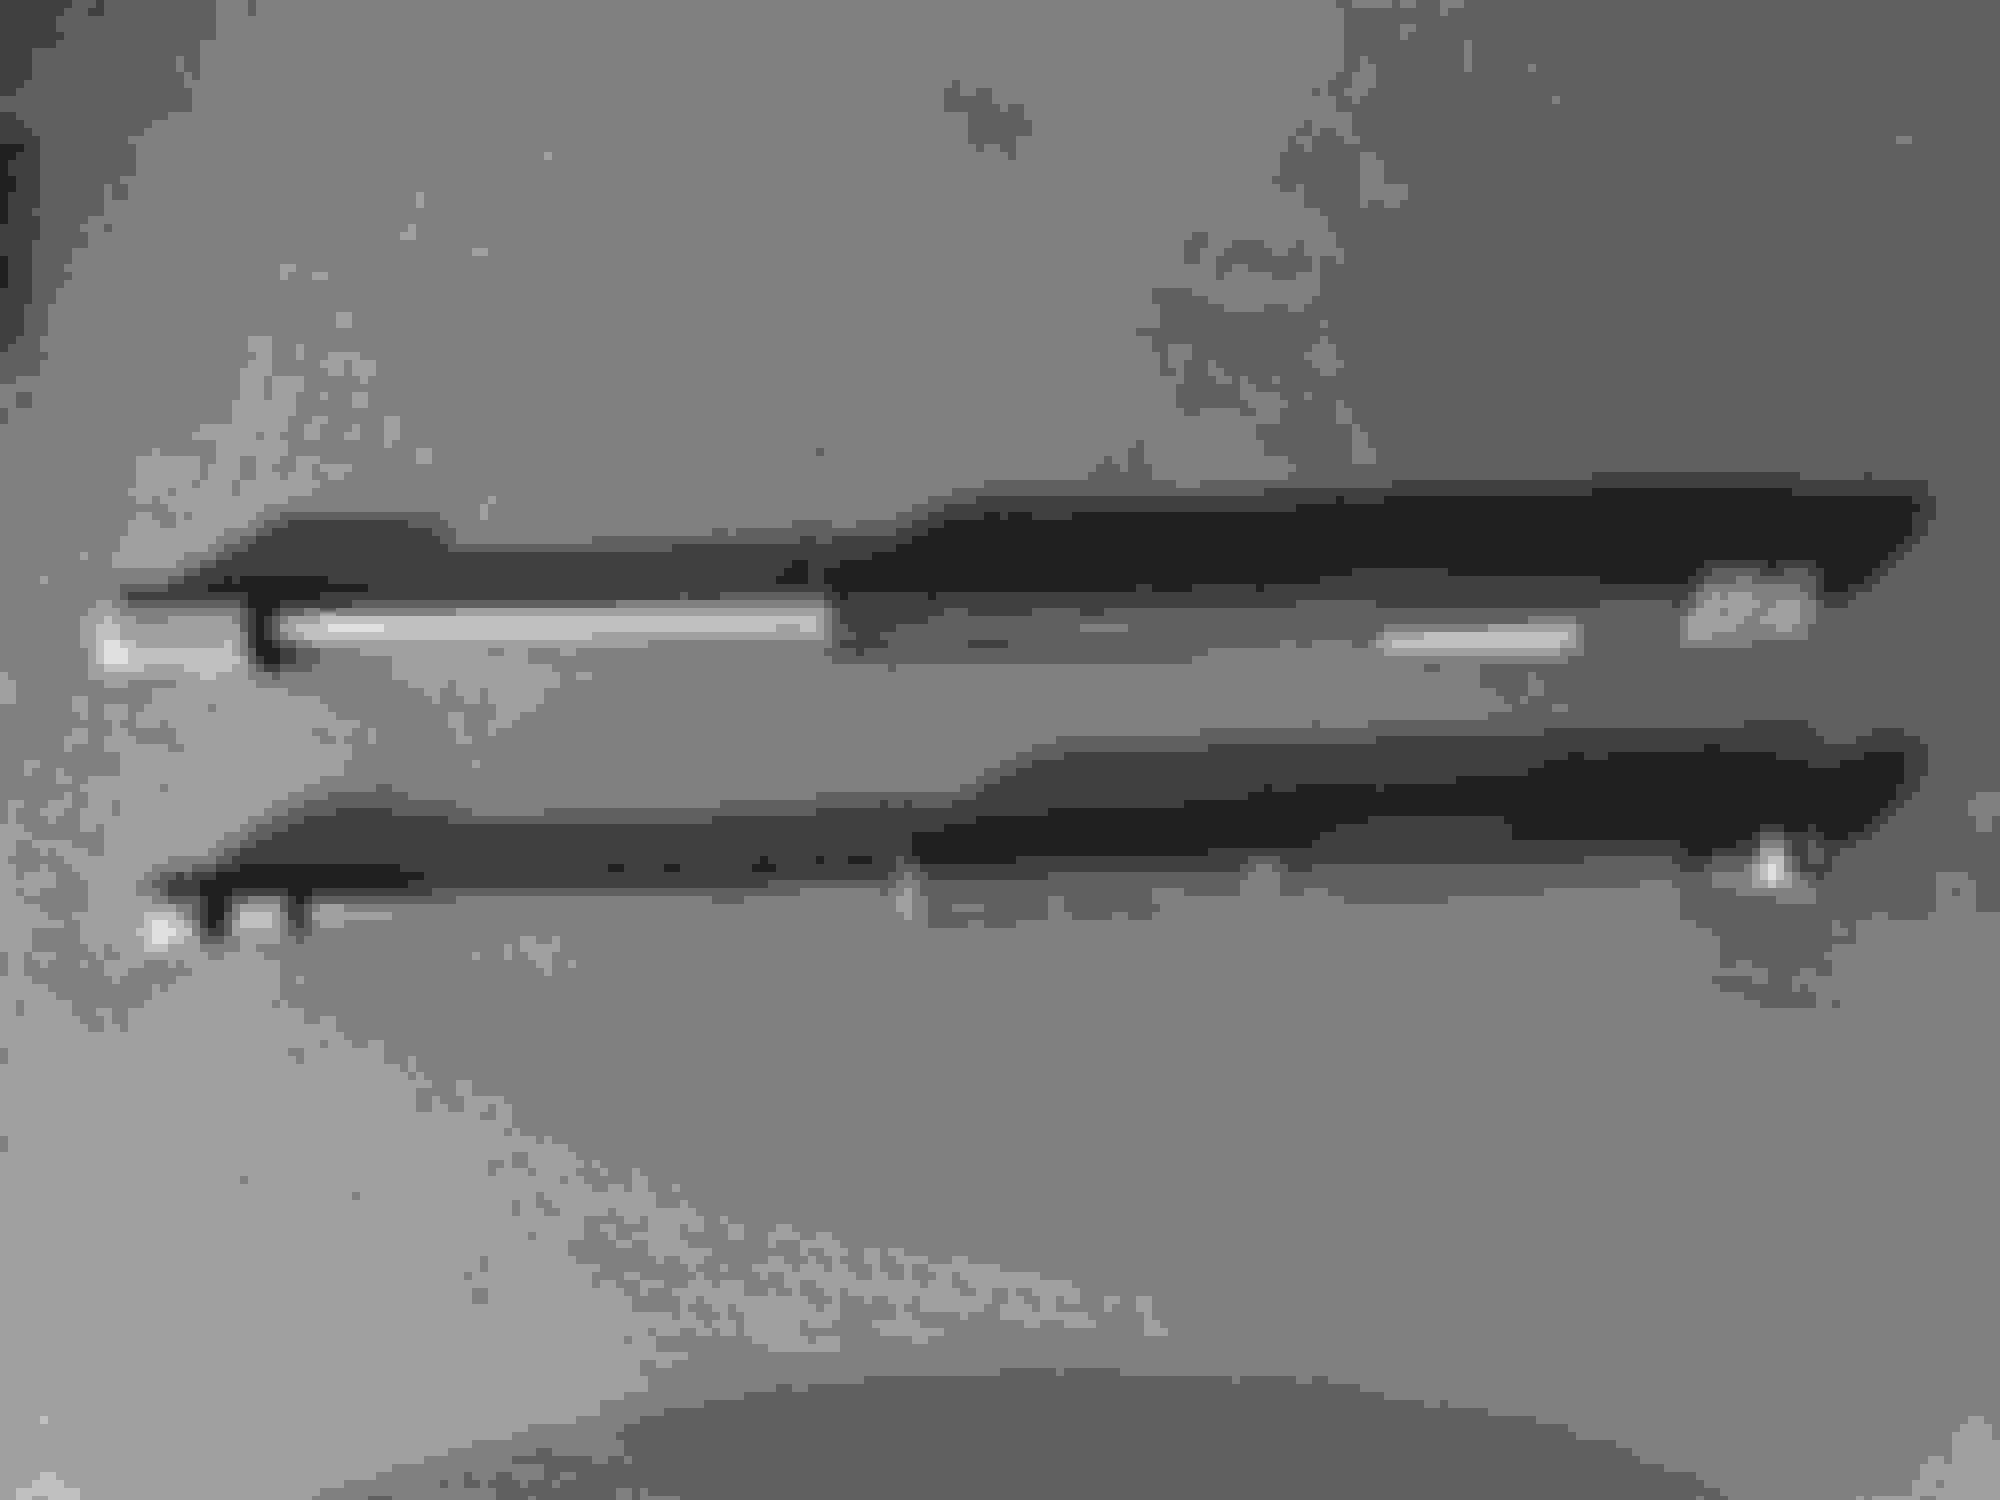
Once I got an old one off I compared to the original. Replacement appears to be better quality than original.
After doing the other side the hood behavior is way different. Previously I had to lift it nearly all the way up before the struts could hold it.
Now I only have to lift it this far and the struts will raise it the rest of the way.
Pushing it down take more effort but not so much as it would twist the hood.
Overall its a major improvement for a few minutes of effort. I think I spent more time deciding what to buy than it took to install these.
Old ones need the saddle clip popped to get them off just like the fronts.
Old and new for comparison
The new ones had larger ends that made it barely fit at the trunk connection.
And like the hood the trunk now has a new position where the struts take over and lift the trunk.
Worth noting that these new ones will not raise the trunk from a button push. You still have to lift it this much. And as expected it takes more effort to close the trunk.
These were a real bargain for $13. Like the hood, the new ones look nicer and work very well.
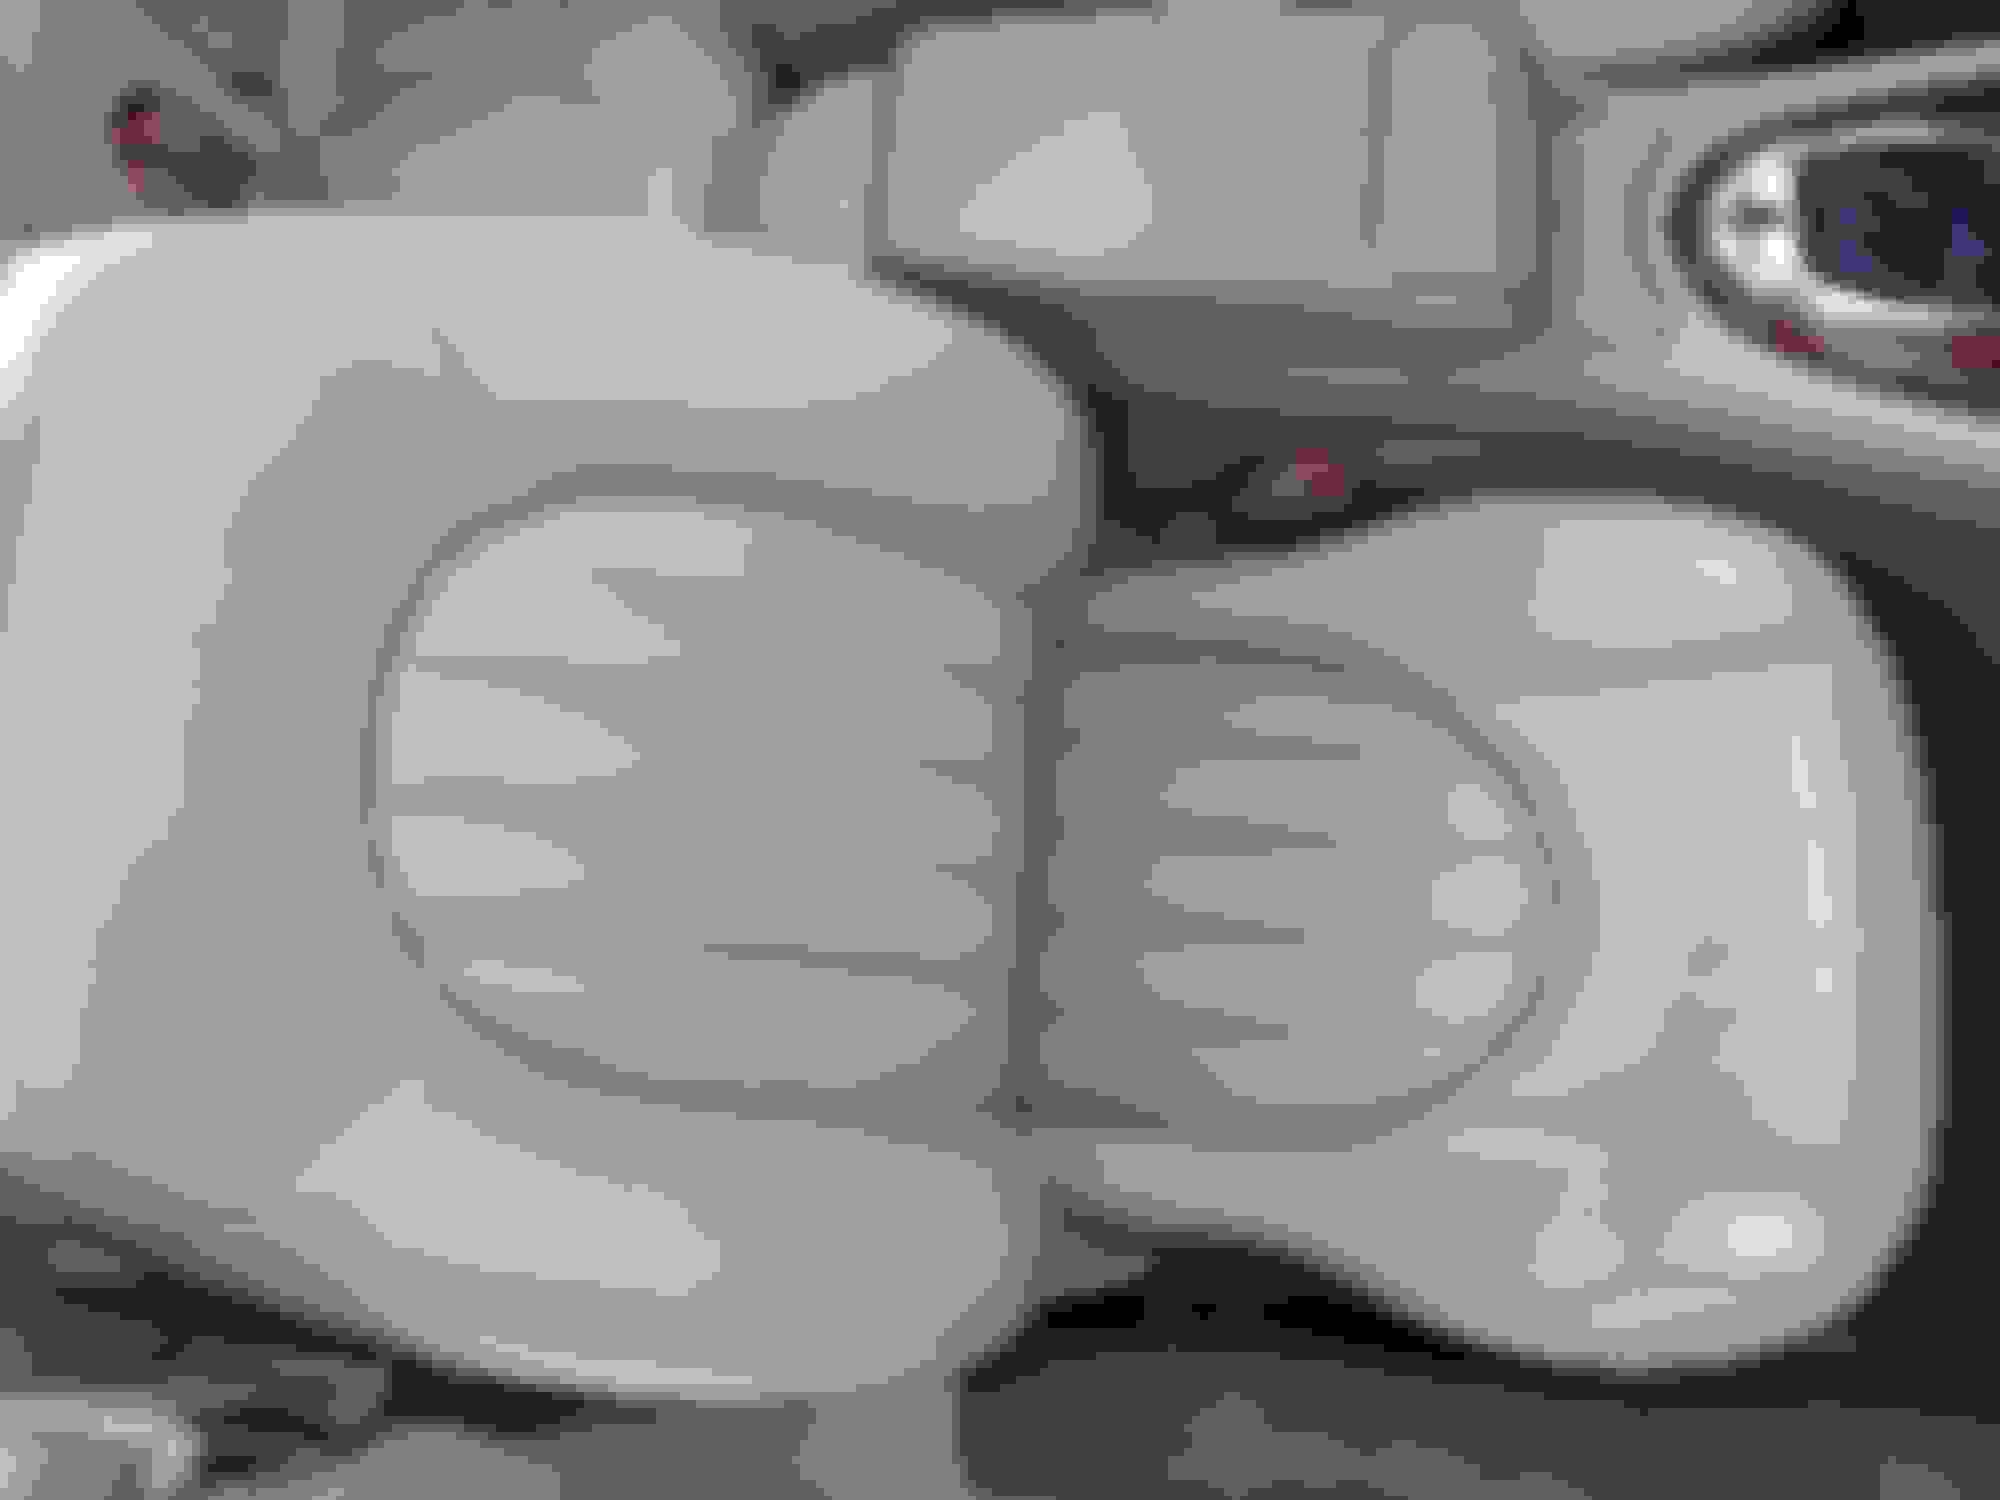
Something that I think we all have to deal with eventually is degrading leather. Especially in the convertibles. In my case the Florida sun had started to take its toll on the front seats due to the top being down 95% of the time.
The passenger seat was getting the worst of it, more due to it not having an occupant as much. The leather surface was not badly worn but was starting to get some cracking. Seemed like time to try some restoration. I had seen a few threads on here that had good results.
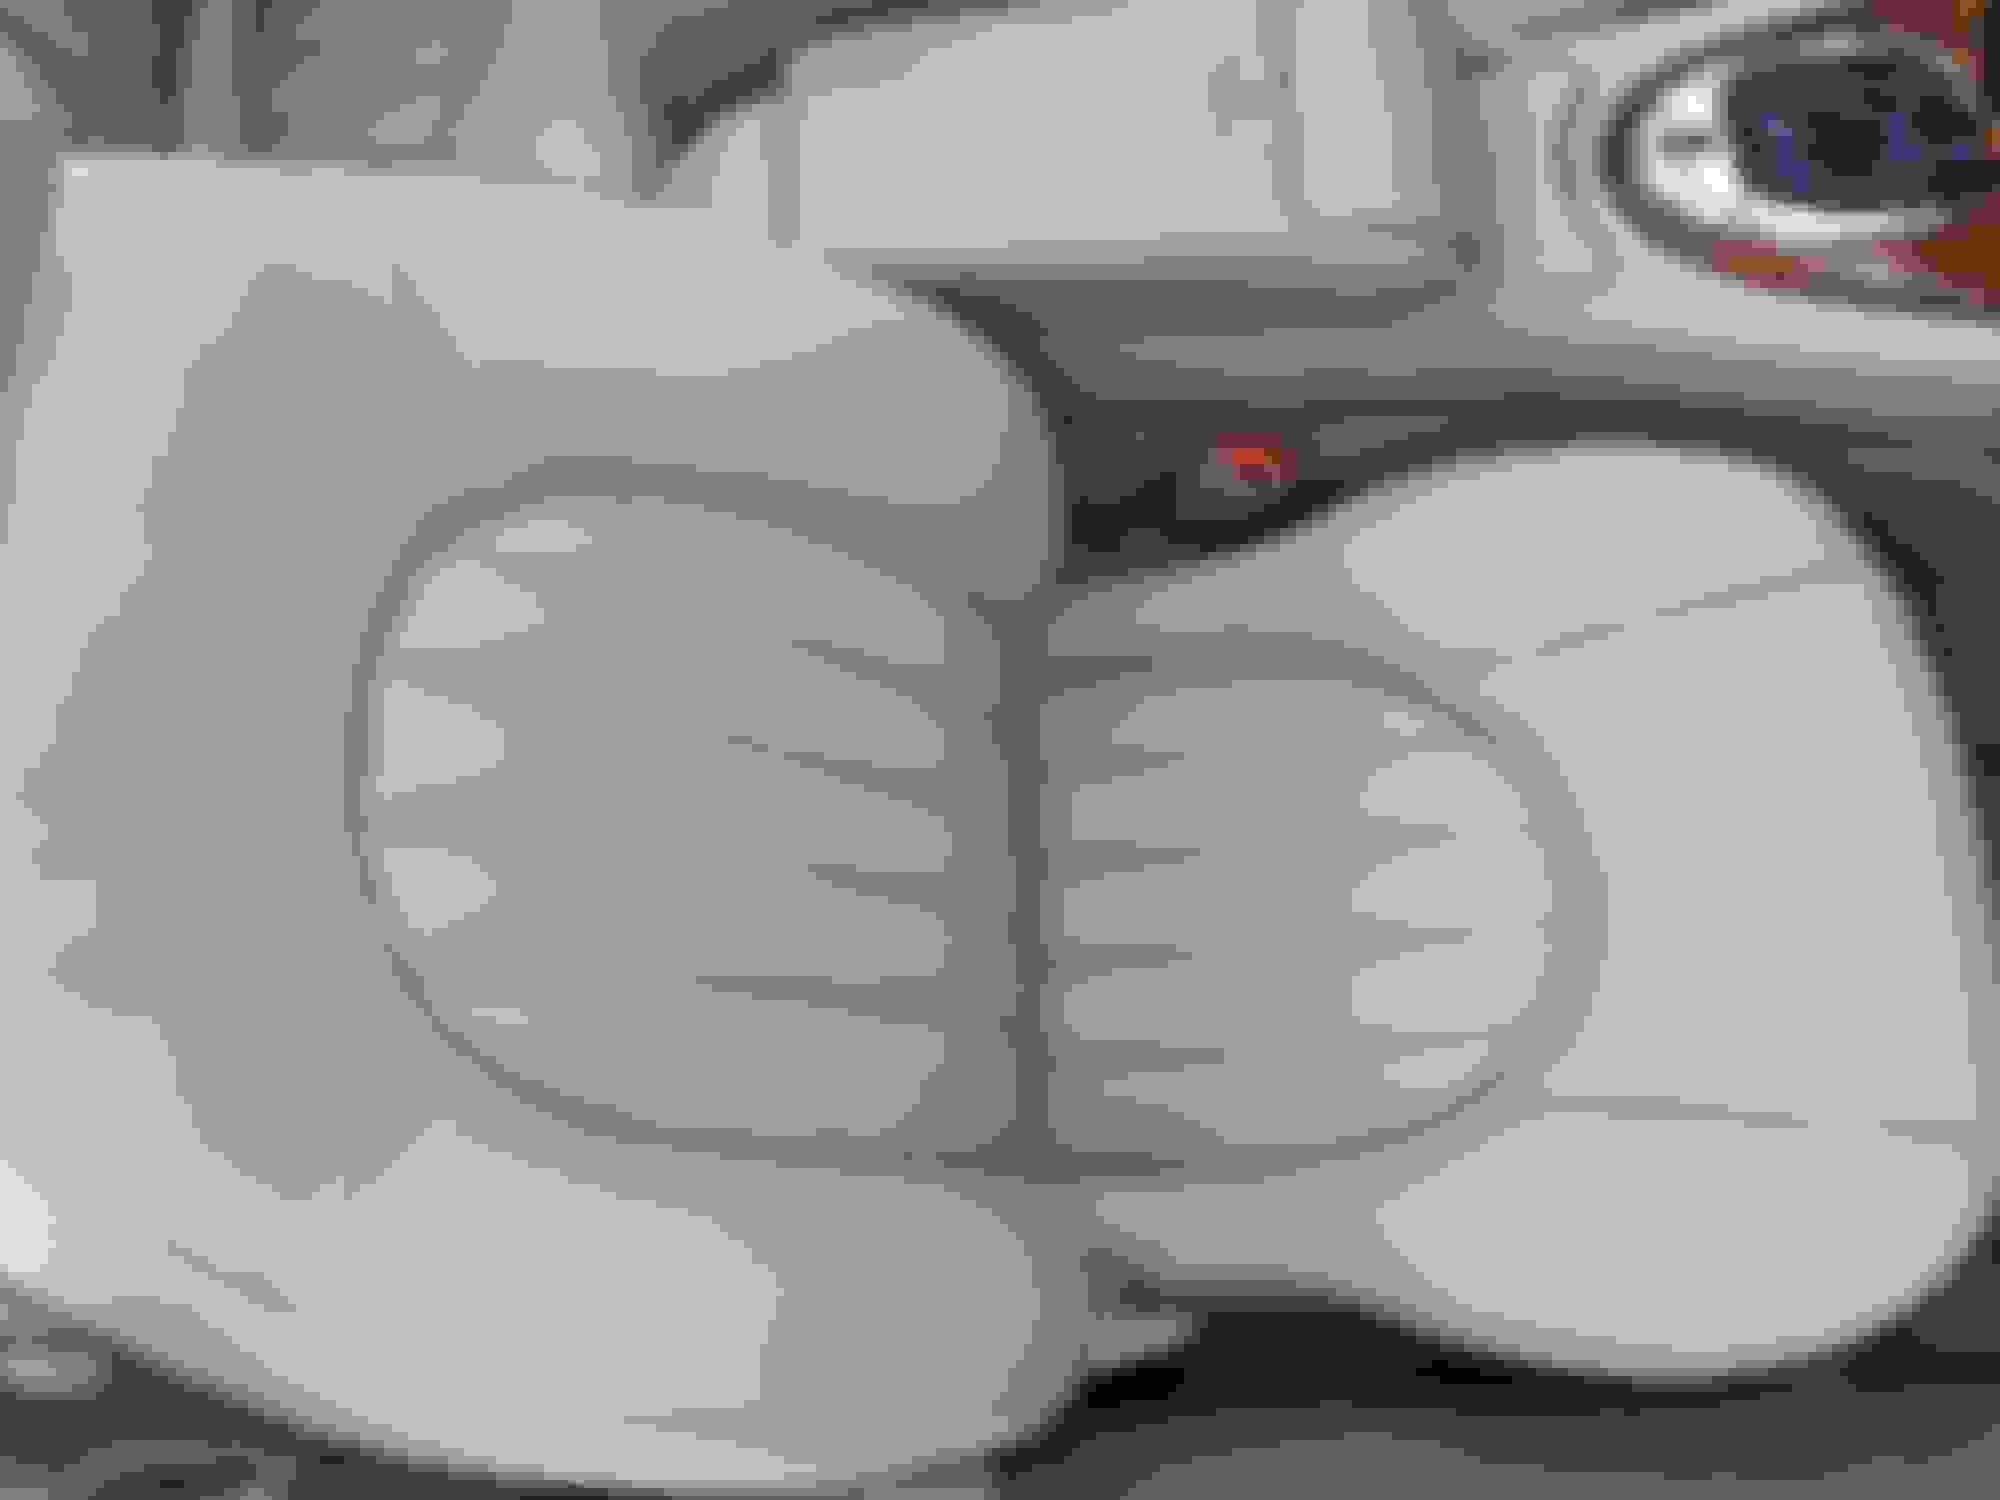
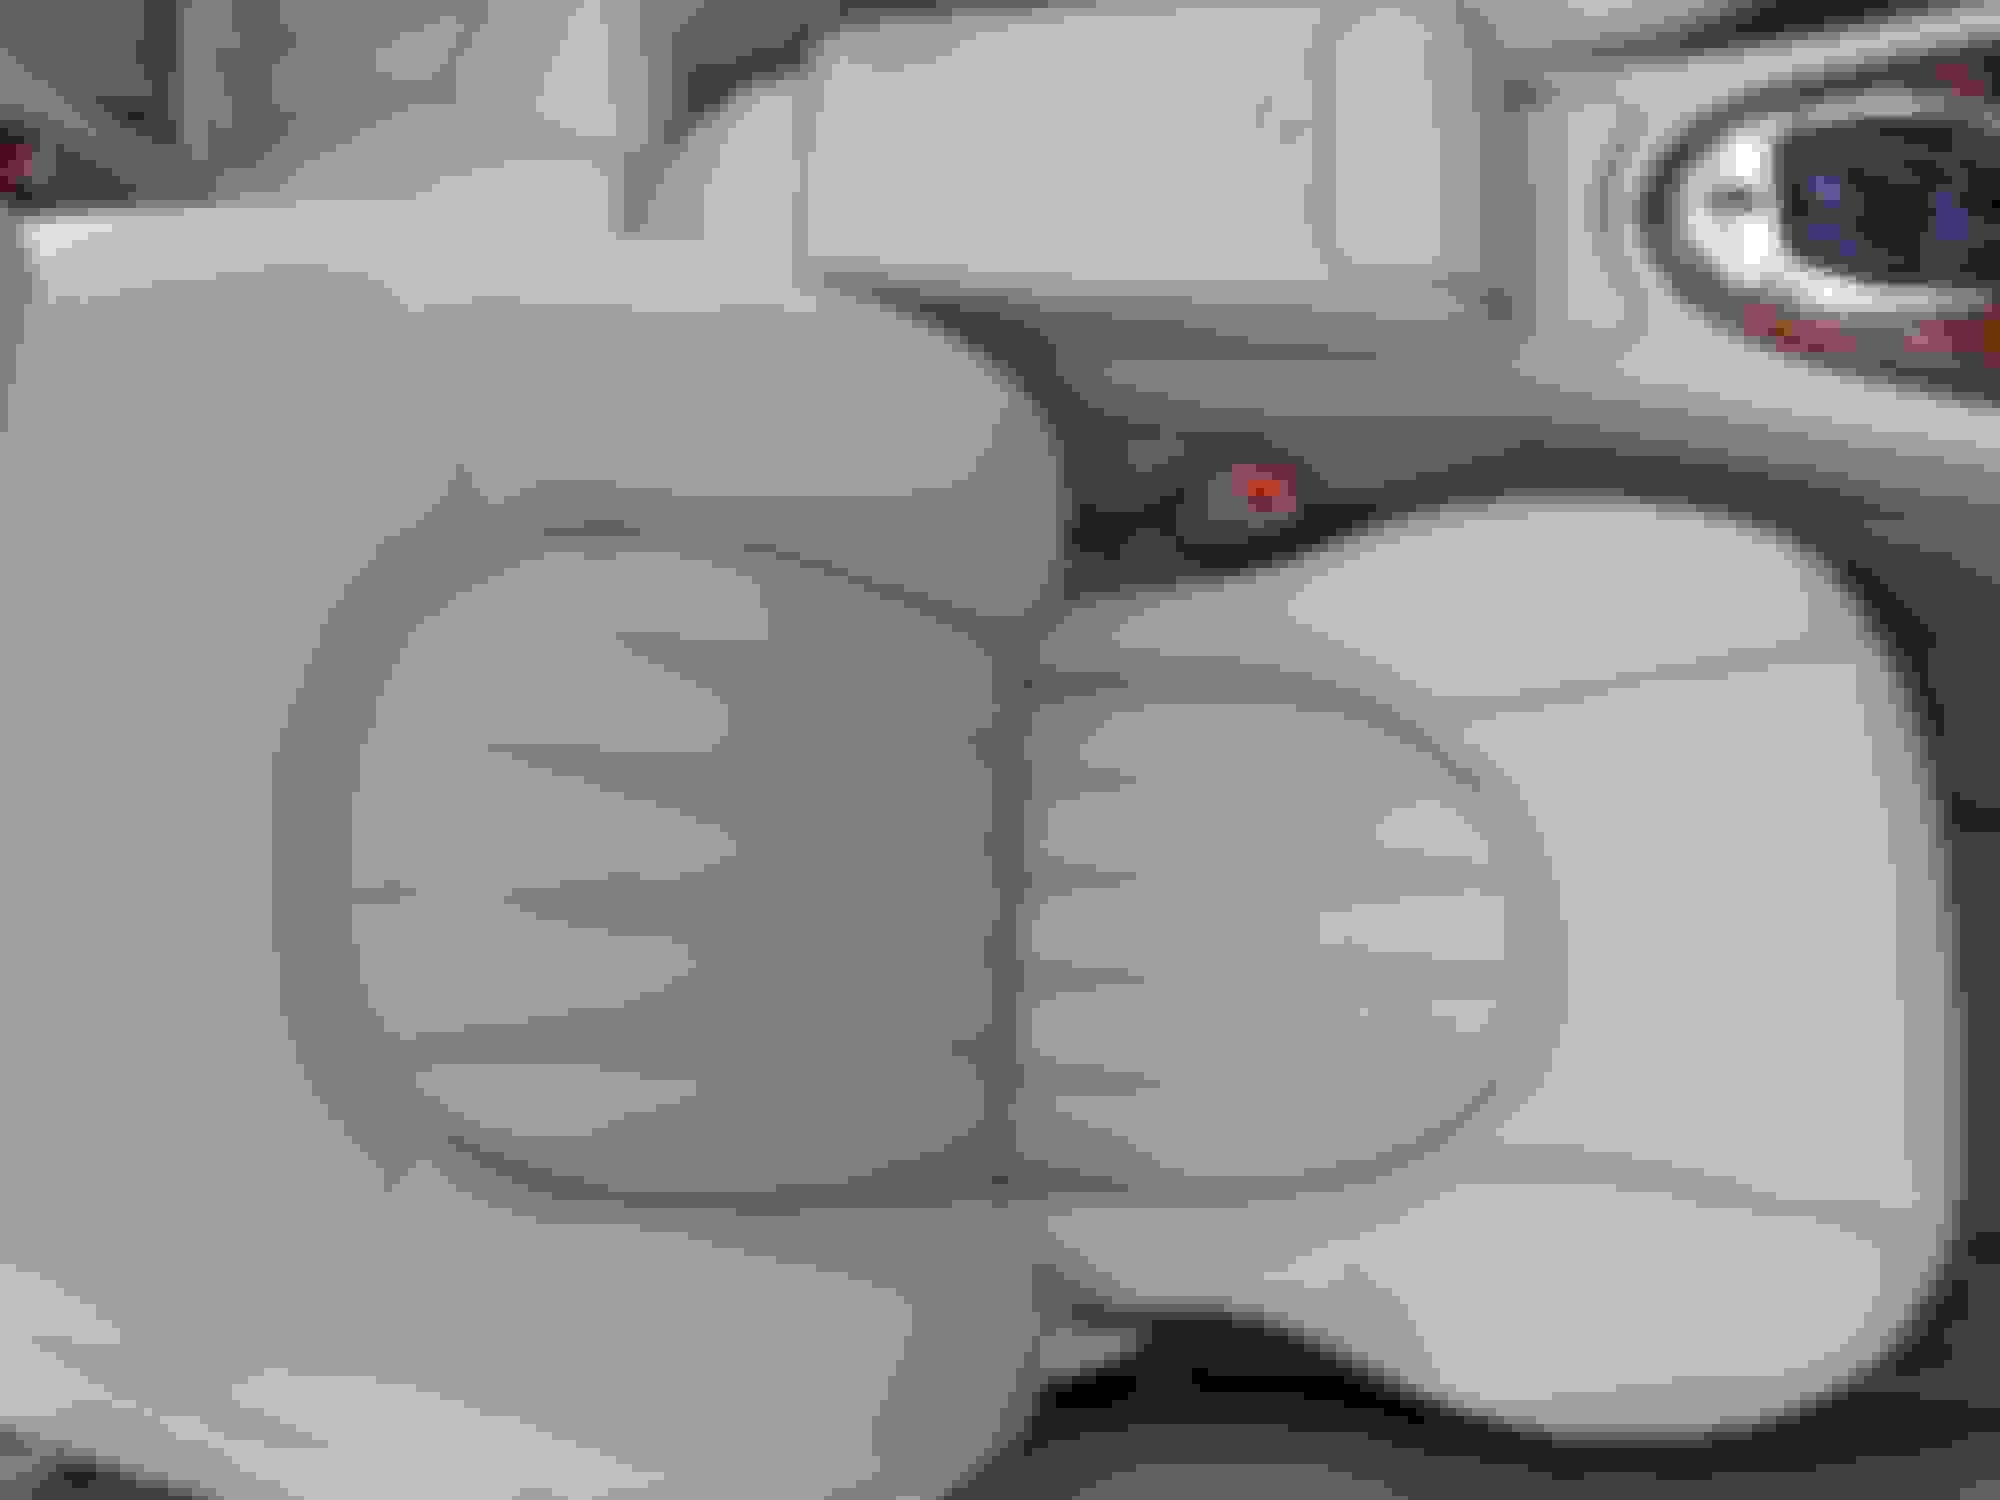
A few before pics of the passenger seat bottom. Not great for sure.
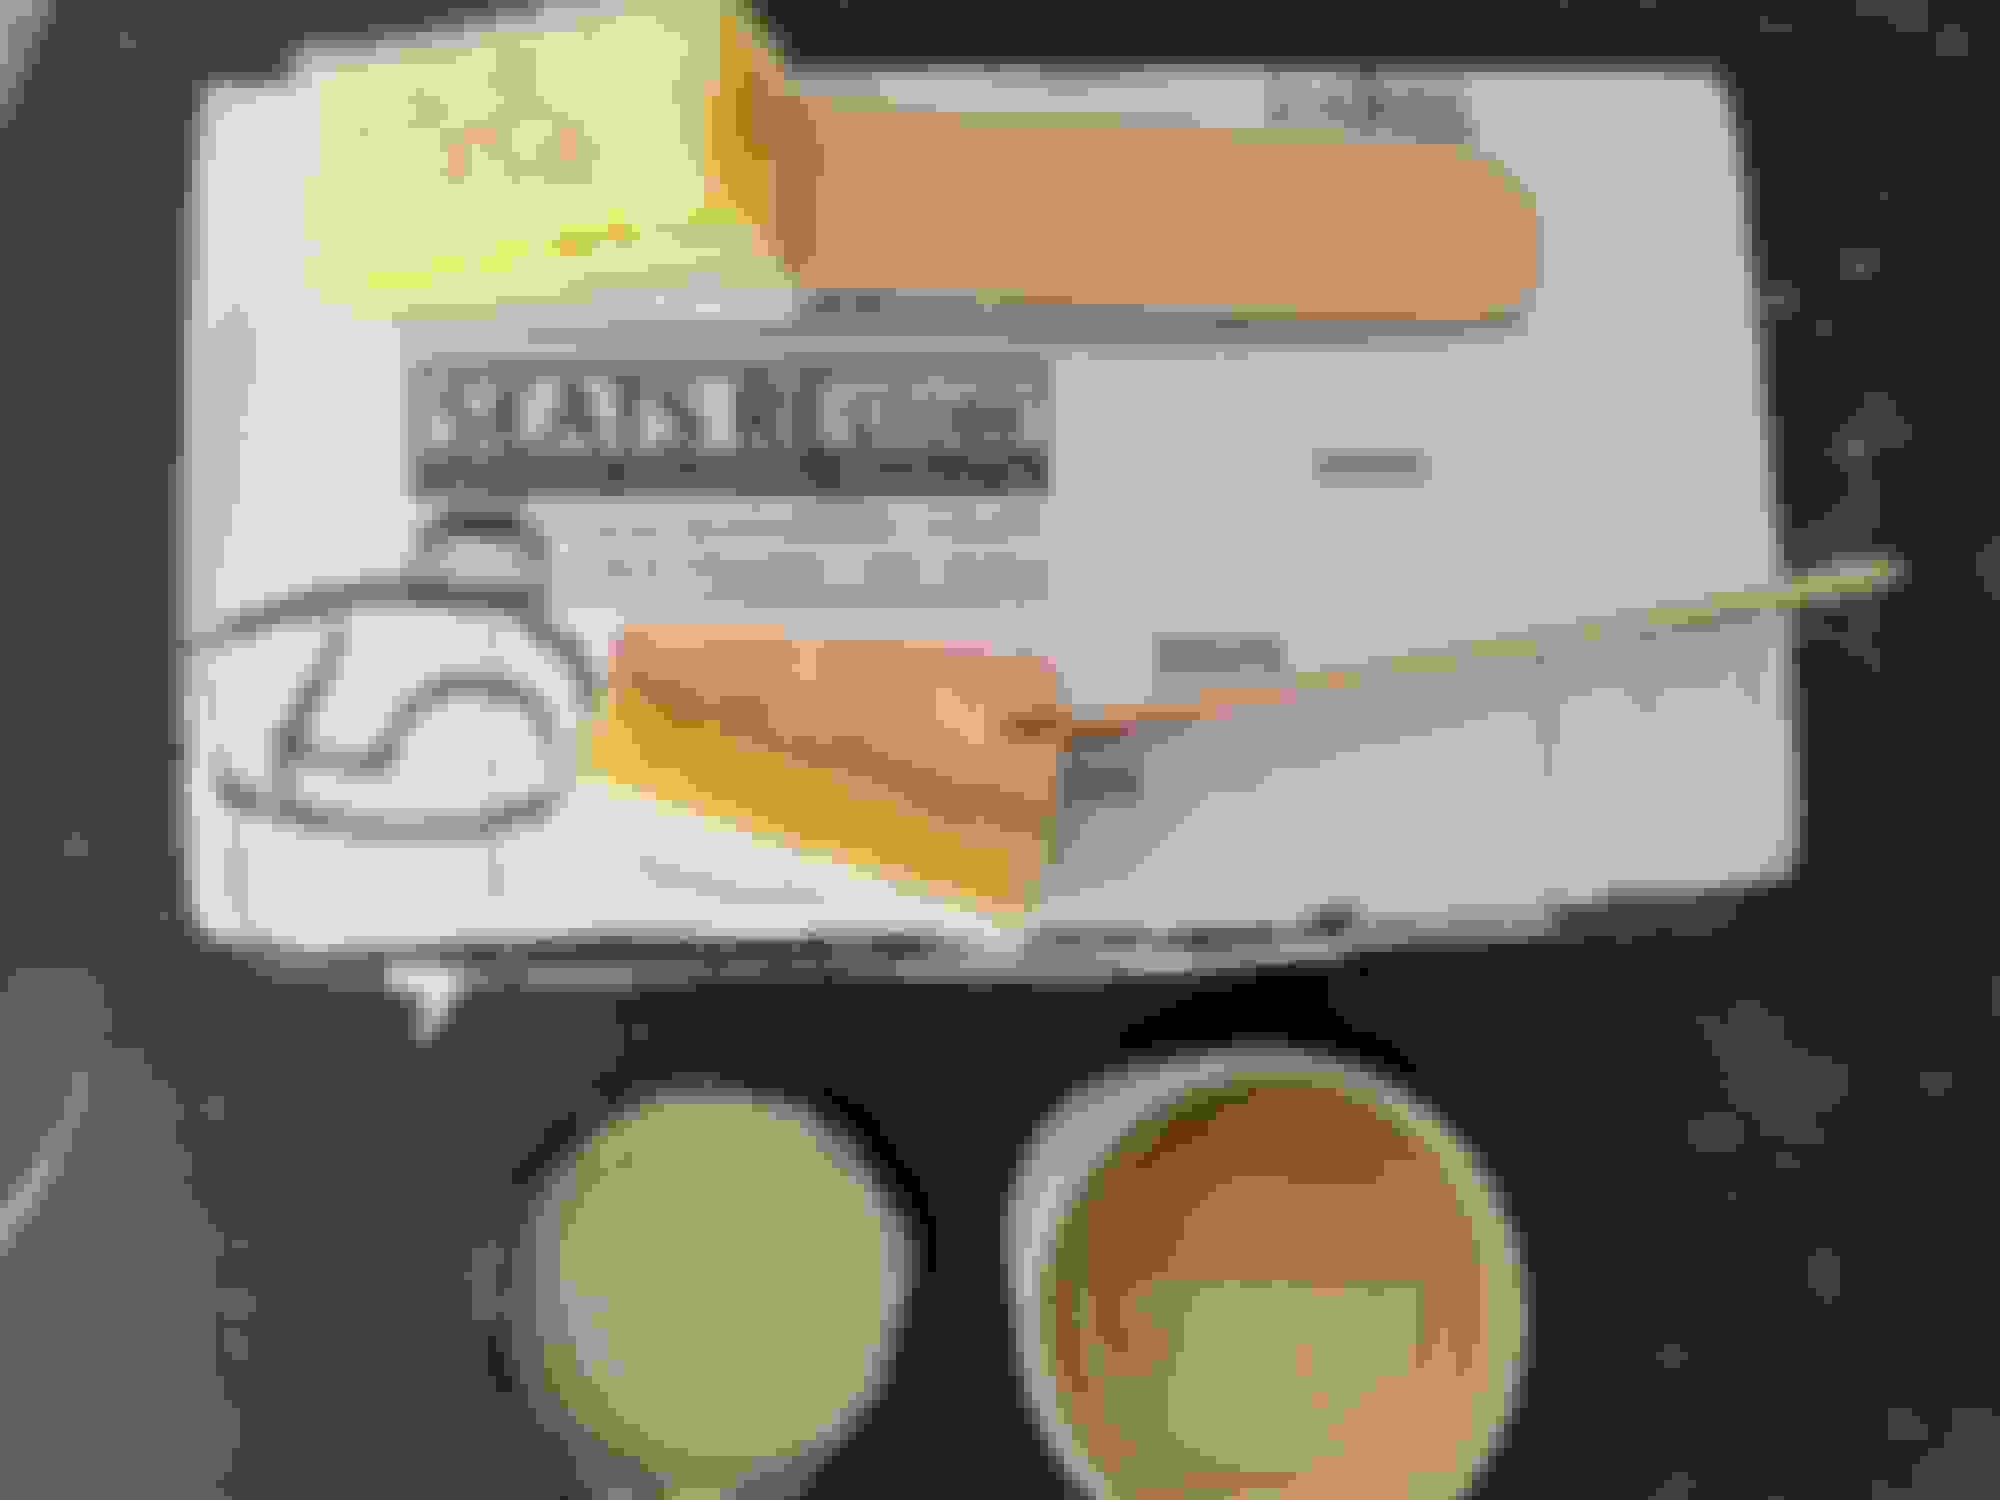
Before I started on the seat I decided to test the leather colorant on an old console lid cover.
Before applying I cleaned the surface with denatured alcohol as recommended.
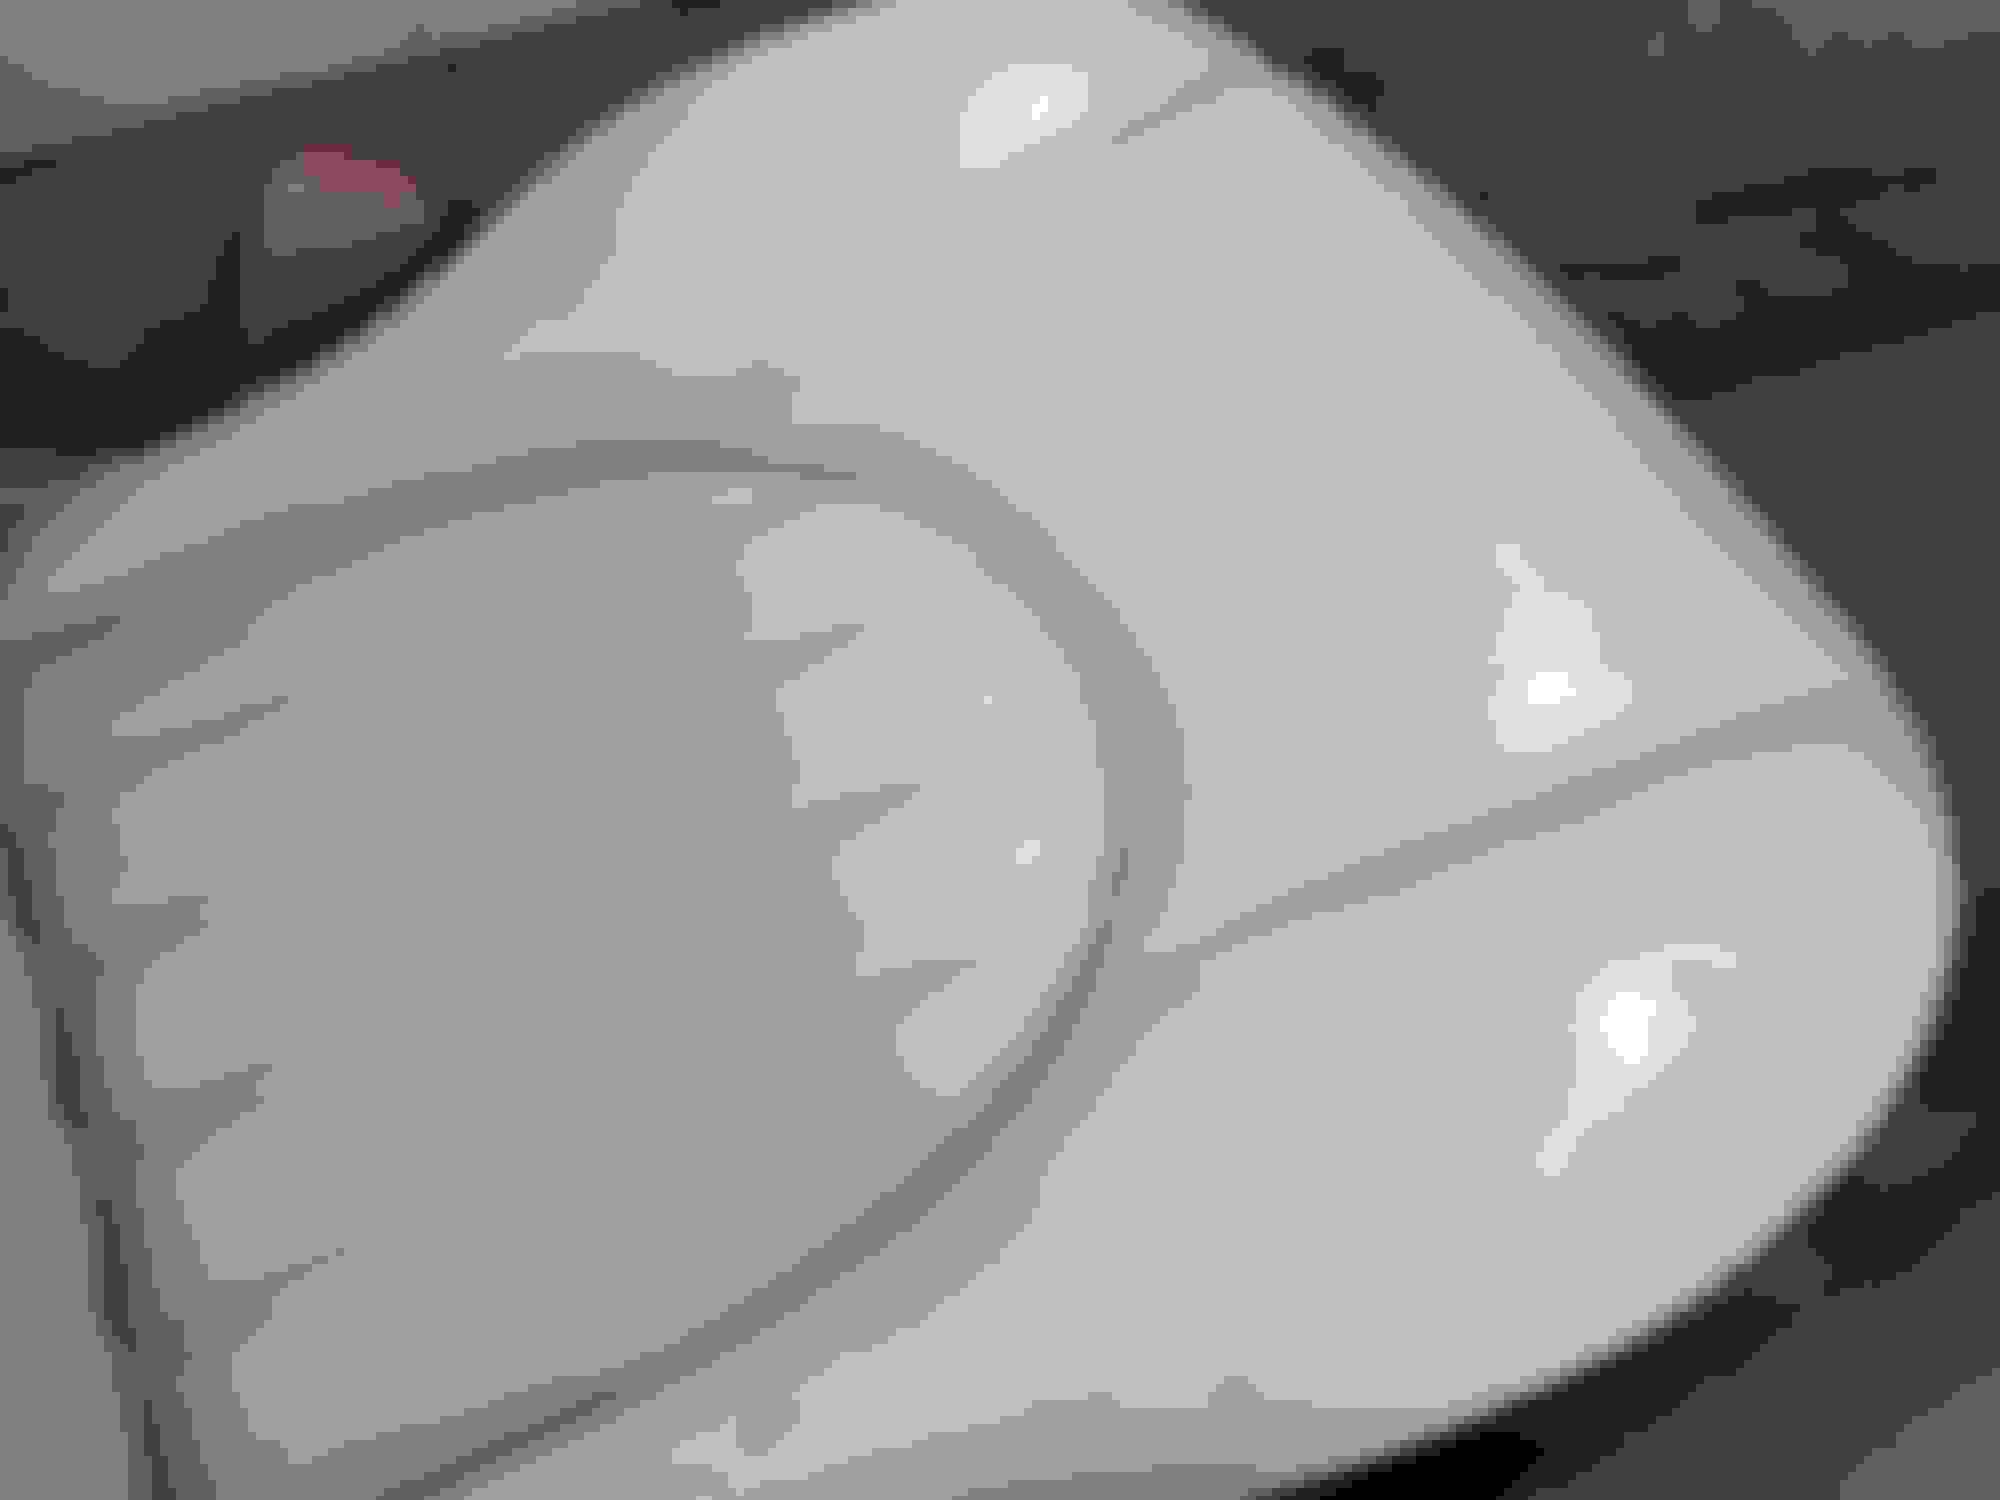
When I first applied the color I was worried that it was too light. But it did a good job of filling and coloring the worn areas.
After drying the color settled in to more of a match. Seemed good to go for the seat next.
I did a section at a time. Not planning to do the centers right now.
Again the color looks wrong before it dries. Gotta have faith and press on.
The inside section is already starting to dry and color is looking very close.
The included applicator works really well and is easy to get into corners and such.
The color needs to be worked in at first to get a good fill in the cracks.
Then you use the applicator to "pad" the surface and remove any stroke marks.
Front section done and first section is looking better and better.
Here's a good before/after showing how well it covers. It is not very thick at all.
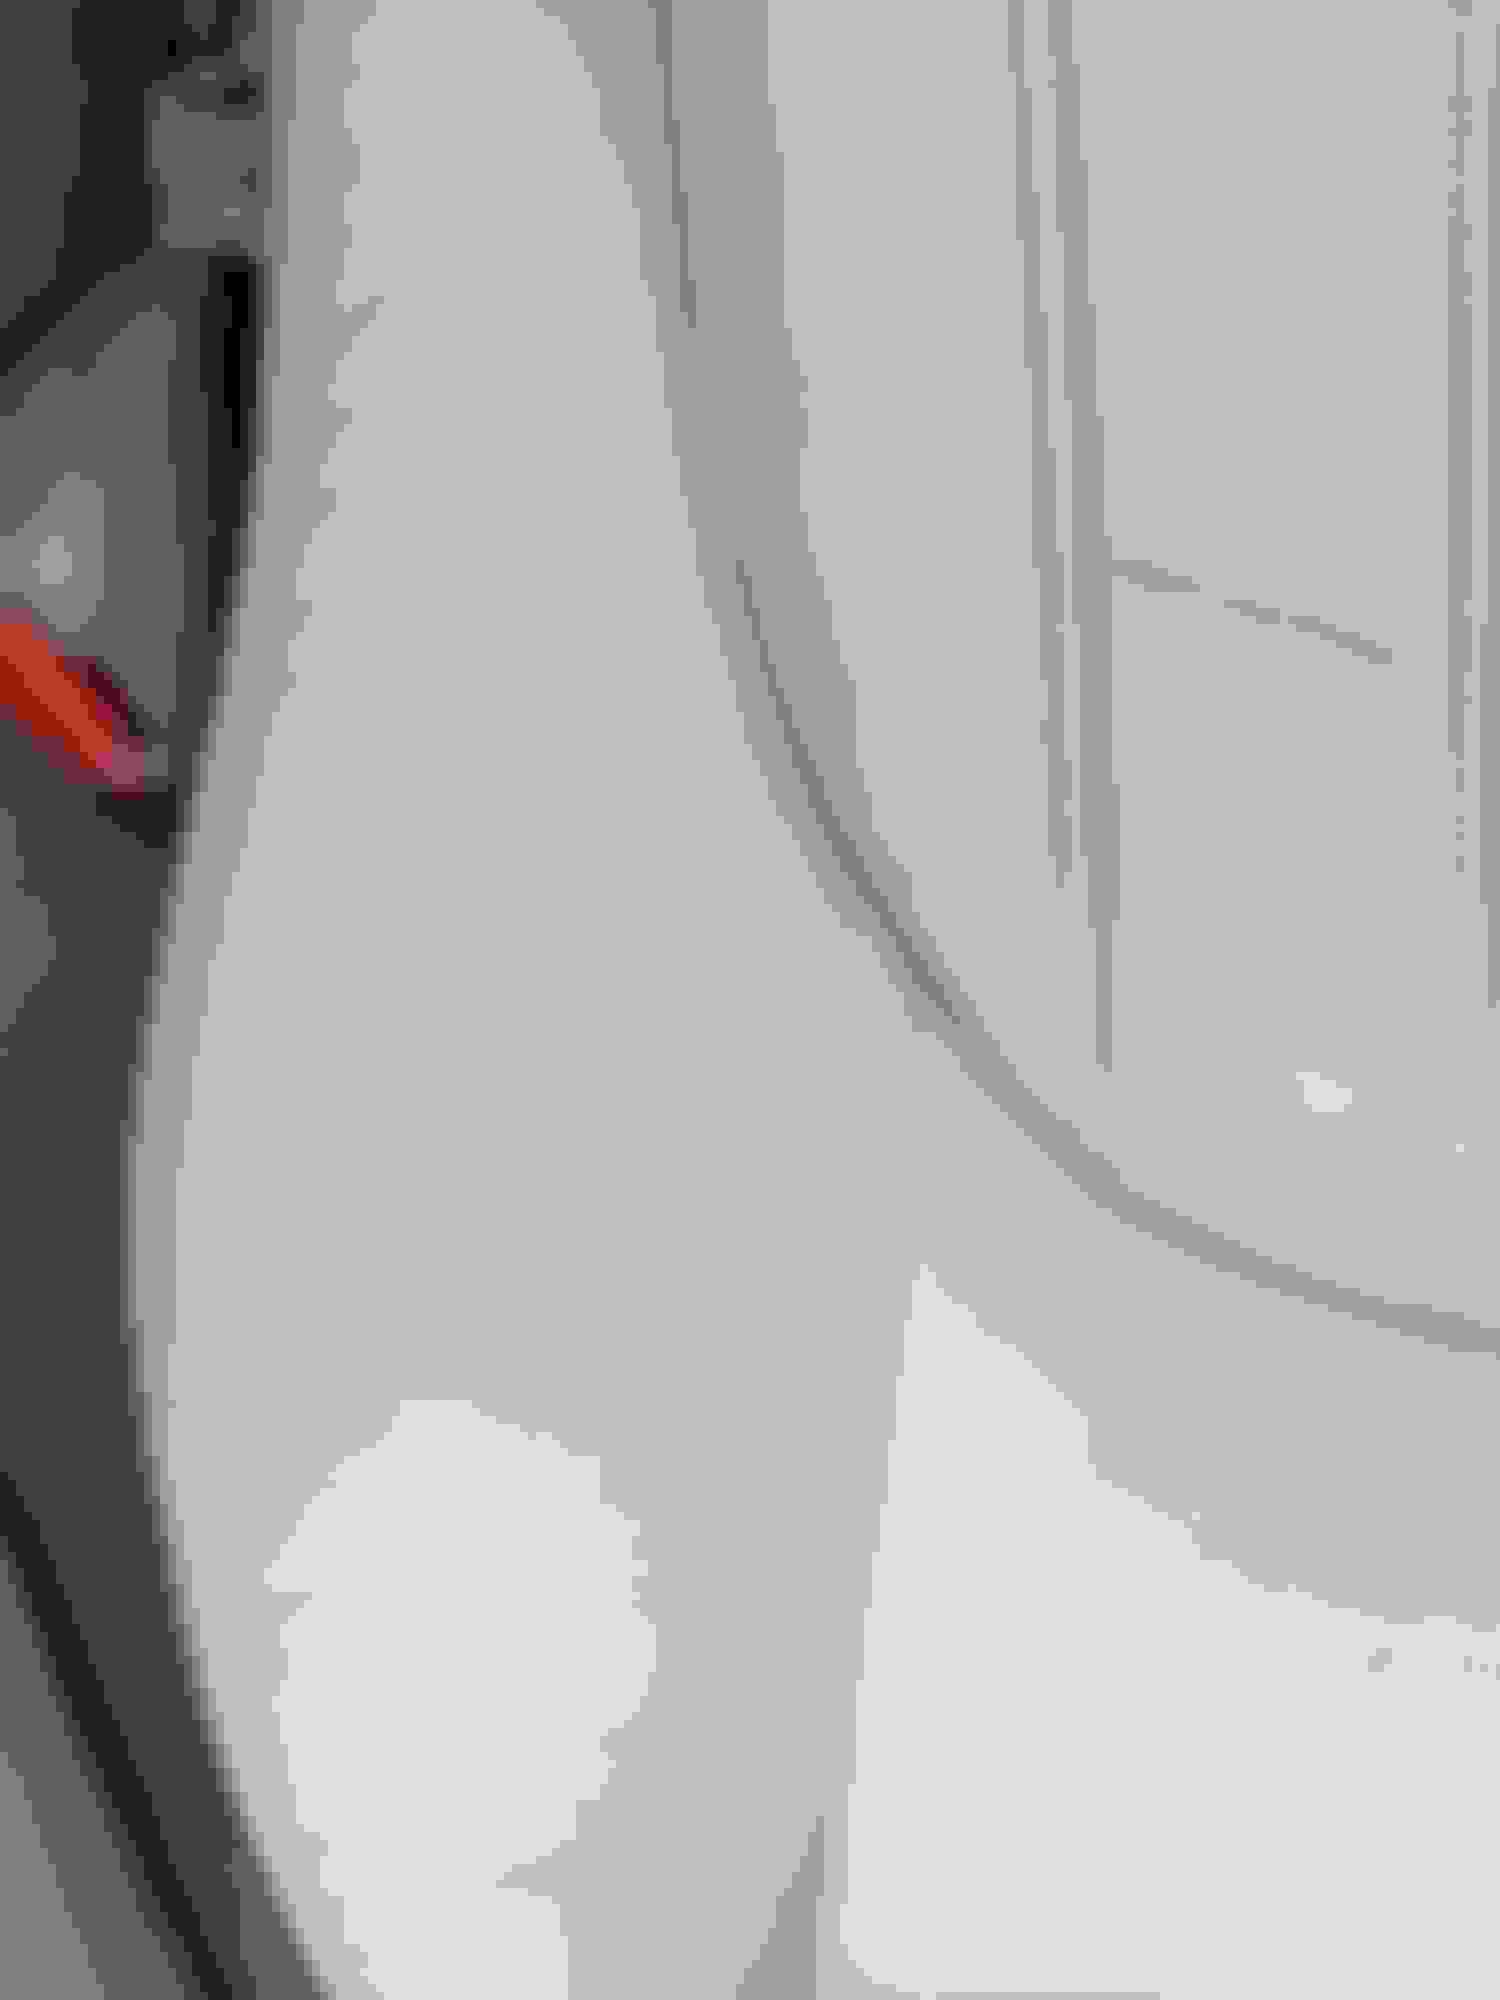
While the seat bottom dries I moved onto the seat back. Similar aging there.
Another good before/after as I applied the color.
It only takes a minute or so to cover a section. Remember to "pad" as you go.
Once you start doing this it becomes clear just how much the seats have aged.
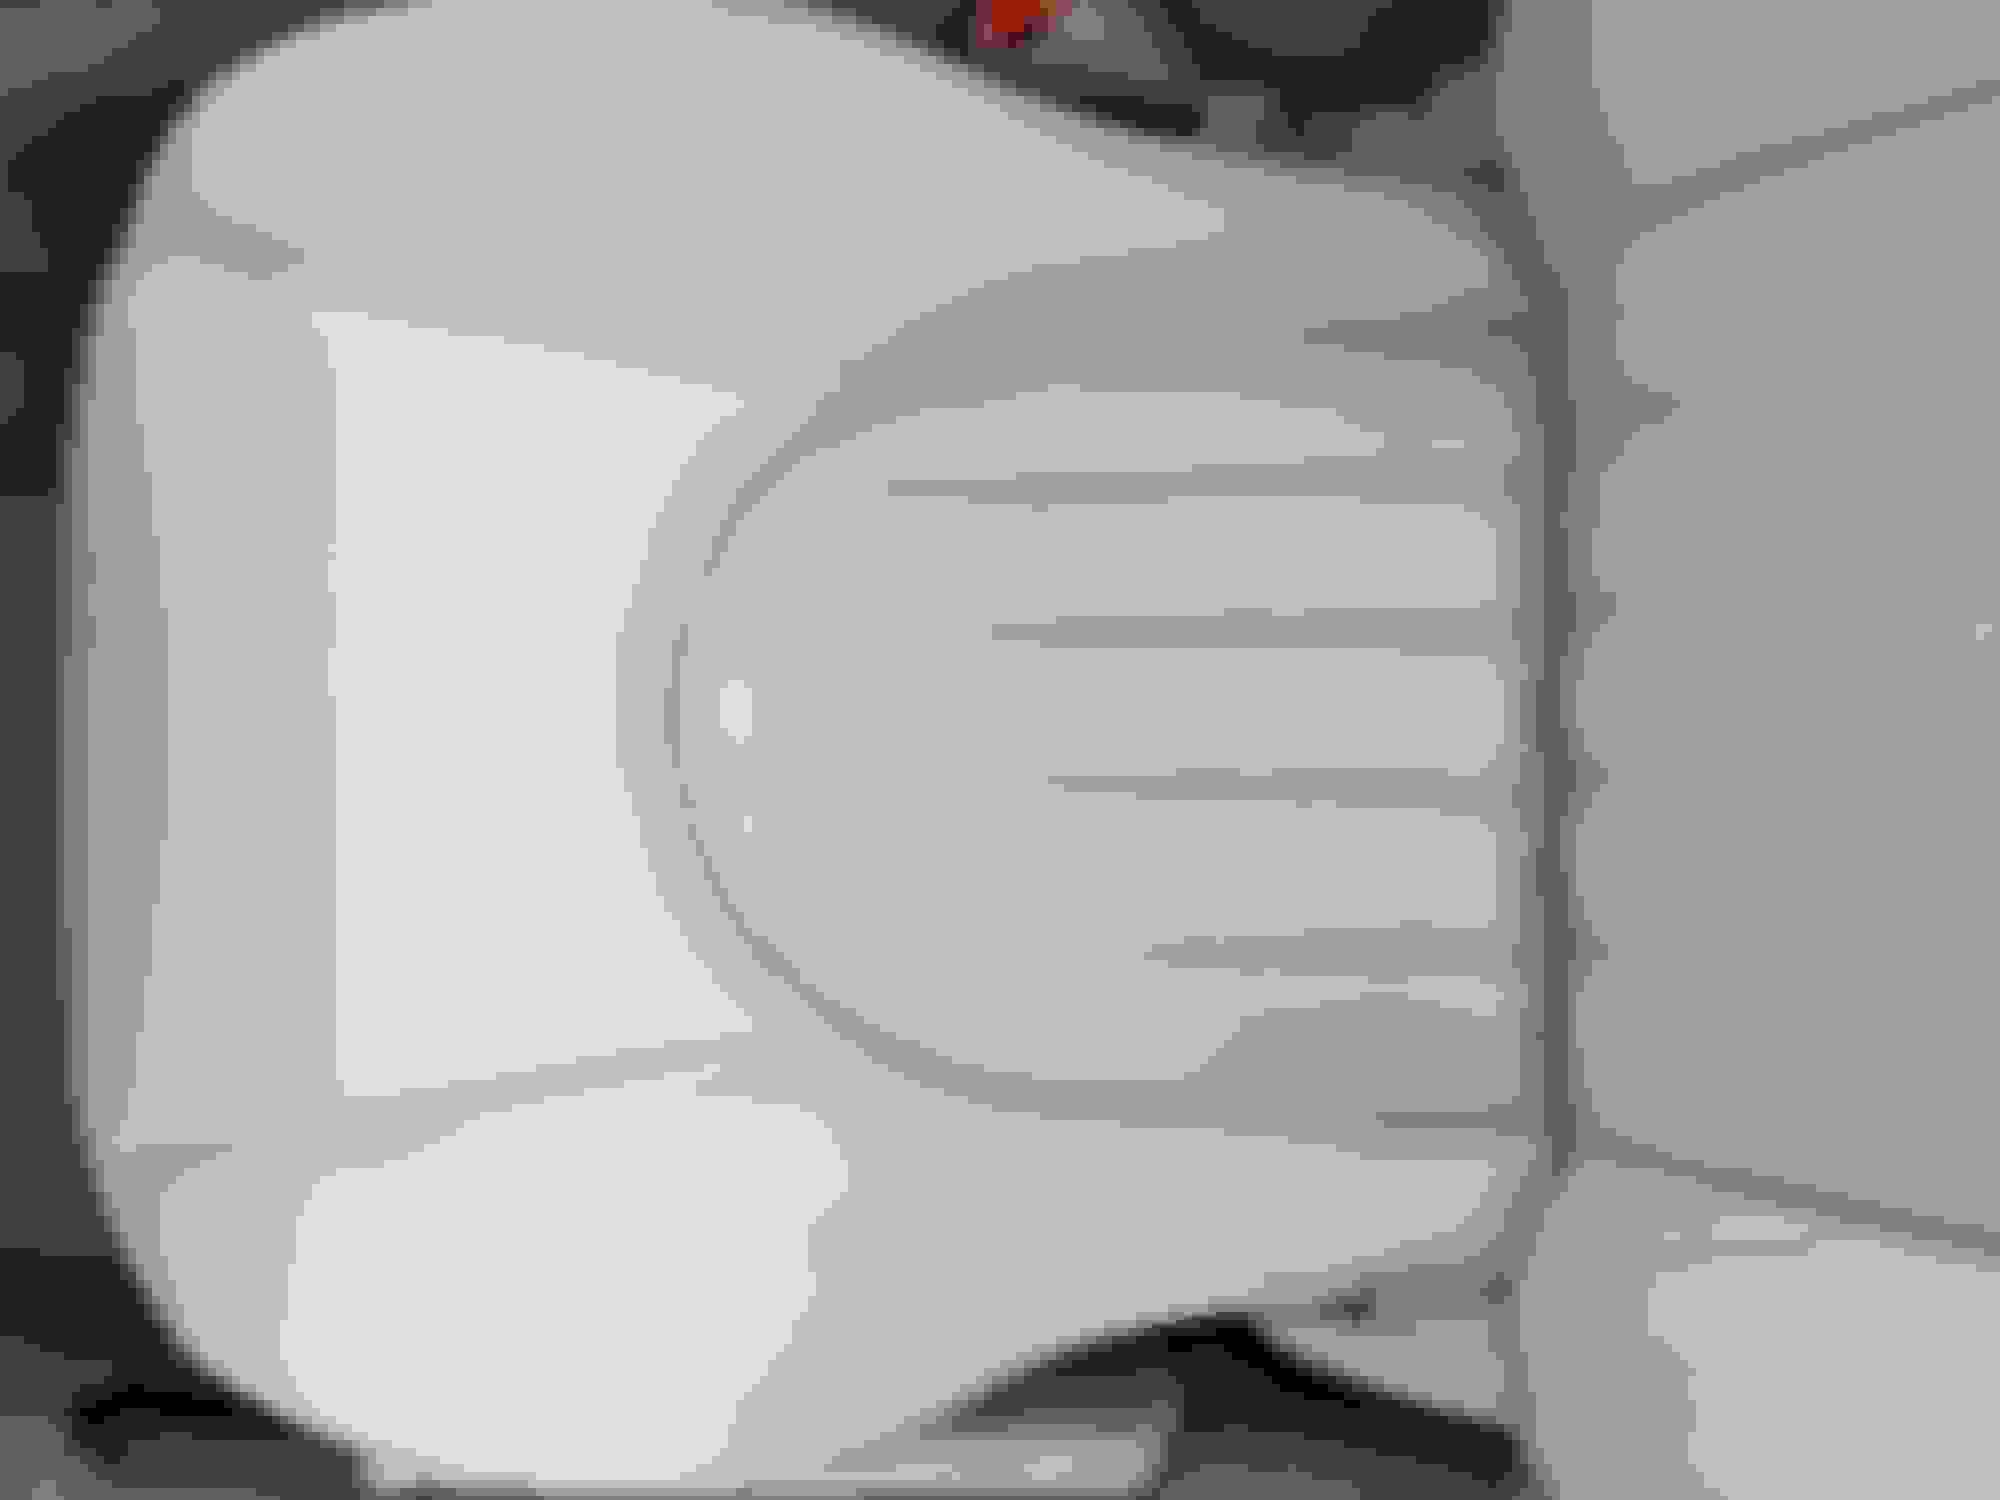
All done and waiting for it to dry and even out the color.
Bottom dried and the match is nearly perfect.
Top is almost dry....
And finally its dry. Looks awesome.
After doing that much of the seat I have only used about 20 percent of the colorant.
The applicators are reusable and cleanup was just with water.
The kit manufacturer says that you can either treat the newly colored areas with typical leather conditioner or optionally they offer a clear coat. I am debating about what I want to do. I think I will first try my conditioner on the old console lid and see what that looks like. Have to wait a few days before I do that.
I will do the driver seat for sure once I am completely done with the passenger side.
Very nice👍Wouldn't have thought is was as easy as you made it look.
It was way easier than I expected. Its already got me looking at other areas I might tackle like door armrests.
I think the key is a well prepared surface. I have always kept the seats pretty clean so the alcohol wiping worked well. I could actually see some of the old color on the alcohol rag I used. That told me I was "down to the metal" so to speak.
Also helps not waiting too long such that the leather is so damaged it needs a more involved rescue.
Tomorrow is another breakfast with a couple of forum members. I am anxious to show off the results so far.
One advantage of the Victory Edition model is that the seats are covered with superior-quality hides. They have held up remarkably well in my wife's car....
Continuing with my seat restoration, I decided that the seats do need the clear coat. So I ordered the glossy clear coat thinking that would match the rest of the interior. Waaayy too shiny. Then I ordered the low luster coating and that is just right.
The top coat is applied differently than the colorant. This coat is just painted on and allowed to smooth itself out. DON'T PAT IT DOWN. When applying it looks really glossy but dulls down once its dry.
Still wet here
And the clear coat seems to really give the leather back it's "depth" that just the colorant cannot do.
Took like 20 minutes to apply on the seat sections I colored. (Did not do the pleated centers. Those are original.)
While the passenger seat is drying I got started on the driver seat. Worth noting that the car is essentially not driveable while you wait the 2 days for the coatings to dry on this seat.
Here are a few pics showing the aged leather. At this point I have already cleaned the sections with denatured alcohol.
Again, I didn't wait too long such that the leather has damage beyond what the colorant will handle.
Here the bottom 3 sections are done. Still a bit wet but starting to dry and match is looking good.
By now I am starting to get comfortable applying the colorant and it is going pretty fast.
Remember to really work the color into the crackling and then do the pat down.
Bottom is already dry to the touch when I finish the top.
The coverage is excellent
Top sections are dry now
And the driver seat is done. About 30 minutes again same as other side.
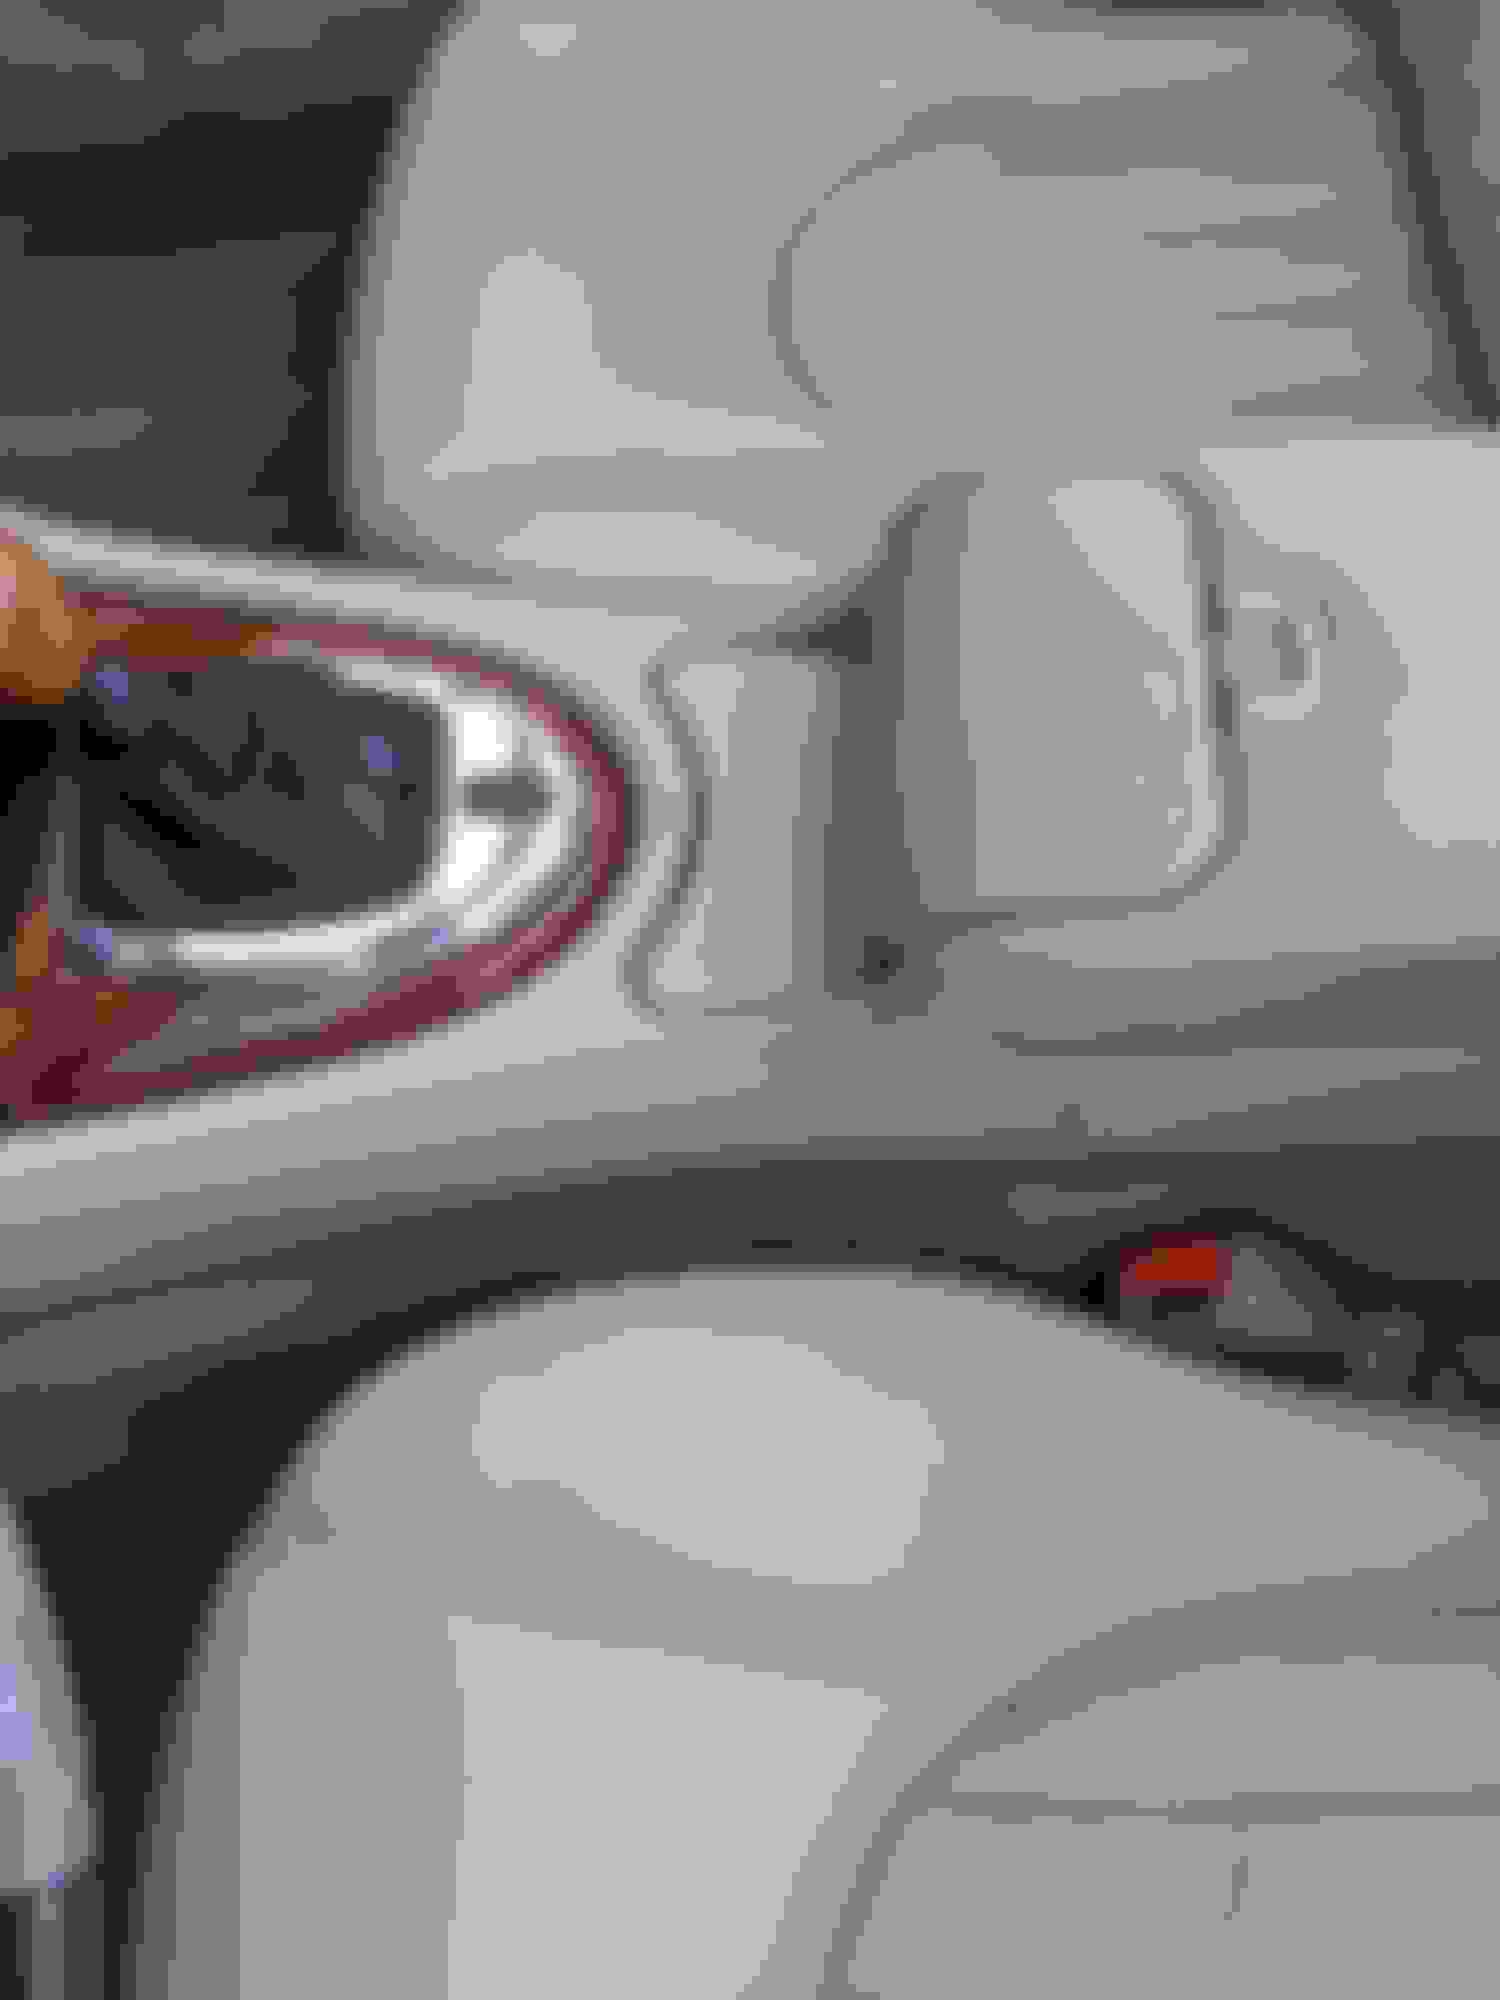
Here's a good pic showing the passenger seat with the clear top coat vs driver seat without. Really glad I went with the clear coat.
Passenger seat is now completely dry and done. You should wait a day before using the seat again.
Tomorrow I will apply clear coat to driver seat. Since I have some leftover materials I decided to go ahead and fix the console lid. I had replaced the material on it a few years ago with a NOS cover but the cashmere color was not really matching like I would like. Now is my chance to remedy that while I take care of the mild wear on the cover.
See how it is a bit darker than my car's cashmere. Even the button doesn't match it.
And there is some wear to the original finish but nothing I can't handle for sure. Yeah I'm getting pretty confident at this point. Its a testament to the quality of the products I am using.
So apart comes the lid and the colorant goes on. Easy peasy.
I already like the color better. Will be perfect once the clear is applied tomorrow.
Here's a good pic showing the dramatic improvement with the clear coat on the passenger seat. The match to the center pleats is remarkable.
Again, all the credit goes to the products. I have never done this before and the results are amazing.
This is where I got them. Along with really reasonable prices you get great email support. I got several questions answered promptly.
I'll post a few more pics once I get the clear coat on the remainder.
Looks great. I got the same touch up kit to try on the drivers seat on my '97 coupe and it worked wonders.
I used the crack filler on a few really bad spots and with the low luster finish the seat turned out relatively
new looking. I'll be ordering more in the spring when I take the car out of hibernation and doing the rest
of the leather parts of the interior. Easy to do and excellent results.
I covered the driver seat and the console lid with the clear coat. Turned out same as passenger seat - great!
I am impressed by how the color coat covered the different color leather. Console lid will match again. Even matches the button now!
I think I will apply another coat of clear to the console lid for extra wear protection since the leather does not have to be as pliable. Might do that to the driver seat bolster too since that usually gets worn faster. Will have to wait at least 6 hours before I can re-coat.
Worth mentioning that you cannot vacuum too much. I did it before applying each coating. Lint is the enemy of this process. Even with all my trying I can still find micro specs of lint in the clear.
If anything can be gleaned from this effort it was "do your seats before the wear gets too bad". For around $50 and a couple hours you can improve the looks and protect the leather in ways no cleaner/conditioner can match.

 11-27-2018, 06:22 AM