When you click on links to various merchants on this site and make a purchase, this can result in this site earning a commission. Affiliate programs and affiliations include, but are not limited to, the eBay Partner Network.
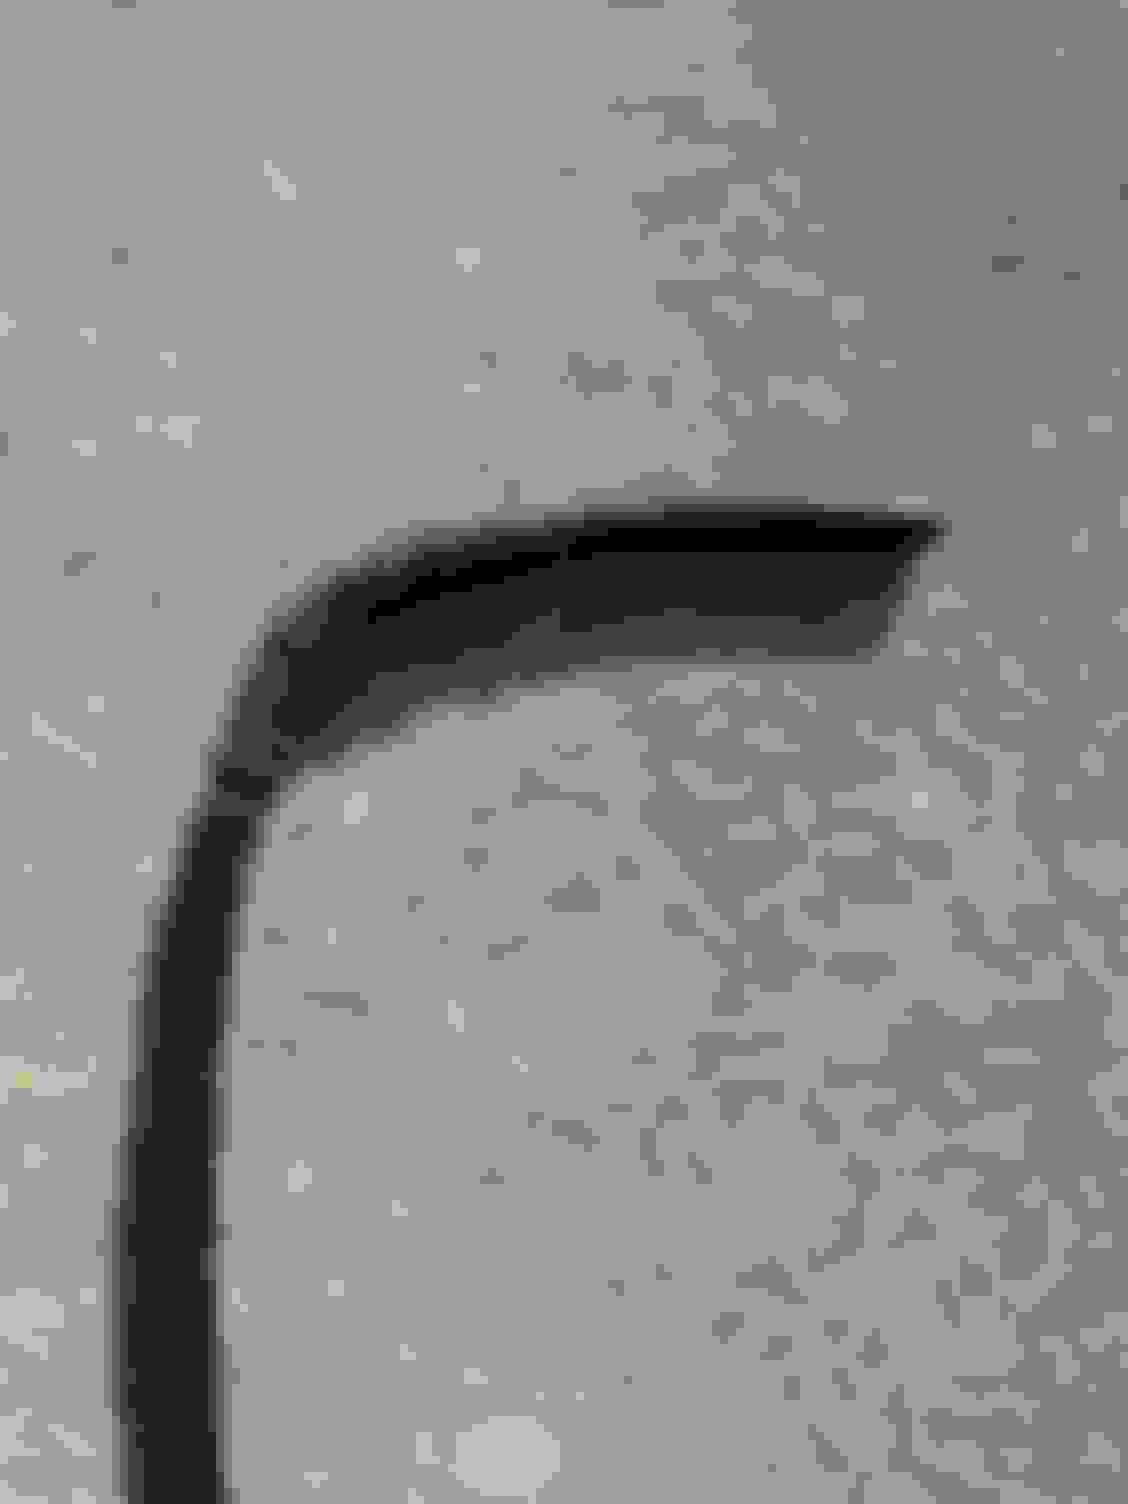
So did anyone figure out if there is the same access on later cars? The brace shown above is where I locate the jack to raise the rear. Don't think I would want to drill a hole in it.
That's not the correct jacking point, that bracket could collapse, Rev Sam posted a video on this and got it wrong, the correct jacking point is under the diff.
Anyway, I would not start drilling a hole when toping up is not that difficult in the first place. The first time I did it it was a 2/1/2 hour job but now I have it worked out it is much faster.
Tks RD, I've been wondering about that jacking point. Was working on the car this week and after getting it up on jack stands, all four corners, I looked closely at that brace and thought to myself, "Man that just does not look right, but if it's good enough for the Rev Sam it's good enough for me". Just goes to show, look, listen and learn but always use your own common sense.
I did this today, my fluid was disgusting milkshake after 18 years. After trying different methods for putting the plug back in I came up with the perfect solution. I used a 1/2 adaptor to put it in a drill (you can get a set of 'em for all the drives at harbor freight for like $2). Instead of putting it on a drill I used a 1/4" socket and then a 1/4" extension. This allowed the plug to go straight on as you could lower it against the bracket that somewhat hides the plug hole. It went on the first try.
I also came up with a telescoping magnet and put some dum-dum clay around it. this works and keeps the plug from falling off. Like you said, (the 1/4" extension lowers in the hole for a straighter shot) as well as for the 1/4" telescoping magnet.
On cars with that reinforcing plate like mine, I think we have to remove the rear stabilizer torsion bar and work at the plug from underneath.
I am going to take mine to an indy to see about installing a drain plug.
I have a 2000 XK8 and when I drilled in from the trunk I ran into the reinforcement plate, so I would not recommend this technique for 2000 and newer, just my two cents, I hope this helps.
I thought some of you may benefit from a few tips learned on changing the differential fluid.
First, I found that this little suction pump works wonders and is very inexpensive. Trying to syphon differential fluid is a non- starter since the viscosity is so thick. And it will measure how much you get out.
Second, when trying to get all the hoses you may purchase to do this job to straighten out, try straightening a metal coat hanger, slip it into the tubing and let it sit on your dash for one sunny day.
Next, I am not going to assume what size differential (pumpkin) you may have, depending on what model Jaguar you are enjoying, so to figure out the depth from the fill hole to the bottom, take a piece of copper grounding wire, straighten it out and put a curl at the end. This is important, the curl goes around your little finger, then guide the wire into the fill hole and measure how far it is to the bottom. Hold your finger on that spot and draw the wire out. Then bend it at that point. This is where your drain tube will need to have a 90 degree bend.
Now get some light wire, I used the wire you get at home depot to connect rebar before pouring concrete. Wrap the wire around the tubing about one and a half inches above and below the bend point.
Then bend the joint. Make sure you bend it 90 degrees to prevent it from slipping off and going into your differential.
This will keep your tube pointed to the lowest point in the differential, while retrieving the old fluid.
Lastly, once you start to get bubbles from sucking the fluid out, go get something to drink, once the fluid level drops, you need to wait for the old fluid to drain down, after a little time out, start pumping again and you will be surprised that there is more. So waiting will get you more old fluid out and make more room for the new good stuff! Happy Motoring
I'm doing this procedure now and like others having trouble getting the plug threads started going back in. For those that have used the putty, are you basically using the friction of the putty to get the plug started and/or to keep it from falling out? I'm trying to picture in my head the solutions you guys mentioned but having trouble picturing it. I also have the telescoping magnet.
Ok I may have answered my question ; I didn't realize Chris had a part 4 to the video and I saw how it was done. I have some plumbers putty and a long screwdriver and hopefully that will work.
alternative method for replacing the differential oil in the XK8 (100)
Here is an alternative method for replacing the differential oil in the XK8 (100).
Thanks to all who have contributed to the maintenance practices of the XK8 (100). This one in particular providing several methods and techniques for this procedure without which this article would not be possible.
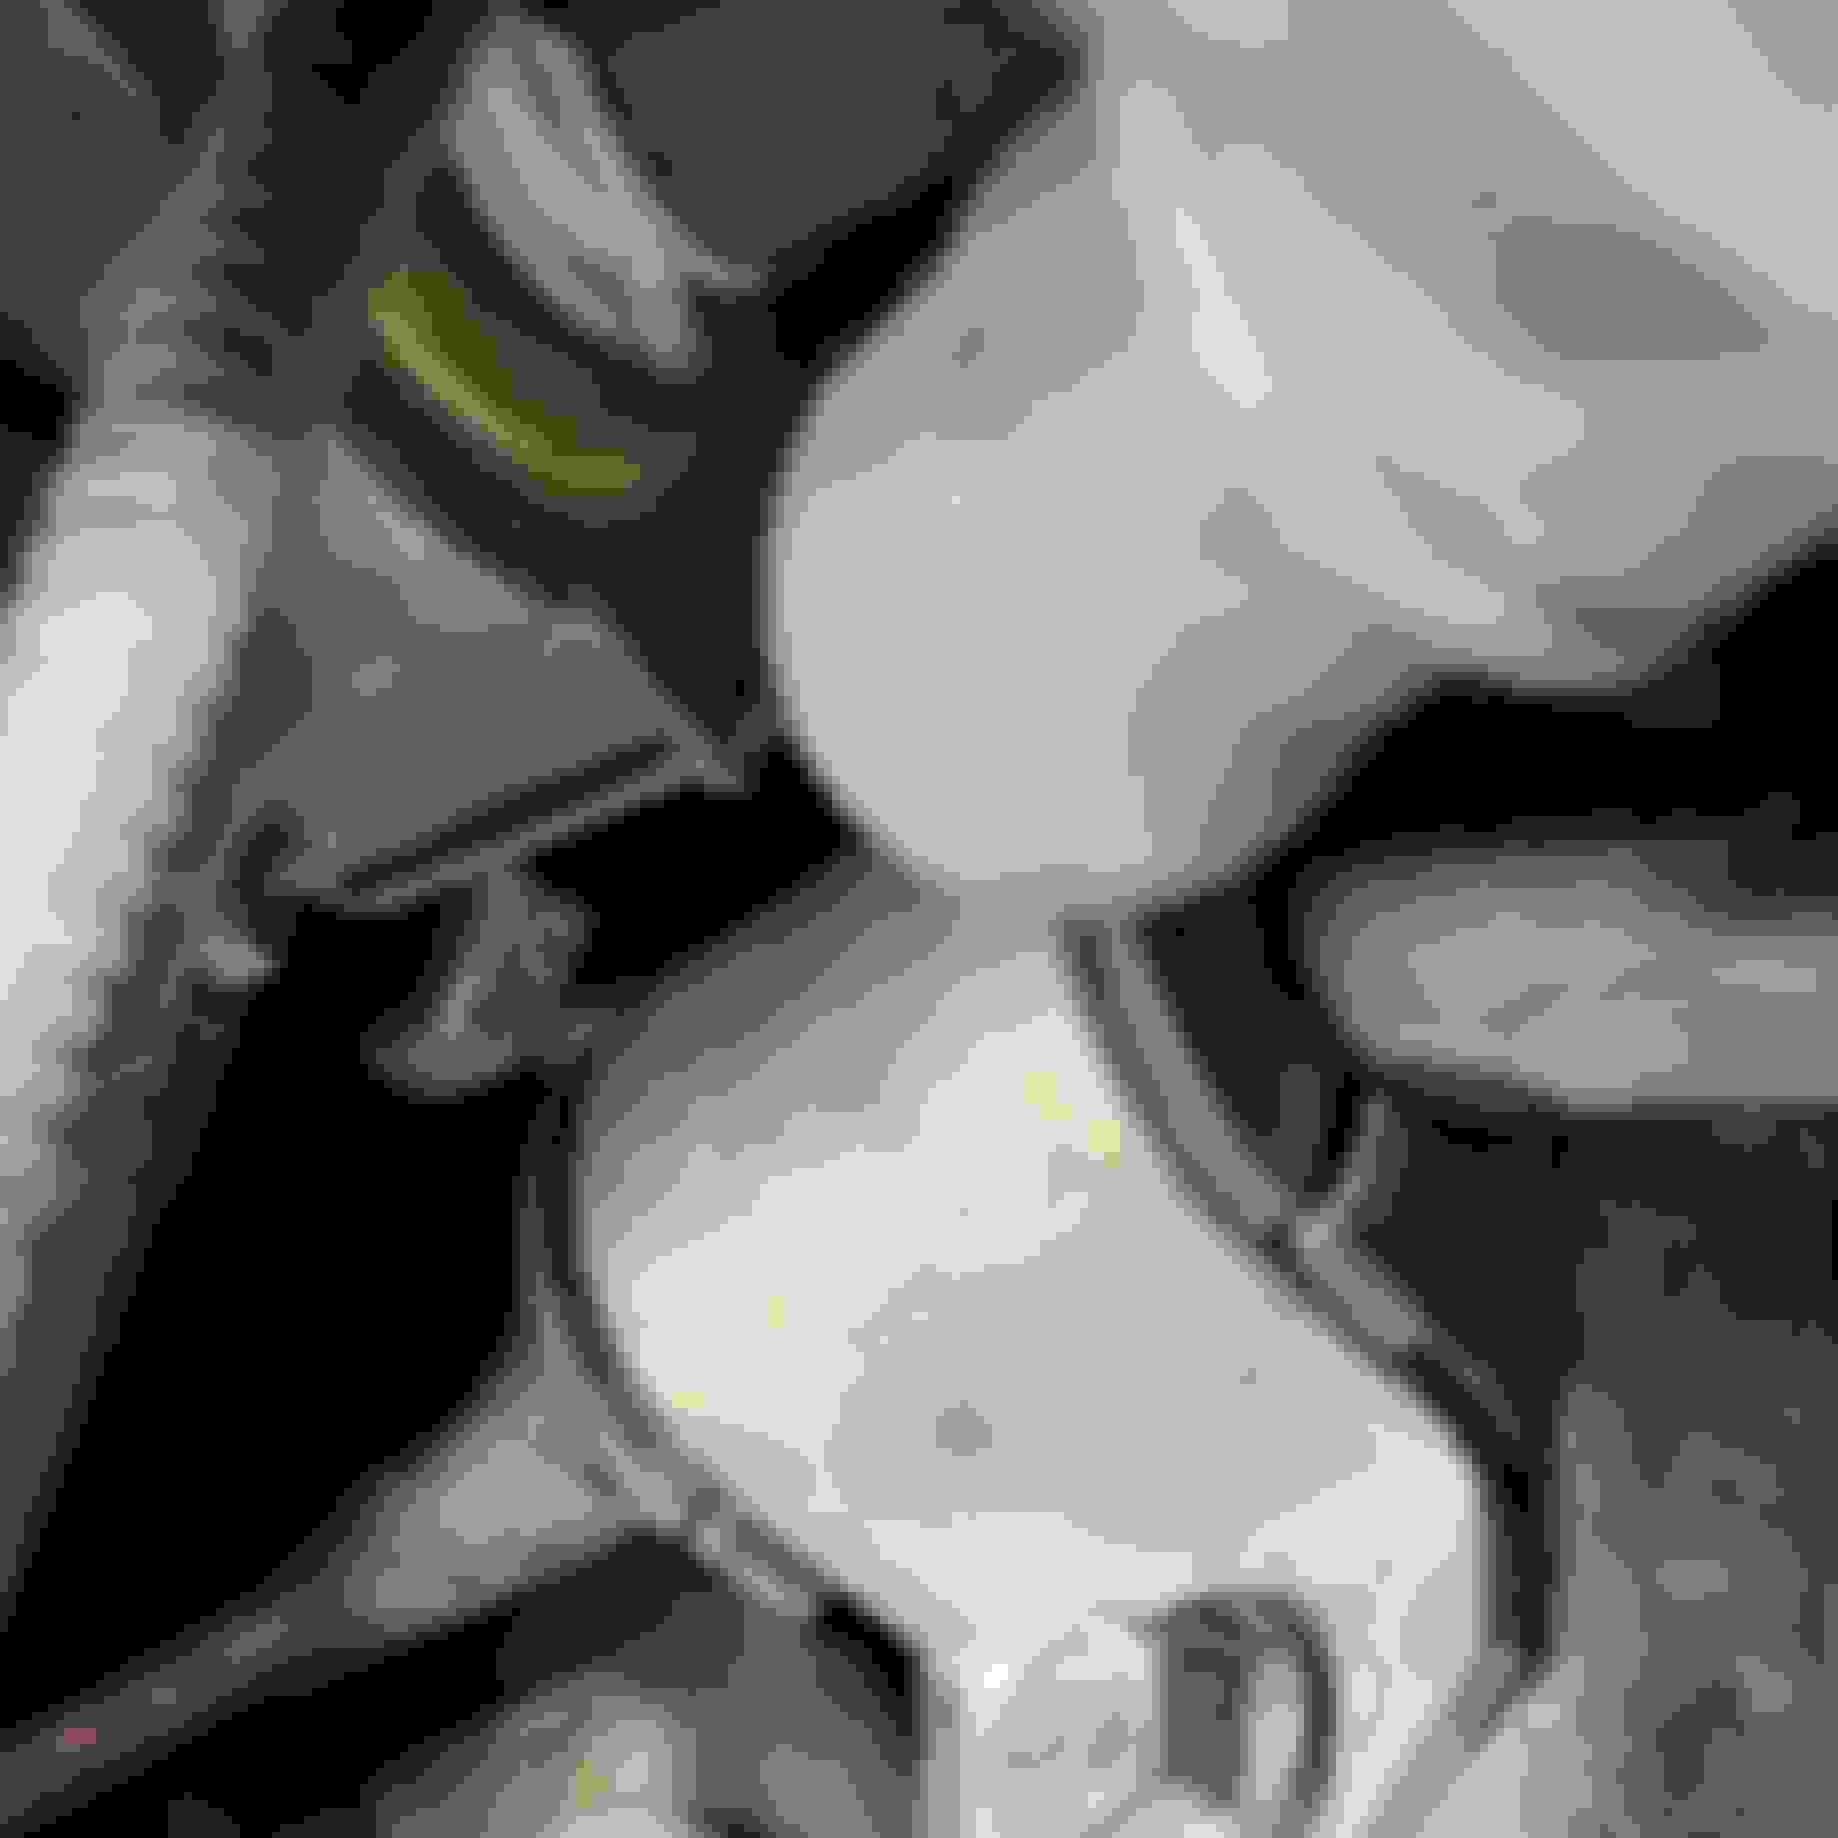
Once locating the differential you�ll find the hidden differential servicing plug. The single plug has a dual-purpose. To accommodate draining and filling oil. To replace the differential fluid, first remove both stabilizer sway bar end links and move the bar out of the way. Photo 1; Sway Bar disconnected. There is a bolt holding an upper sway bar you can remove the nut then push the bolt to the left to get a little more room to swing the rachet. Photo 2; Upper bolt pushed to the left. Photo 1; Sway Bar disconnected. Photo 2; Upper bolt pushed to the left. Photo 3; 1/2" X 3/4" Drive Socket Cap. Photo 4; Drive Socket Inserted with �� ratchet. Photo 5; Plug and socket resting Photo 6; Shop Vac Pumping Fluid. Photo 7; Shop Vac Pumping Fluid.
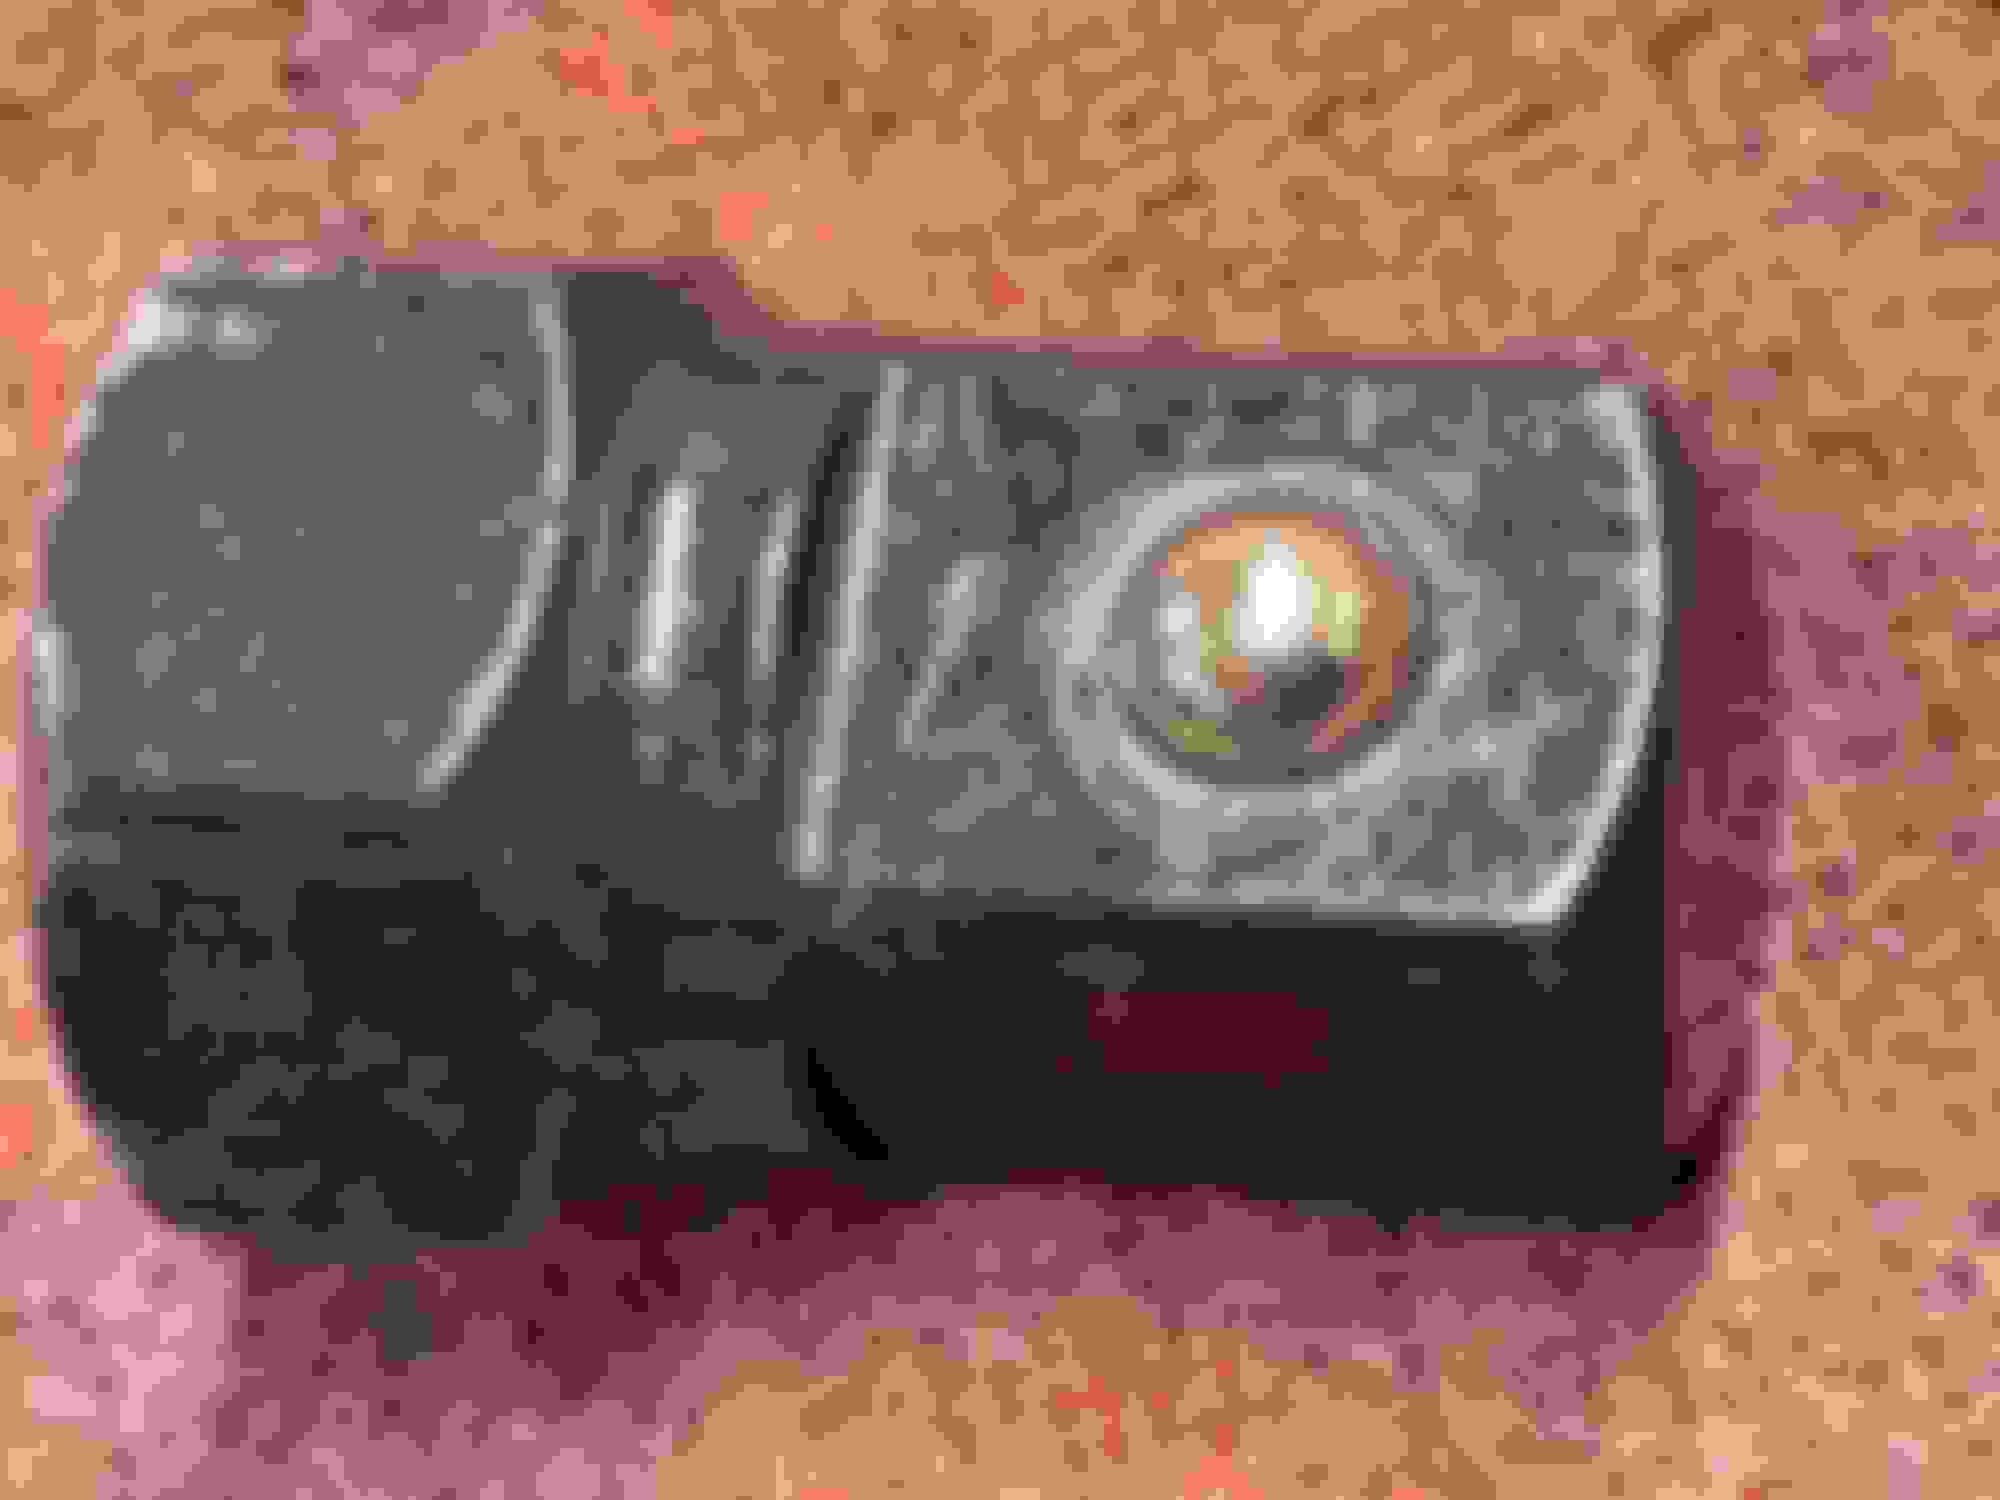
You�ll need a �� X �� Square Drive Socket Cap. It comes as a 3 Piece set for about $4.00. Photo 3; Drive Socket Cap.Getting the �� end into the differential plug is challenging. I used a magnet, as others have, to hold the drive socket while pushing the �� end of the drive socket into the plug. Once in place the ball detent will hold it firmly in place. Photo 4; Drive Socket Inserted.
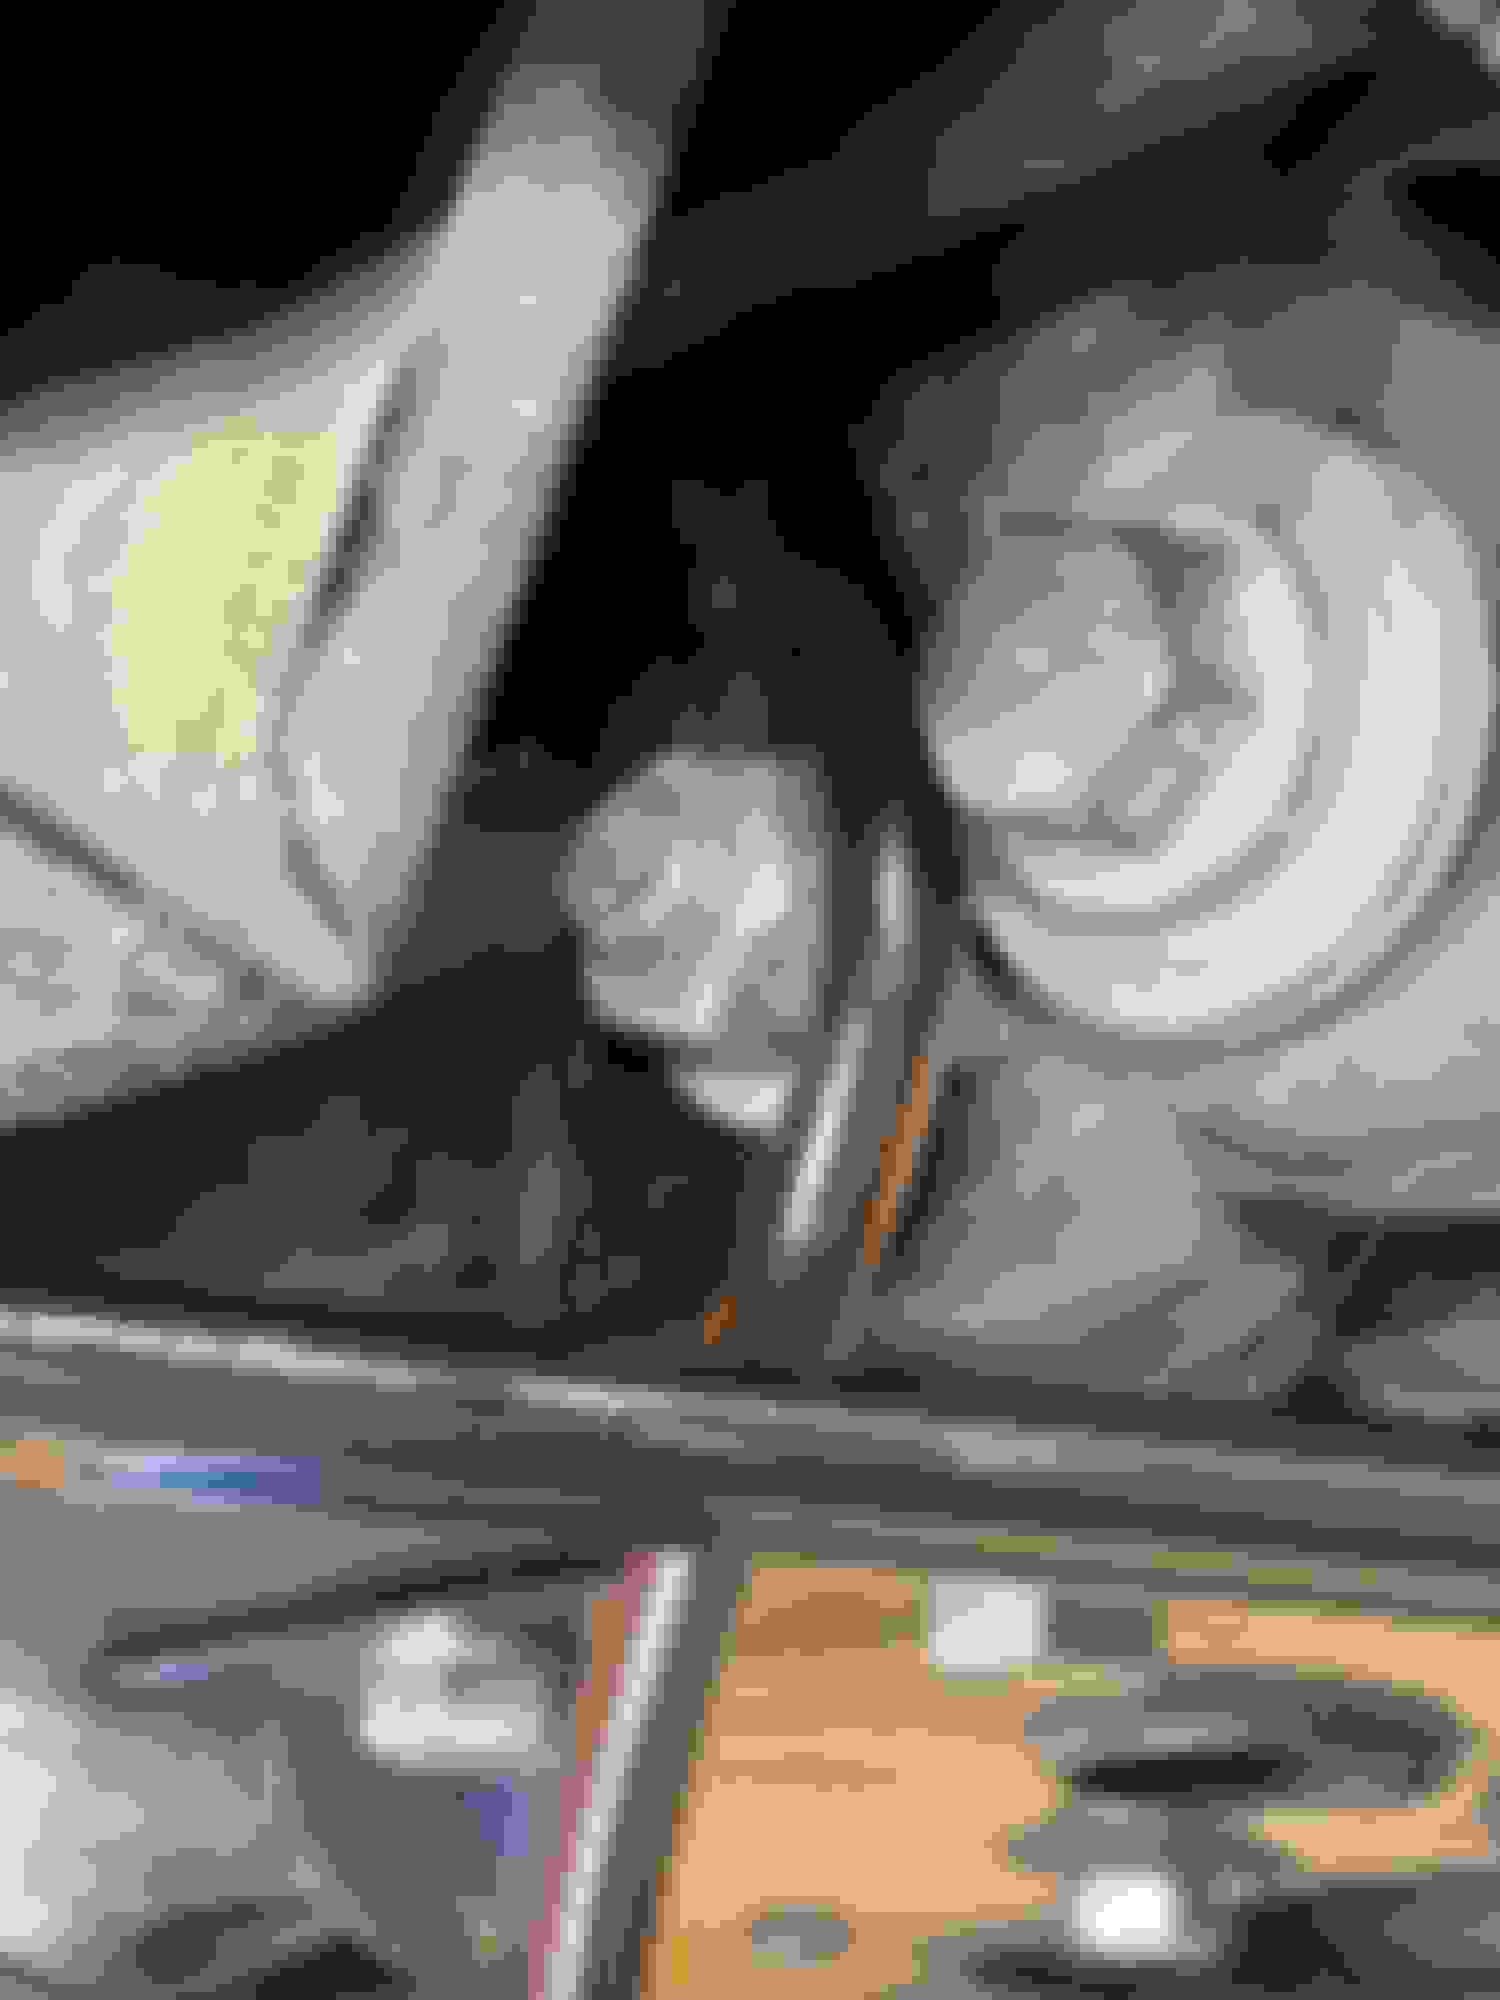
Once the drive socket is in place you can fit the rachet wrench onto the 3/4� end of the drive socket. It�s a bit tricky but very do able. I used another tool to get leverage on the �� rachet to loosen the plug. When finally out, the plug and socket should fall easily resting on the sway bars between the trunk and suspension. Photo 5; Plug and socket resting. Just leave it there!
I found a fool-proof method of pumping out the old fluid thanks to YouTube. I had to buy �� ID X 3/8� OD plastic hose about $6.00. Sacrifice an empty soda/pop bottle and find a suitable receptor bottle to put in my shop vac. Visit Using Your Shop Vac (no wrenches !) by Chris Notap,
The remaining process is straight forward. Using an inexpensive pump for $7.00 that screws into the cap of the gear oil. Pump until it runs over the edge of the hole. Mine took all of two quarts and a little more to run over the edge.
The plug easily screws back in. Yes, you can do it. Just take your time and with your fingers from both sides of the socket and plug it will screw in very easily. Get the plug in far as you can and enough to fit the rachet, then torque it down. Connect both stabilizer sway bar end links and replace the nut on the upper bolt that was slid out of the way. Photo 2; Upper bolt pushed to the left. Dispose/recycle the old oil. Clean up your tools and floor. Drive and enjoy!
The coupes and convertibles have different bracing above the differential, right ?
I have an �02 XKR coupe and had little to no trouble accessing the fill plug and changing out the fluid without drilling access ports or dismantling anything. I did raise the two rear wheels about 8 inches off the ground on ramps, with jack stands used as a safety
back up measure.
I did the fluid change not long after I bought the car at mileage mark 124,500. Judging by the fluids
appearance it had never been changed before.
the replacement fluid was the Mobil1 75w-140 synthetic. Since then the car has racked up 41,000 miles with no rear end issues.
Thanks for responding.
Yes, the convertible has different geometry. The access is crowded.
thank you for the clarification. I did recall reading something to that effect here on the forum prior to my diff fluid change. But that�s been nearly 3 years ago, which is outside my memory reliability zone.
Thanks Terry, on trying this we looked at it for a long time before giving up. With your approach, we may have another go.
Like the TC, did the wife's TA years ago. Who would think the body was panels we nailed on.
I tried this on my 2001 XKR convertible. The evap tanks are directly behind the cut out hole. I was planning on droping them this year and trying again.
Thanks for the oil tip Brizzy and to Chrisgski for reminding me I have one more job to finish!
What a great idea, it's going to be my next job, thanks for that chrisgski.
I've been looking for the right oil that's recomended by Jaguar, and it seems quite difficult to find, but I went SNG Barratt with the part number JLM20255 and they had it in stock, it arrived today.
I know this is an old thread. But is JLM20255 still available? It looks like it was superseded to a castol BOT 720.
Thanks! But wasn't it previously documented that the thermal 90 is thicker and probably provides better protection?
"The oem "final drive thermal 90" oil is a lot thicker than the valvoline 75w90. I noticed the slower pour rate in the funnel. So i recommend the thicker viscosity oils like mentioned in the above post. (90-140s)"
The specification covering 1996 - 2004 Jag Manual (Published September 2003 by Technical Support and Communications Jaguar Cars Limited Publication Part No. JJM 10 34 99/40) is Shell Spirax Super TS90.
90 v 140 oil. 140 is thicker, yes! From what I found. Unless you are racing your car and exceeding, let's say normal national speed-limits of 65 - 85 mph, 90 wt is just fine. If you are racing - lets say exceeding 120 mph for a few hours or driving a truck the 140 may work better for you. The thicker the oil the less efficient you car becomes albeit a small percentage . Lower horse power, lower miles per gal, etc... The drive train to the wheels - its that pesky 90 degree turn at the differential.
Comes down to this. Your car, your decision. Either weight gear oil will work. Any noise you hear is the whine of the gears. To reduce that noise you'll have to get a new or up-graded differential. I hope this helps.
Last edited by Terry Young; 04-14-2021 at 09:59 AM.
 09-07-2015, 10:36 AM


 Much nastier fluid in the 97 then in the 03. It was gray and frothy.